In addition to the standard abilities you can unlock for Cliff in Crimson Desert using Abyssal Artifacts (standard skill points), the action RPG features unique elemental abilities based on various elements. One of these is “Spark Burst,” which involves the use of electricity (specifically, an electric force field).
Using Spark Burst, you can strike enemies with electrical discharges. This skill is also useful for gathering resources that require electrical conductivity, such as bismuth ore. Below is a detailed guide for completing several levels of the Abyss to unlock Spark Burst.
Starry Spire
The elemental ability “Spark Burst” is unlocked in the Abyss location called the Court of Truth. As usual, you can enter the Abyss and begin searching for the ability through one of the Spires located throughout Pyvel.
The tower leading to the chain of islands containing the Spark Burst is called the Starspire. You won’t miss solving the Starspire puzzle , as you’ll be required to reach it during the main storyline, near the end of Chapter 4.
In this chapter, after solving the Star Spire puzzle and reaching the island’s central area , the Sanctuary of Insight, a cutscene will trigger in which Cliff will fall back to the earth’s surface.
Later, you can return to the Sanctum of Insight using the Void Focus and delve deeper into this location. You’ll have to navigate through three additional areas: the Secret Garden, the Door of Vengeance, and finally, the Court of Truth.
From now on, we’ll assume that you’ve progressed far enough in the storyline and completed the Star Spire and the events in the Abyss during Chapter 4!
Secret Garden
Return to the Sanctum of Scorn using the Void Focus and move deeper into the area. Teleport using the portal at the very beginning to ascend. Go through the celestial gate to reveal a pedestal you can interact with with the Power of the Axiom. Do so and rotate the sphere clockwise to reveal floating platforms. Follow them deeper into the area and drop down to an island with another teleporter. Enter to find yourself in the Secret Garden.
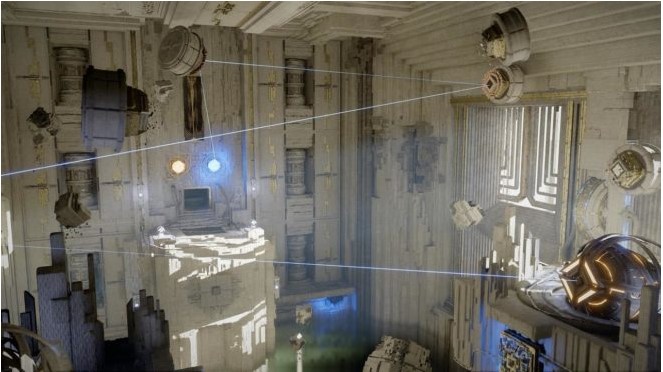
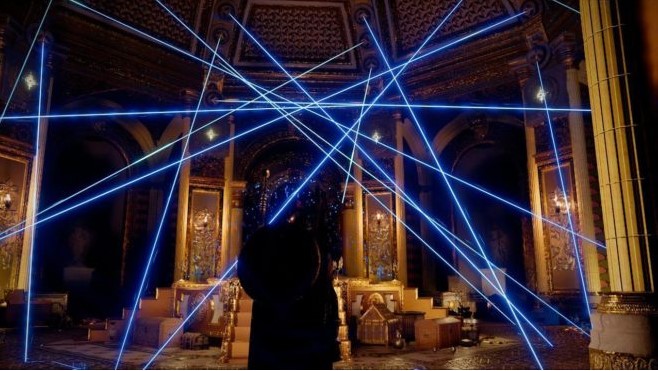
You’ll notice several strange mechanisms throughout the area . There are two laser devices in the room, but only one is operational. The beams from the active laser reflect off the mirrors and fall on one of two receivers on the opposite side.
Jump into the water and move to the far right corner, where you’ll find a square panel floating above the water. Use Axiom Powers to move it in the opposite direction and place it in the square slot under the inactive laser device (on the opposite side from the working one).
Open the skill menu and make sure you’ve learned the “Palmara Strike: Transference” ability (green Spirit tree). Place the electrical panel opposite the square wall socket, then activate this skill (press the mouse wheel while holding the panel with Axiom Powers). It’s important to face the panel when activating it and ensure it’s positioned almost perfectly in front of the square hole.
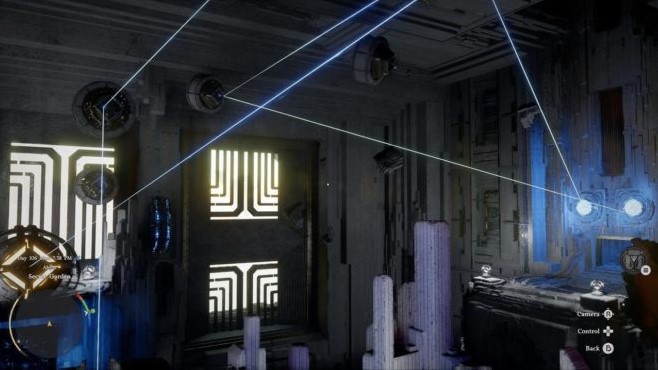
After this, the second left laser mechanism will activate. Use the Axiom Force hook to take control of the device on the left that you just activated. Redirect the beam to different mirrors. You need to aim the beam at the mirror to the left of the exit. Furthermore, you need to direct the beam so that the reflected beam hits another crystal, and from there, the already activated receiver (where the beams from the first device, which was the default, hit).
Then go to the second (chronologically the first one, which worked initially) device and adjust the laser so that the reflected beam hits the left receiver (that is, the other one).
Use the Heavenly Gate after obtaining the Abyssal Artifact, rotate the sphere in the pedestal using Axiom Powers, and jump across the floating platforms. Eventually, you’ll reach the Door of Vengeance.
The Door of Vengeance
After completing the Secret Garden, you’ll be closer than ever to earning the Spark Burst. The transition zone will transport you to the next location—Vengeance Door Island.
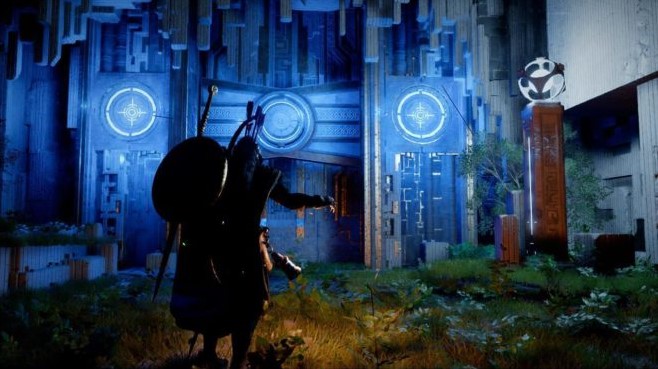
At the entrance, use the Axiom Power Hook to move the electrical cubes and place them on the two stone pedestals on the left and right. This will remove the invisible energy barrier, allowing you to enter.
At the end of the corridor, first shoot the two yellow targets on the left and right with your bow, and then lift the door without a bolt using the “Lift” skill.
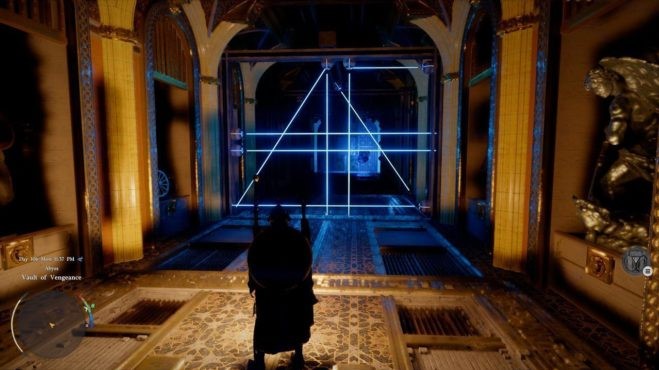
The next room is protected by numerous lasers. You can try to bypass them and approach the pedestal with the golden sword in the center, but this is difficult and incorrect. Instead, you’ll need the unlocked green Spirit skill, “Aimed Shot.”
So, the room is protected by multiple lasers that deal damage on impact. If you look at the columns behind the lasers, you’ll see four yellow targets at the top. If you have the aforementioned skill, equip your bow with the Q key, enter focus mode with X, and mark the four targets with the RMB. Each time you click, you’ll see a faint red dot on the targets. Don’t click too many times, or you’ll shoot the same target multiple times. Just click once, then press the LMB to have Cliff fire his bow. He’ll do it quickly, and all four targets will be active at once. This will remove the lasers from the room.
As a reward, you’ll be able to pick up the “Golden Sword” weapon from the central pedestal—a one-handed sword with 16 attack, level 1 attack speed, and a level 3 requirement. It has no Abyssal Gear modifiers.
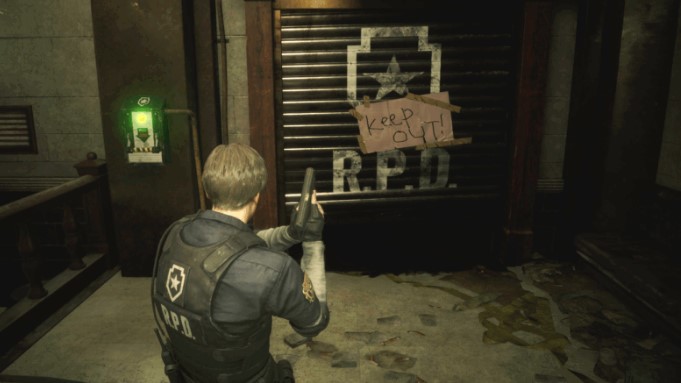
Next, jump down to the lower level, where the pedestal holding the golden sword has been moved. Here, you’ll find a corridor with numerous laser traps, reminiscent of a scene from Resident Evil. You can simply run forward, ignoring damage and restoring your health with various food items. Or you can be more careful, choosing your moments to avoid damage. At the end of the corridor, find the electrical panel, place it in the socket on the wall, and activate it with the “Palmara Strike: Transfer” skill. Then, use the teleporter.
In the final section, before the end panel, use Axiom Powers on the rectangular battery floating to the right and insert it into the same slot using Palmara Strike: Transference. Climb onto the wheel and hit it with Palmara Strike (or Transference from a distance) to complete the puzzle. Collect the Abyssal Artifact.
The Court of Truth
The final area is the Court of Truth. As always, to reach it, go through the celestial gate beyond the end of the previous area, the Door of Vengeance, and activate the pedestal with the Powers of the Axiom. Jump across the platforms, travel on another one, and soon you’ll find yourself at a portal that will take you to the Court of Truth.
The mechanics for solving this puzzle are similar to the previous one: you need to quickly mark and fire arrows at multiple targets using the “Aimed Shot” skill. Ignore the blue targets and shoot only the yellow ones.
There are four points, but one of them has only blue panels hovering above it, and a mechanism underneath is in operation. You need to make sure the other three areas also have only blue panels. Run in a circle, draw your bow, enter focus mode, and right-click. Then, using the same right-click, mark all the yellow targets and left-click to initiate a chain of shots.
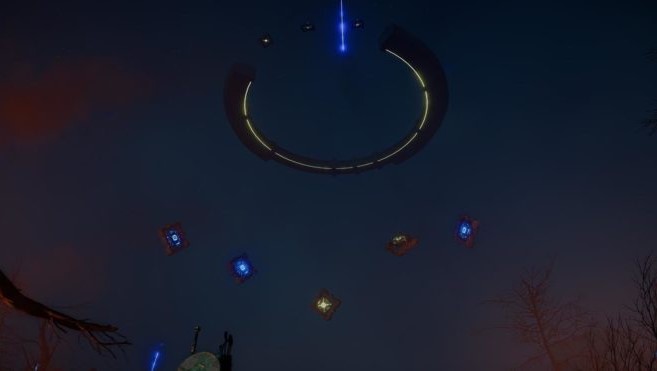
Once you’ve activated all the panels, jump into the pit in the center, where a huge fan is now working, creating a vertical air flow. Spread your wings to fly upwards, towards the semi-rings with two sets of yellow panels (three each). Once you’re up, hold Q to enter Aimed Shot mode mid-flight. Time will slow slightly, but you’ll have significantly less time as Cliff begins to gradually fall. You need to tag three yellow panels and click LMB to initiate a chain of shots before Cliff is too low to hit them from above.
Once you activate both sets of three floating yellow panels at the top of the area, jump down and palm strike the wheel in the floor to complete the puzzle. You’ll immediately unlock the “Spark Burst” skill. This skill creates an electrical force field that damages nearby enemies and anyone within its area of effect.