The “Unidentified Signal” mode unlocks after completing Pragmata for the first time and allows you to return to the game just before the final boss fight. It offers several new challenges, which reward unique modifications, weapons, costumes, and other rewards. Completing this mode is also required to achieve Pragmata’s “true” ending. Overall, it’s a solid experience.
How to start “Unidentified Signal”
After completing the game for the first time and creating a save with the “Completed” status (preferably in a separate slot), when you return to the main menu, you’ll see new options: “New Game+” and “Unidentified Signal.” All you have to do is click the latter.

How to complete “Unidentified Signal”
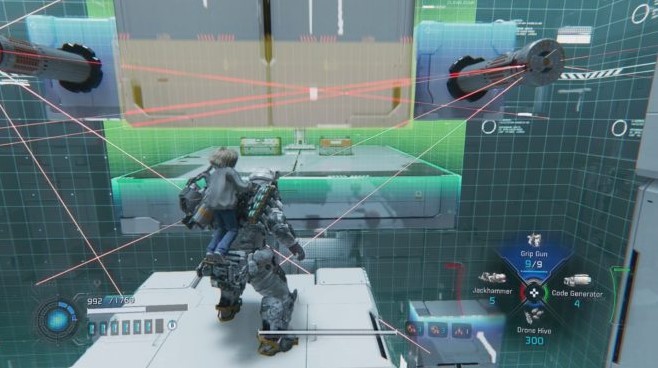
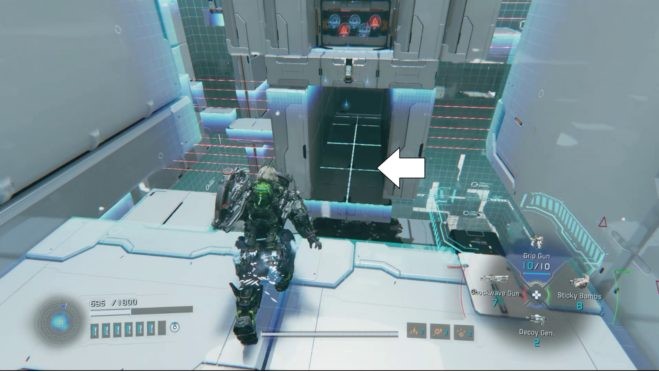
After launching the “Unidentified Signal” mode, you’ll find yourself in the Vault. Upon entering, Kubik will inform you of an unknown signal whose source needs to be investigated. Head to the capsule —a new location will appear in your list of destinations: the Secret Room. Head inside.
Once you reach the location, you’ll meet Big Cube. He’ll tell you about the Simulation missions, which are launched using capsules scattered throughout the Secret Room.
To advance further, you must complete all 10 simulations. Please note: the first simulation mission is unlocked immediately, while the remaining nine require additional requirements.
To unlock all missions you need to:
- Achieve 100% completion in each of the five sectors – Sector 01 – Solar Power Plant (all collectibles) , Sector 02 – Mass Printing Sector (all collectibles) , Sector 03 – Greenhouse (all collectibles) , Sector 04 – Lunite Mines (all collectibles) , Sector 05 – Central Port (all collectibles) .
- Defeat the enhanced versions of the first four sector bosses (Mk-II, with orange armor): the Sector Guardian in the Solar Power Plant, the Creator in the Mass Printing Sector, the Gardener in the Greenhouse, and the Moon Digger in the Lunite Mines.
These bosses appear in the same places as before, but only after you have found all the collectibles in the sector and completed it to 100%.

Simulations
For completing the first simulation mission, you’ll receive a new Vault Key, which will allow you to upgrade it to level 5. This will unlock new upgrades and the final Bingo Club card, “The Leader.”
After completing all 10 missions, the door behind the Big Cube will open. Inside, special rewards await you:
- New weapon : Moon Cannon.
- Hugh Costume : Obsidian.
- Diana’s costume : Black neon .
- Modification : Black box.
- New document .
After earning rewards, it might seem like you’ve accomplished everything you could… but you haven’t! To fully complete the “Unidentified Signal” mode, you need to:
- Equip the Black Box modification.
- Return to the Central Port.
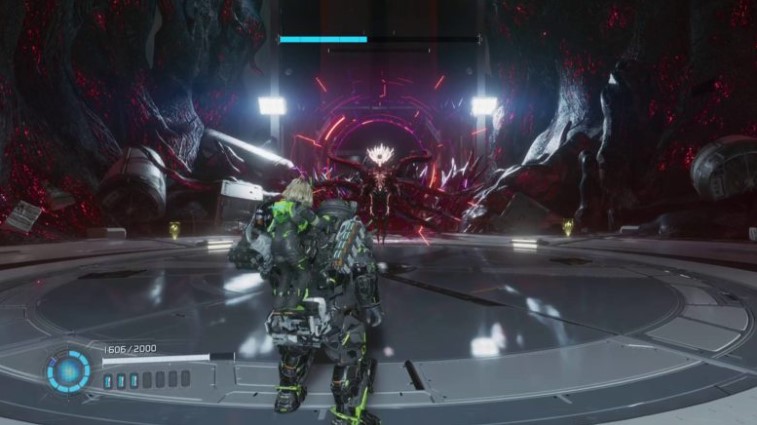
- Fight the final boss again (this will be a stronger version of Eight Mk. II).
After the final battle, you’ll see an extended cutscene featuring the “true” ending. Additionally, during the credits, additional concept art not seen during the first playthrough will be shown.
All Secret Chamber Simulations – How to Complete
Simulation Capsules are special challenges unique to the Unidentified Signal mode. Unlike training simulations in the Vault, you have no time limit, but the challenges themselves are much more difficult. The mode is unlocked after completing the game for the first time. All capsules can be found in the Secret Room. Like training simulations, these are a series of challenge rooms where you use pre-determined equipment (weapons, modifications, and hacking nodes ).
All simulations range from combat to sections involving platform jumping, obstacle avoidance, and lockpicking . Completing them earns you specific rewards (possibly including a modification, pure lunite, a Cube token, or lunar fiber).

Completing all the tests is necessary to obtain two achievements:
- Lunar Challenge – Complete a mission in a special sector.
- Ideal Candidate – Complete “Unidentified Signal”.
There are 10 such challenges in total: one is available immediately, the rest are unlocked after fulfilling additional conditions, which we outlined above.
Simulation 1. Armor Breakthrough
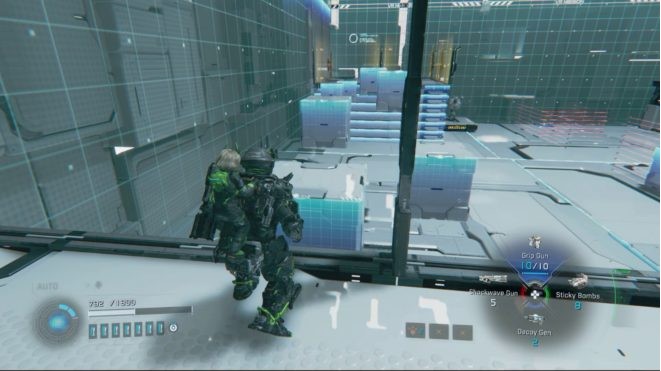
The first test focuses on a new weapon unlocked after completing the game: the Pneumatic Hammer . It’s a melee weapon for the Attack Module, dealing high damage even without penetrating enemy armor. It also has a secondary attack that can be activated when prompted on-screen.
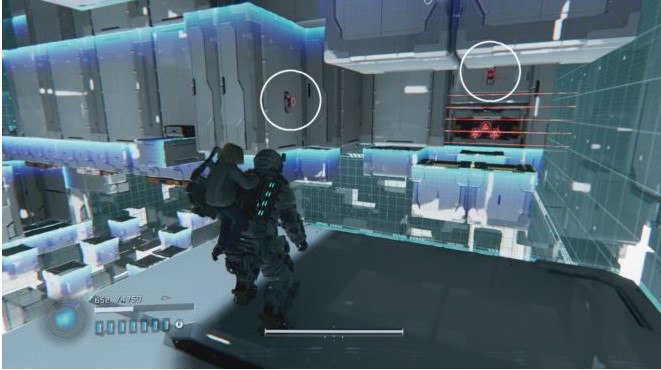
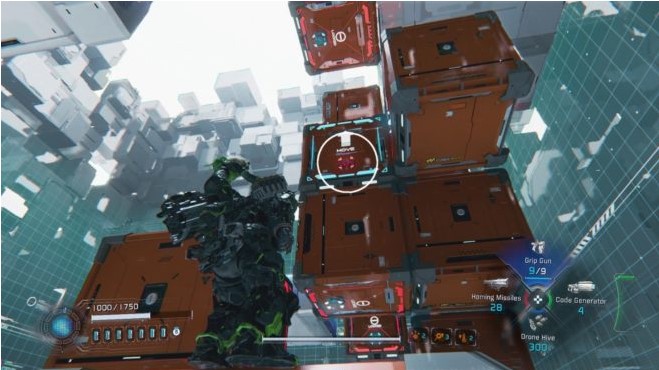
In the first room, pick up the Pneumatic Hammer. Three Walkers and two Jammers will appear in opposite corners. First, hack the Jammers so Diana can continue hacking enemies, then deal with the Walkers and the Executor that appears—the new weapon will help you deal with the robots quickly .

Take the elevator up to the next room. There are lasers on the sides—they can be disabled by hacking the red panels. You’ll face a Defender and a Bomber. Use the clone generator to distract the enemies and attack them with the pneumatic hammer.
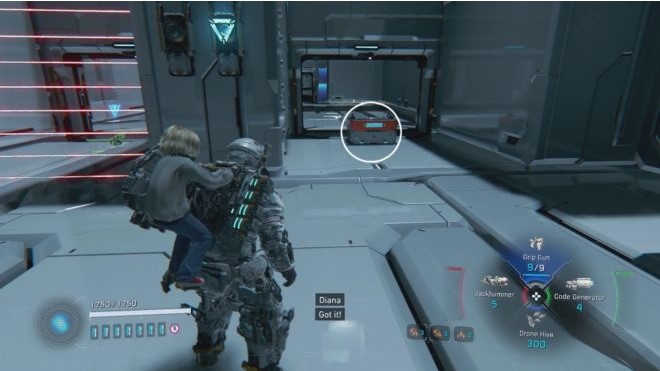
At the top of the next elevator there are two doors. The one on the right leads to a chest containing a Pure Moonite.
Next, you’ll face a one-on-one battle with the Anomaly. Use Diana’s “Purification” ability to remove the necrofilament and temporarily weaken its attacks, then deal damage with the pneumatic hammer.
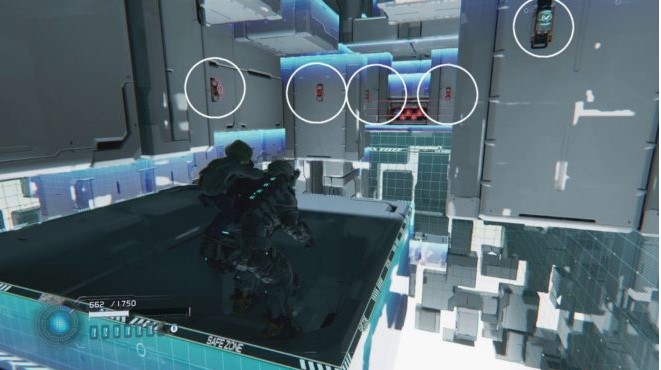
After the battle, head to the exit. The final area contains three chests with rewards:
- Modification “Charging Hack”.
- Cube Token.
- Vault Key 5.
Simulation 2. Jump-jump
A pretty simple challenge – you need to get to the top of the level.
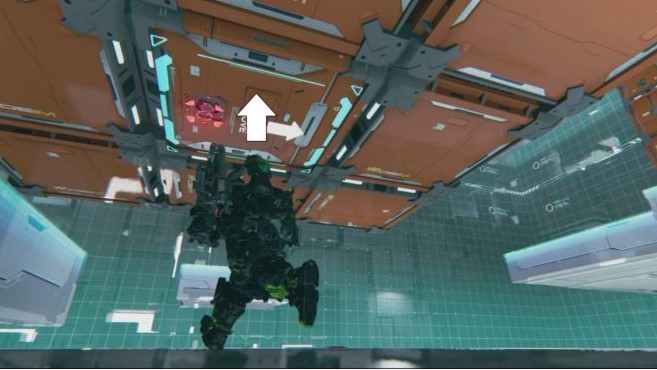
From the start, move along the platforms toward the red panel. Stand on the nearby block and hack it to ascend. Next, navigate the platforms, avoiding first the moving lasers, then the rotating ones.
Four Crusher units will appear at the next panel. Fighting them isn’t necessary—you can simply hack the panel and escape on the moving platform. Jump over the laser grates (use your dash attack over the third one).
Next, you’ll encounter three MK-II Walkers. You can avoid them, but it’s best to destroy them to avoid falling down.
Continue on to the platform with the Crusher and the jammer. You can hack the panel and escape, or eliminate the enemies. At the top, you’ll find a safe containing moonfiber.

The next section features platforms with a large laser grid. Jump to the far platform and cross the grid when it’s at its highest point. Then quickly move along the moving platforms to a stationary surface.
Go through two paths with lasers (jump over the first one, make another jump and dash over the second one).
The final section features two blocks with rotating lasers. Wait for the right moment and jump between them, then reach the final platform, avoiding the moving yellow block (you can’t climb on it) and the lasers.
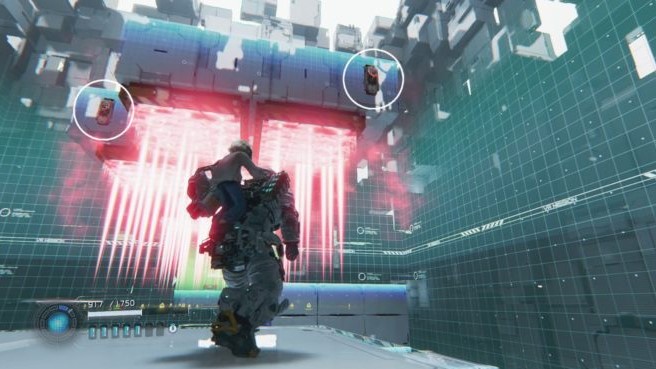
At the finish line, two chests await you:
- Pure lunite
- Cube Token
Simulation 3: Everything at once
At the start, you’ll see two laser barriers. Hack the one on the right to find a safe containing moon fiber, then continue on. The next area contains two luv refiners and an enemy spawner. The refiner has three sections, and the red panel indicates which zone is activated when hacked. You can only use it once, so choose your timing carefully.
Enemies will appear: Walkers, an Executor, and a Spearman. Try to destroy as many as possible with the Luv Recycler, then finish off the rest.
Continue forward and jump across the gap. If necessary, grab the Drone Swarm . A Chameleon is lurking below.
Three Chameleons await you in the next area. Use your drones to disarm them, lure them into the Luv Refiner, and activate the device. Afterward, finish off the remaining enemies.
Continue forward, navigate the laser platforms, and reach the final area. There are two Luv Recyclers here—one on each side. You’ll have two opportunities to use them.
Enemies appear in two waves:
- Restorer x1, Crusher x2.
- Restorer x1, Executor, Crusher MK-II x1, Crusher x1.
Use the Luv Recyclers wisely and destroy the remaining enemies.
After the battle, take the elevator to the finish line. Rewards:
- Cube Token x1
- Modification “Slowdown”.
Simulation 4. Full speed ahead!
This is another platforming challenge, but this time there will be numerous Luv Recyclers along the way that periodically turn on and off. You’ll also have to deal with enemies.
From the very beginning, jump over the first recycler when it shuts down and defeat the two Observers that appear. After they are destroyed, the laser gate in front of the elevator will disappear. Enter the elevator (be careful: there’s a Luv Recycler in front of it) and ascend to the area above.
When you exit the elevator, you’ll see a Spearman ahead. Shoot him to attract his attention, and the Luv Recycler between you and the enemy will do its job. When it’s safe, run to where the enemy was standing.
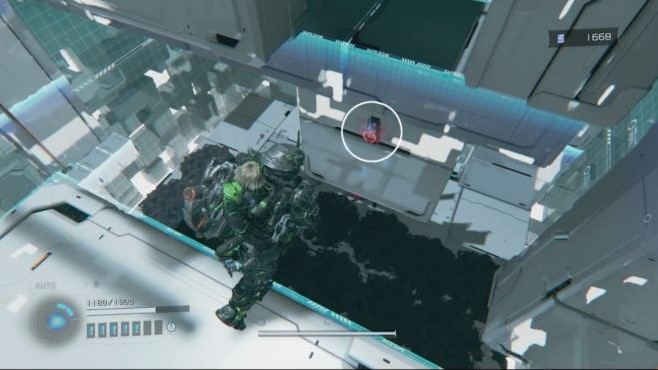
Jump across the next series of platforms, avoiding the Luv Refiners. Note: in the area on the left, there’s a chest containing Pure Lunite. To reach it, jump from the moving platform onto the long Luv Refiner platform, then run along it and jump off the edge.
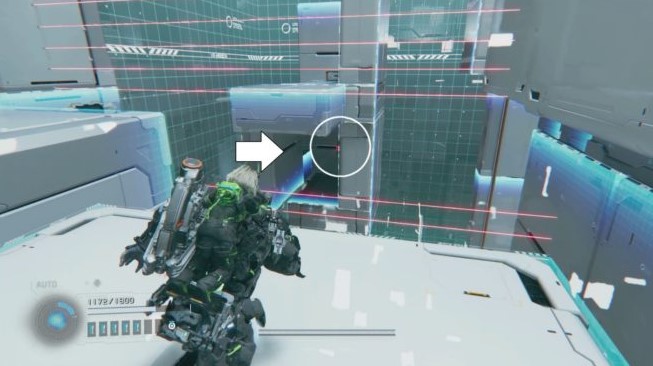
Return and continue along the main path until you reach a block that rises and falls. Jump over a pair of Luv Refiners to reach a small platform in front of a locked gate. The gate has three locks, and you need to hack three red panels to open them. One is above the door, and the second is on the wall to the left when facing the door. The third panel is located between the pair of Luv Refiners you just jumped over; it’s visible if you look away from the gate (back and up).

After passing through a gate with three locks, you’ll find a moving platform. When you stand on it, you’ll see another sealed gate in the distance. This time, it has five locks. You need to hack the panels as the platform moves forward. If you reach the end without hacking them all, you’ll fall and start the section over. The game may place additional platforms to make hacking easier. The locks themselves remain hackable, meaning you don’t need to hack all five at once.
Once all the panels are hacked, go through the open door. Use the small elevator and find a safe containing moonfiber at the top.
Hack the panels above both Luv Recyclers ahead. The first will transform into a moving platform and take you under the second. Once you reach the other side, take the elevator up to the area above.
Stand on the platform opposite the Luv Refiners—it will begin to move forward. Look up and hack the red panels above each Luv Refiner to avoid damage. Ride this platform to the other side, then jump to the target.
In this area you will find 2 chests with rewards:
- Cube Token x1
- “Lucky” modification
Simulation 5. Battle Tower
This simulation presents a combat challenge. You must defeat five waves of enemies, one after the other. Note: the arena’s configuration will change between waves—some blocks will disappear, others will appear. Be careful, as you can fall off the edge of the arena. Each new location typically contains a weapon, a hacking node, or both, so keep an eye out and use the equipment provided.
Enemy waves:
- Air Raider x1, MK-II Observer x1, Missile Spotter x1
- Defender x1, Executor x1
- Lineman MK-II x2, Spider MK-II x2
- Anomalous Walker x2, Walker x8
- Sentry x1
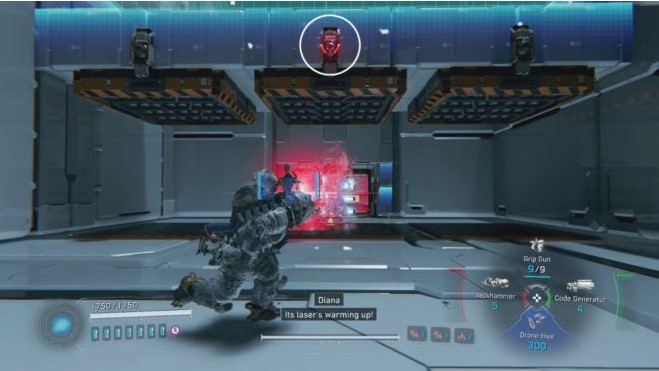
The first stage of the challenge involves a fight against an Air Raider on a floating platform. A MK-II Trawler and a Missile Spotter will appear near the platform and attack you. First, eliminate the smaller enemies, then focus on the Air Raider.
The second wave consists of a Defender and an Executor. There’s also a Luv Refiner, so you can lure one enemy into it, or even both if you’re lucky (the Clone Generator will help), and then activate the Refiner. As usual, the Luv Refiner only has one charge, so after using it, you’ll have to finish off the remaining enemies as usual.
The third wave isn’t too difficult, but there’s a mine at one end of the arena that can be activated by luring the robots towards it. Otherwise, it’s a fairly standard fight.
The fourth wave is large: eight Walkers and two Anomalous Walkers. Luckily, there are Multi-Hacks and other hacking nodes around to help make the fight easier.
The final fight is against the Sentry boss, whom you already fought in the Central Port area. There are plenty of red tactical weapons around, including a pneumatic hammer, so there’s plenty of firepower.
After defeating the Sentinel, you can ascend to the objective. There are two chests here:
- Cube Token x1
- Generosity modification
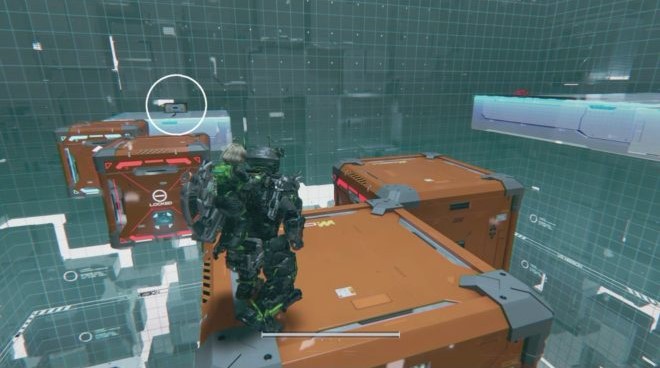
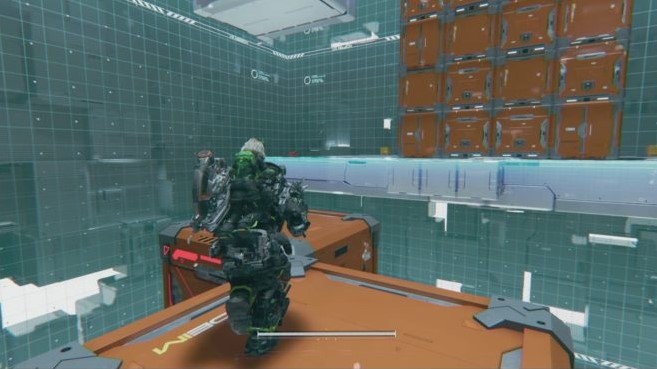
Simulation 6. Climbing containers
If the sliding red crate puzzles in the Lunite Mines warehouse weren’t enough for you, get ready for another dose of fun. In this simulation, you’ll need to move a lot of crates. First, move a group of flat crates to create a bridge and fly to the second section. Then, use a large stack of crates to build a staircase upward and reach the end of the level.
From the very beginning, you’ll find yourself in front of a horizontal group of boxes. Drop underneath them. One box can be pushed upward—do so. After that, you can push one box toward the large stack of boxes beyond the chasm, and the other two as far as possible toward the far ledge with the chest. Then, return to the start and, at the left edge of the group of boxes, push the box as far as possible toward the stack of boxes in the distance.

Once the boxes are in these positions, you will be able to jump to the chest containing the Pure Lunite.
There will also be another path that allows you to jump to a large platform with a tall stack of crates, allowing you to advance further in the level.
After reaching the platform with the stack of crates, you’ll need to deal with the enemies: the Bomber is closest to you, while the Chameleon is hiding on the other side behind the vertical crates. Track down and eliminate both before solving the puzzle.
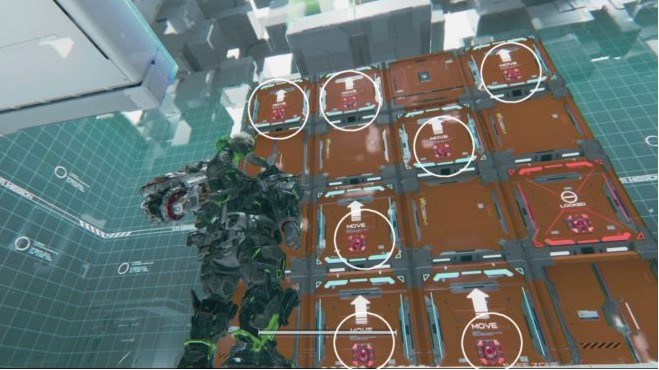
Once the area is clear of enemies, stand on the side closest to the starting point and push all the accessible crates as far as possible. Then move under the stack and push the left and rightmost crates out.

From underneath the stack, look up and push the two available boxes as high as possible.
Look at the path the left of the two vertical boxes took upward. Push the box there to the left. Then push the box underneath it as high as possible.

Go around the stack from behind and this time push the box from the left side. Then push the box underneath it as high as possible.


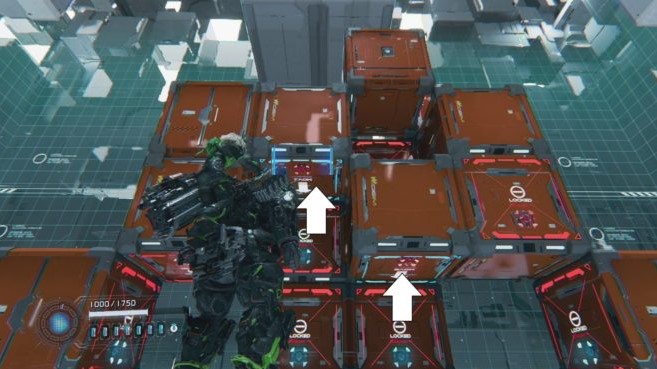
Jump onto the crate on the far right side of the stack, looking from your starting position after crossing the gap, and look up to spot another crate you can push. Do so, then jump down and push the crate underneath it as high as possible.

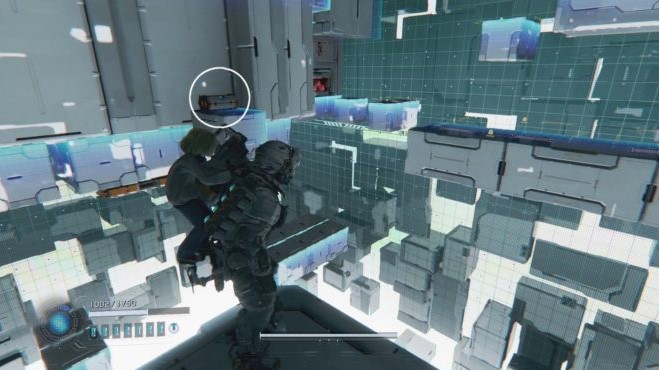
After all these steps, you should have a makeshift staircase that you can use to climb to the exit. Note: there’s a platform here with a safe containing a Moonfiber, as well as another ledge with an Observer and a Rocket Observer on opposite sides of a stack of crates.
Once you reach the top, you’ll reach your goal. Open two chests:
- Pure lunite
- Cube Token x1
Simulation 7. Hovering Conveyor
In this simulation, you essentially need to find and destroy all the enemies in order to remove the seal from the exit.
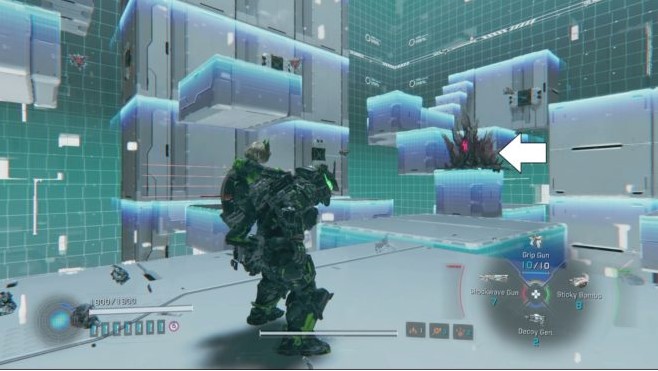
Start by moving forward until the door in front of you closes (on the red barrier). Two Watchers will emerge from the ground on either side of the door—defeat them. A Strelok will also appear in the direction opposite the door. Turn around, jump over the low wall, and kill him. This will open the first door.

Go through it and jump across the gap on the right using the moving platforms. Once you reach the end, destroy the red crystal with Diana’s Purification Charge. Jump onto the platform where the red crystal was, and it will act as an elevator. It will take you up to the ledge above. You’ll see a target at the top, but it will immediately be blocked.
Now you need to find the remaining enemies to remove the lasers from the doorway. Defeat the Observer that appears next to the door.
At the door, turn around and look at the area. In the center, you should see three successively rising blocks, with a red luv on the bottom one. There are also sets of moving platforms on either side. Charge your Purify spell, jump to the crystal, and smash it, then dash to the platform it was on. Now, standing on the central blocks, you can aim and destroy the Observer and Rocket Observer against the wall ahead. Once both are dead, climb to the top block.

There’s a set of moving platforms here, moving to the left. You need to ride one of them to the end and jump to the platforms above. From here, you can destroy another Rocket Observer. There’s also a safe containing Moonfiber at the top of these platforms.

Climb back down and navigate the moving platforms in the opposite direction, avoiding the lasers that appear. At the far end, jump onto the ledges to the left and kill the Watcher against the wall. Climb the ledges above. From here, look down over the edge to spot a lower ledge with a chest containing a Pure Lunite. Jump down and grab it.

Use the moving platform to climb back up and jump to the wall above. From this position, you should see Strelok across the gap. Note that there are two Chameleons on the platform with Strelok. Defeat all three, and the door will open.

Now you can go down to the door leading to the finish line and go through it. There are three chests here:
- Cube Token x1
- Moon fiber
- Pure lunite
Simulation 8. Weightlessness
In this simulation, you explore a room and find and then hack five red panels to open a gate opposite the starting area with five locks. As the simulation’s name suggests, the room is affected by lunar gravity: your jumps and flights will be higher and last longer.
Also note: beneath this area is a platform with three Anomalies. They’re quite powerful even one-on-one, and three of them become even more dangerous. Luckily, you don’t have to kill them. If you fall, walk around and use the small elevator that will take you up to the ledge near the starting point.

From the starting position, you’ll see a locked door ahead. Below and to the left of it is a platform. Jump onto it. Upon landing, two Observers will appear: one next to you, the other behind the lasers ahead. Destroy them both, then look back under the locked door to see a red panel you can hack.
Jump and hover through the gap in the lasers ahead, then climb up the blocks on the left. There’s a safe containing moon fiber up there.
Jump across the next gap and interact with the panel to unlock the wall elevator to the lower platform—the one with the Anomalies. From this platform, you can jump and hack two panels as you fly down to the lower area with the Anomalies. You’ll likely only have time to hack one at a time, so it’s good that you just unlocked the elevator, which will take you back to where you need to go.

After hacking both panels, use another elevator to return to the starting platform. From here, jump down into the passage beneath the locked doors with five locks (three are already open). Follow them to the end. Near the exit, you should see an alcove opposite with a safe containing the moon fiber.
Jump onto the rising and falling platform. While it’s descending, look below the exit to the passage under the locked gate. There’s another red panel there. Unfortunately, you’ll have to drop down to the area below and hack it mid-flight.
Return to the platform-elevator you just jumped from. This time, ride it up and jump through the gap in the lasers ahead, aiming for a small tunnel in the distance. The final red panel is here. Climb the ledge to the left of it and climb to the top of the small structure to find a chest containing Pure Lunite.
Now just get to the already open gate, go inside and take the contents of the 2 chests:
- Cube Token x1
- Modification “Hacker attack”
Interact with the panel on the pole to complete the mission.
Simulation 9. Digger’s Mine
Like the previous challenge, this simulation requires you to explore the room, find and hack five red panels to open the gate in the starting area. One of the panels is located right next to the door itself—you need to hack it to easily escape the starting area. After that, jump down to the central square platform.
Now for the bad news: there’s a Mooncutter on the bottom floor of this room. Just as it used to leap out of the sand to grab you, it can now do so in a normal room with a hard floor. While moving across the normal floor, watch out for the yellow sparks that reveal the “beast’s” location. Always be prepared to dodge its bite while moving.
From this central platform, you can see the four corners of the arena. Each corner has a raised ledge with a protective field—meaning a short fight awaits after you clear it. And, of course, the remaining four red panels are located in these corners.

There’s one more detail: if you jump from the central platform away from the entrance, you’ll find blue crystals that Diana can clear. Behind them is a small area with a safe containing moon fiber and a selection of weapons—Guided Missiles , a Clone Generator, a Stasis Net, and a Denial Machine.
The corners on either side of the locked door are the easiest to fight, so let’s start there. You can run to both and hack the switch next to the elevator platform to ascend. The left platform is guarded by a Bomber, a Wrecker MK-II, and a regular Wrecker. The right platform is guarded by three Spiders and one Spider MK-II.
After disabling both panels, there will be two more left. Return to the central platform. From here, look at the side of the room opposite the door. The platform in the left corner is guarded by a Strelok, and the one on the right by a Bomber. The good news: after clearing one, you can use a series of small floating platforms to reach the other. Therefore, you only need to fight one of these two enemies while avoiding the Mooncutter. In this case, the Strelok is much easier.
After the Strelok is defeated, ascend the platform and proceed beyond the protective barrier. Defeat the Protector and two Observers, then hack the red panel.
Use the floating platforms to reach the opposite corner of the room. Along the way, destroy the Rocket and regular Observers that appear from the left wall. When you reach the opposite corner, defeat the five Walkers and the Walker MK-II that appear. After that, you can hack the panel.
Once all 5 panels are open, head to the previously locked door and go inside to reach your destination. Collect the rewards from the two chests:
- Cube Token x1
- Pure lunite
Simulation 10. The Final Test
This simulation presents a combat challenge. You must defeat enemies in five waves, one after the other. Note: between waves, the arena’s configuration constantly changes—some blocks will disappear and others will appear. Each area typically contains a weapon, a hacking node, or both, so be sure to keep an eye on your surroundings and adjust your tactics based on your available gear.
Enemy waves:
Sector Guardian x1, Spider MK-II x1, Spider x1
Crusher MK-II x1
Anomaly x1, Anomalous Walker x2
Missile Observer MK-II x1, Observer MK-II x1, Tracker x1
Sentry MK-II x1, Sentry x1
The first stage of the challenge is a boss fight against the Sector Guardian from the Solar Power Plant zone. Along with him, you’ll be attacked by a Spider Mk-II and a regular Spider. First, eliminate the smaller enemies, then switch to the larger enemy.
The second wave consists of the Crusher Mk-II. Be careful: there’s a rotating laser above the arena that can hit you if you jump during the Crusher’s melee attacks and jumping attacks. If you dash instead of jumping, you won’t have any trouble avoiding the laser.
The third wave isn’t too difficult: it’s a small area with an Anomaly and two Anomaly Walkers. Don’t forget to use Diana’s Cleanse to remove the necrofilament and weaken the enemies a bit.
The fourth wave is a bit more challenging: at one end of the arena there will be three long-range enemies—a Missile Observer Mk-II, an Observer Mk-II, and a regular Observer—and laser grids moving around the arena, which you’ll have to maneuver around throughout the battle. Jump over the horizontal grids, and dodge the vertical ones.
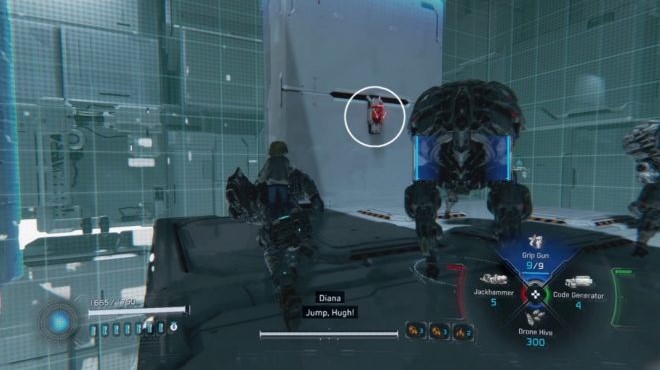
The final battle is against two Sentinel bosses, whom you already fought in the Central Port area. The first is covered in orange armor, indicating it’s a MK-II tier. The second Sentinel will appear shortly after. Once both are in the arena, a Luv Refiner will appear shortly afterward. Lure one Sentinel into the Refiner and destroy it to force the fight back into a one-on-one duel. There are also plenty of red weapons around, so you’ll have plenty of firepower to take on the bosses.
After defeating both Sentinels, jump to the objective. There’s a chest there with a reward:
- Cube Token x1
Secret ending
Once you’ve completed all 10 simulations, visit the nearby room to collect unique rewards. Then, head to the final boss in the Central Port, making sure one of the modification slots is occupied by a Black Box—the same one you’ll find among the rewards in the Secret Room. Only then, after defeating the final boss (incidentally, it will be the MK-II version), will you see an extended cutscene hinting at the fate of the heroes.