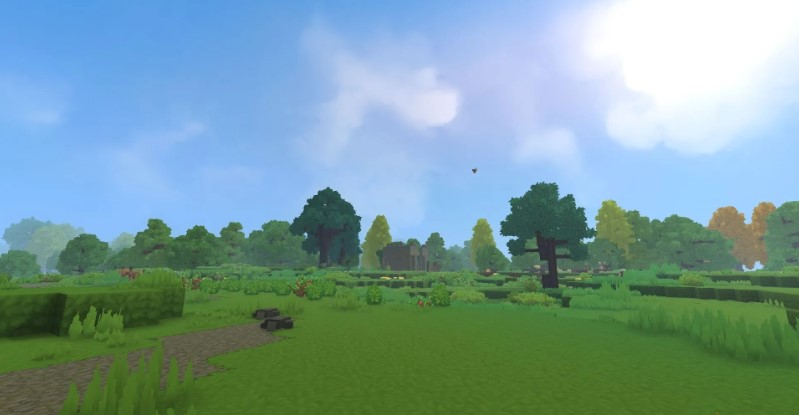
Developed by Hypixel Studios, Hytale is a game that borrows ideas from Minecraft (it actually started as a project within Minecraft) and adds more progression systems, gameplay changes, and a similar yet distinct visual style.
As is often the case with games in this genre, you can add a variety of mods that can dramatically change the experience. The cool thing is that Hytale natively supports mods, making the process easy from the start. However, there are a few things to keep in mind for them to work properly, so let’s follow this guide and learn how to install mods in Hytale.
Hytale is still in Early Access, so mod usage and compatibility may change in the future. We’ll update this guide as needed.
How to install mods
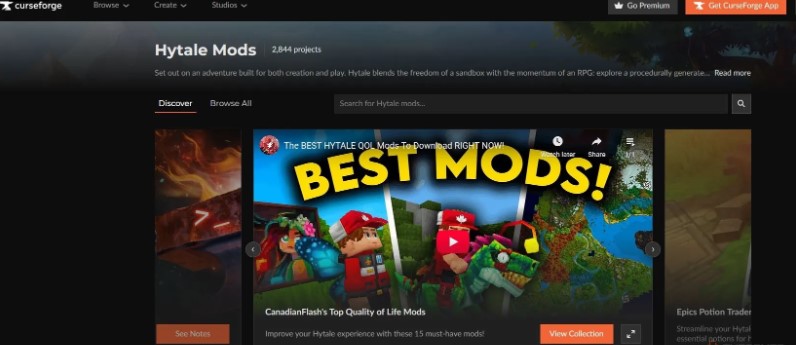
First, you need to find a mod you like. To do this, visit CurseForge.com , a site that already has over 2,000 Hytale mods .
When you find something interesting, you’ll typically have two installation options: using the CurseForge app or manual installation . We’ll cover both methods below.
How to use the CurseForge app
Using the CurseForge app is the easiest way to download and manage any mods. You can download it from the main website using this link .
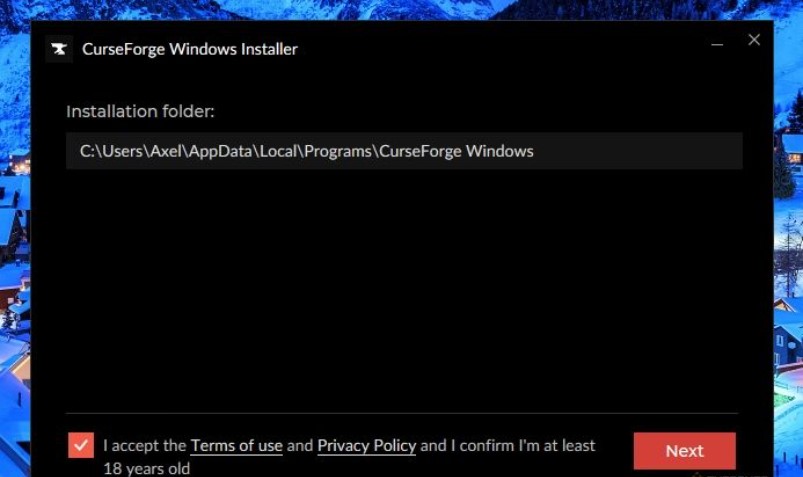
After downloading , open the .exe file and install the application . You’ll need to select a folder (the default one will work), after which you’ll be asked about the recording feature, which we don’t need.
Once installed, CurseForge will open.
You’ll need to tap the Continue button several times , after which you’ll be taken to the app’s main screen. It displays installed games supported by the app, as well as some recommendations.

If you have Hytale installed, the app should detect it automatically.
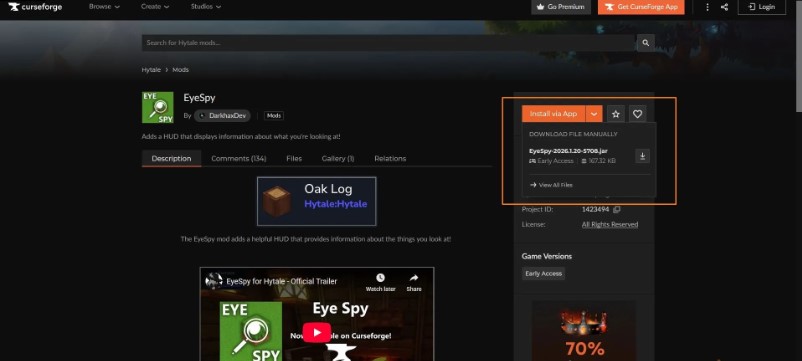
Now we need a mod. Let’s take DarkhaxDev’s EyeSpy as an example . This mod provides more detailed information about everything you find in your world.
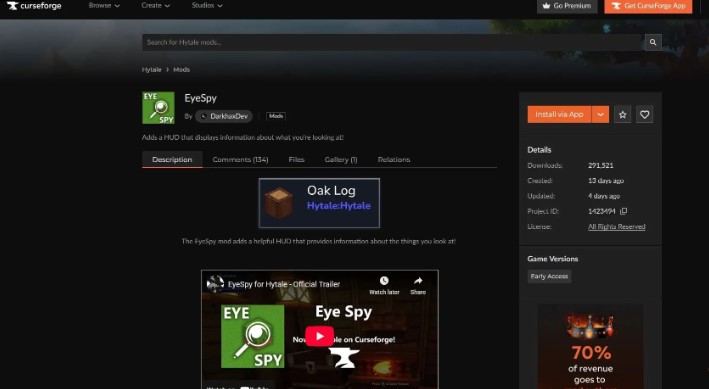
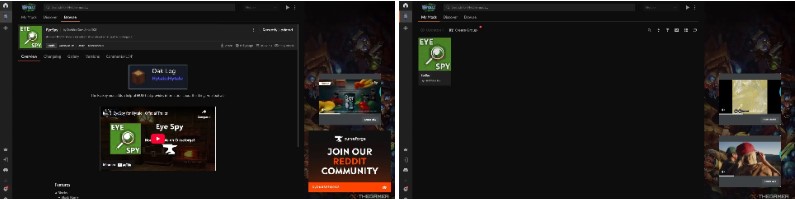
Go to the mod’s page in your browser and click “Install via App .” This will download the mod and allow the app to install it automatically, without any additional steps.
Your browser may open a window asking for permission for CurseForge to open links. Please allow this.
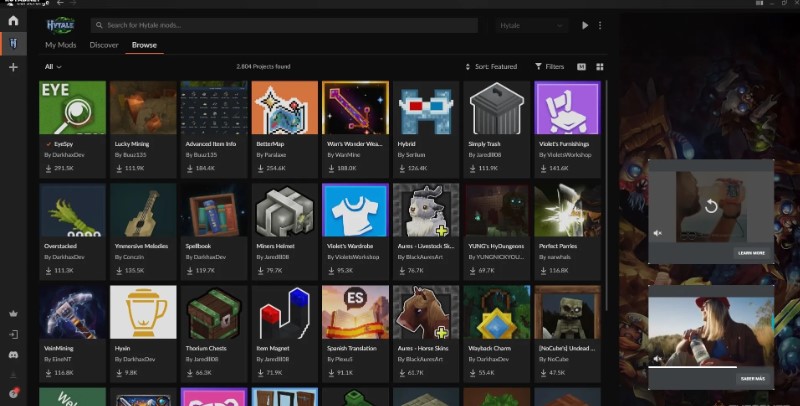
Alternatively, you can use the Browse tab in the Hytale menu inside the CurseForge app, find the mods you want there, and install them directly.
How to install mods manually
If you’re an old-school fan and don’t want to use a mod manager, don’t worry— you can still install mods the old-fashioned way . You’ll just need to follow the installation instructions, if any, for the specific mod. If there aren’t any, it usually just involves moving a single .
For example, when you go to the EyeSpy page , use the “Download file manually” option (to do this, you need to click the arrow next to the “Install via application” button).
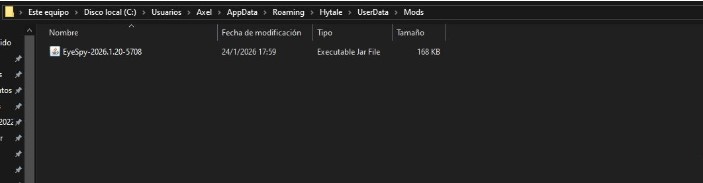
You’ll download a file with the .jar or .zip extension . In this case, it’s the former, and we simply need to place it in the game’s mods folder. If you haven’t changed your Hytale installation path, it should look something like this: Drive\Users\[Username]\AppData\Roaming\Hytale\UserData\Mods .
If you downloaded a file in .zip format , you will need to unzip it first and then place the contents into a folder.
How to use mods
We’re almost there. The thing is, mods aren’t applied automatically in Hytale —they need to be activated manually when creating a new server or joining a new one. This is where the cool thing comes in: you can create a world with the mods you want enabled , and every player who joins your world (regardless of whether they have those mods installed) will be able to use them.
To activate installed mods, select the world you want to apply them to and right-click it . This will open the world settings menu, and on the left side, you’ll see a section called “Mods .” If the installation was successful, your mods will appear here.
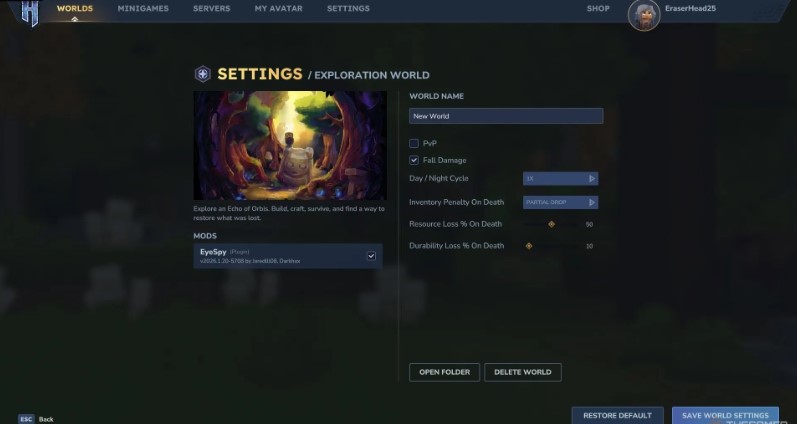
Check the box next to the mod you want , click “Save World Settings,” and that’s it! You’re ready to start playing.
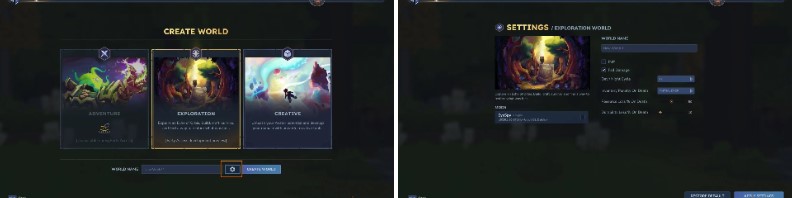
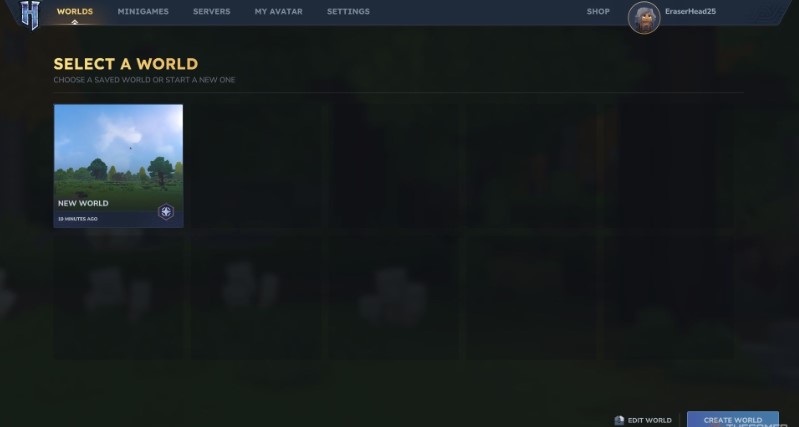
If you want to create a world from scratch and use mods, that’s also possible. Go to the “Create World” section, select “Exploration,” and click the settings icon to the left of the “Create World” button. You’ll see the same menu as before.