Resident Evil Requiem features a total of five safes, each requiring a document containing a code. Below, we’ll explain and show you how to find each safe in the game, as well as the locations of the code combination clues. If you’re just looking for the passwords, scroll down to find the one you need.
To open safes in Resident Evil Requiem , you need to rotate the dial clockwise or counterclockwise. If the password has a right-facing arrow next to a number, press right on the D- pad or the D key on your keyboard and rotate the dial clockwise until you reach the number indicated. If the arrow points left, press left on the D-pad or the A key on your keyboard until you reach the desired number.
On the “Insanity” difficulty level, the safe codes will be different (they’re the same on “Easy” and “Standard”). In any case, we’ve provided the passwords for each difficulty level below, and the notes with the combinations remain in the same locations.
Safe in the waiting room
There are actually six safes in the game, but the one in the waiting room is the default one. You can get two Ancient Coins from it.
Code for the safe in the reception area
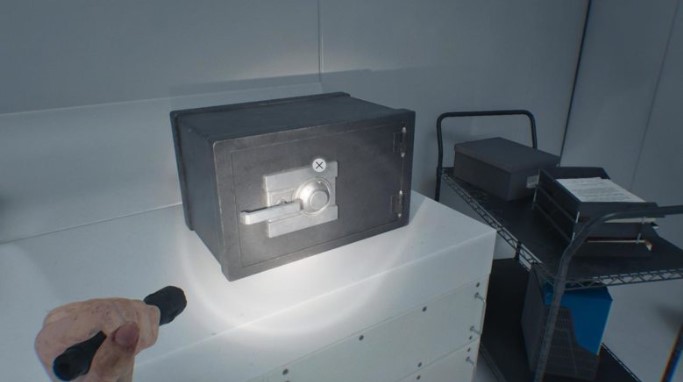
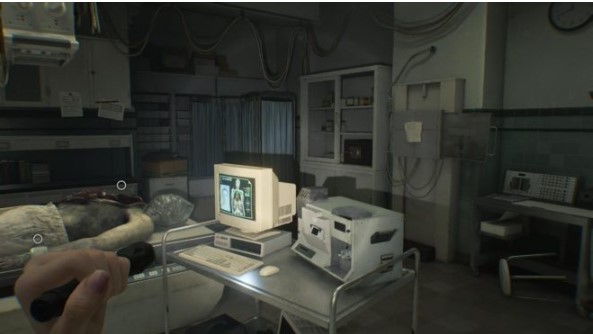
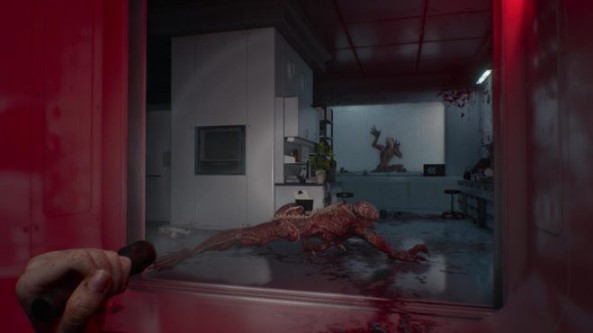
The first safe you’ll encounter in Resident Evil Requiem is located in the reception area of the east wing of the Rhodes Hill Medical Center. Once you’ve reached this wing, simply follow the hallway from the lobby to the reception area, where a dissected corpse lies on an operating table. To the right of it is the safe.
To find the combination, head north from the safe and follow the corridor south. You’ll pass the locked door of the Level 2 isolation cell and reach a staircase leading up. Climb the stairs and you’ll find a room leading to the lead researcher’s office. At the very end of the corridor, there’s a body with a Level 1 ID bracelet lying next to it. Afterwards , a monster named Chunk will begin chasing you.
After running away from him down (and I mean down, otherwise he won’t leave the hallway), return to where you picked up the ID bracelet and turn right. At the end of the hallway are some lockers, some of which have fallen. On one of the fallen lockers is a note with the telling title: “Reception Room Safe Code.”
- The code for the safe in the reception room is: counterclockwise to 30, clockwise to 10, and counterclockwise to 50 to 30. The arrows next to the numbers indicate which direction to press on the controller’s directional pad. Press right until you reach “30.” Then press left and stop at “10.” Then press right again until you reach “50.” Now press X on the PlayStation controller, A on the Xbox controller , or F on the keyboard to open the safe.
- On the Insanity difficulty level, the code for the safe in the reception room is different: up to 50 clockwise, up to 30 counterclockwise, up to 90 clockwise.
Code for the safe in the lounge bar
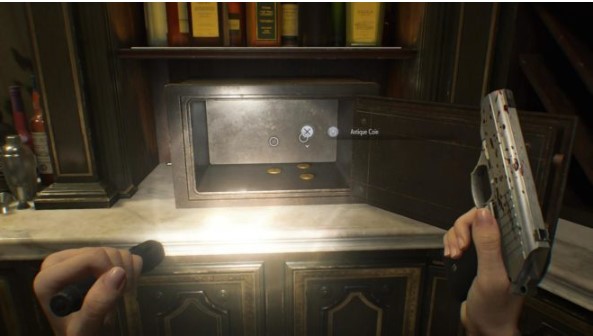
To get the code to the safe in the lounge bar in Resident Evil Requiem, you’ll first need a Level 1 ID Wristband. You’ll receive it automatically during the story, but just in case, it’s also described above. The safe itself is located in the lounge bar in the west wing, on the second floor—where you find the first zombie singer. It’s behind the bar on the left side, at the opposite end from the piano.
To find the password, head to the west wing of the medical center and pass the kitchen. Open the gate at the end of the hallway, which has a level 1 lock . You’ll find yourself next to the overseer’s room, where you can save your game.
Climb the stairs to reach the office . The safe code will be on one of the desks . The safe itself is in the lounge bar on the same floor and is guarded by two regular zombies and a singer. You’ll have to deal with them.
- The code for the safe in the lounge bar in Resident Evil Requiem is: up to 10 clockwise, up to 80 counterclockwise, up to 30 clockwise.
- On Insanity difficulty: up to 20 counterclockwise, up to 50 clockwise, up to 30 counterclockwise.
The code for the safe in the workshop (basement)
While searching for the final Star Quartz needed to exit the medical center, you’ll have to explore the basement where the Girl took Emily. Exit the security room—it’s the first safe room in the basement with a save option—and turn right, heading west. Go forward and use the connector plug obtained during the main quest to open the locked door near the furnace, leading to the corridor leading west. Follow the corridor—the safe is in the room next to the forklift and the zombies.
As for the code combination, it can be obtained by playing as Leon, who appears in the attic of the medical center. In the hallway between the attic and the storage room, there’s a warped cabinet. Only Leon can open these cabinets, and inside is a note.
- Resident Evil Requiem basement safe code: up to 60 counterclockwise, up to 40 clockwise, up to 80 counterclockwise.
- On Insanity difficulty: up to 70 clockwise, up to 50 counterclockwise, up to 20 clockwise.
The code for the safe in the sterilization chamber
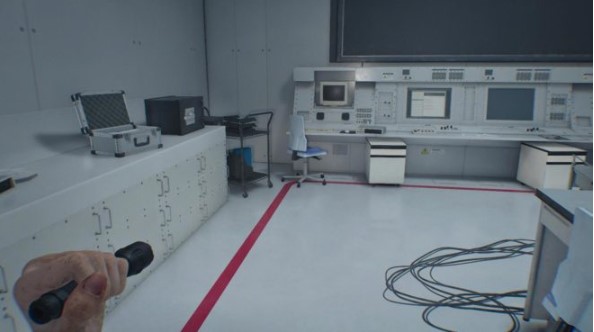
You’ll reach this safe later in the game. It’s located in the final section, which takes place in the ARK complex. While controlling Grace (while Leon is stuck in the junkyard), you’ll reach the sterilization room by heading east from the save point at the lab entrance. The safe is located in the northeast corner of the room. Be careful of the lickers!
To find the combination, head west from the same room with the save point at the lab entrance. You’ll enter B.O.O. 05’s storage area, filled with slimes and large Umbrella containers. One of these containers contains a note with the combination.
- The code for the safe in the sterilization chamber : up to 10 counterclockwise, up to 90 clockwise, up to 20 counterclockwise.
- On Insanity difficulty the code is: 80 clockwise, 50 counterclockwise, 00 clockwise.
The code for the safe in the observation room
The final safe in Resident Evil Requiem is located in the ARK’s surveillance room. It’s accessed through the lobby—the same room where, according to the storyline, you need to plant the white and red orbs.
To find the combination, exit the observation room and turn left. Follow the path past the room, then go down to B.O.O. 05. The room is filled with Umbrella containers, and the rightmost container in the middle row contains the code to the observation room safe. It’s locked, but can be unlocked by interacting with the glowing panel.
- The final code for the safe in the surveillance room in RE9 is: up to 50 clockwise, up to 60 counterclockwise, up to 80 clockwise.
- On Insanity difficulty: up to 20 counterclockwise, up to 00 clockwise, up to 70 counterclockwise.
All Resident Evil Requiem safe codes in brief
If you don’t want to look for the codes yourself and don’t mind spoilers, below is a list of all the safe combinations in Resident Evil Requiem—for both the Insanity difficulty level and the other three.
- Safe in the reception area : →30 ←10 →50. “Madness” : ←50 →30 ←90.
- Safe in the lounge bar : ←10 →80 ←30. “Madness” : →20 ←50 →30.
- Safe in the basement : →60 ←40 →80. “Madness” : ←70 →50 ←20.
- Safe in the sterilization chamber : →10 ←90 →20. “Madness” : ←80 →50 ←00.
- Safe in the observation room : ←50 →60 ←80. “Madness” : →20 ←00 →70.