To fully complete the game and see the secret ending, after your first playthrough of Pragmata, you’ll need to return to previously visited locations and find all the secrets. In this guide, we’ll tell you how to find all the collectibles and secrets in Sector 03 “Greenhouse.” We’ll also show you the locations of all the NZDs, safes, Pure Lunite, Memory Expanders, and Cartridge Holders. As a bonus, we’ll also show you where to find Minicubes.
At the start of the third level, when you return from the Mass Printing Sector, Kubik will receive a new Bingo Club card, “Assistant,” consisting of 16 slots and three standard rewards for bingo, triple bingo, and completing the card completely. The “Training Simulations” mode will also be unlocked, which we’ll cover in a separate guide.
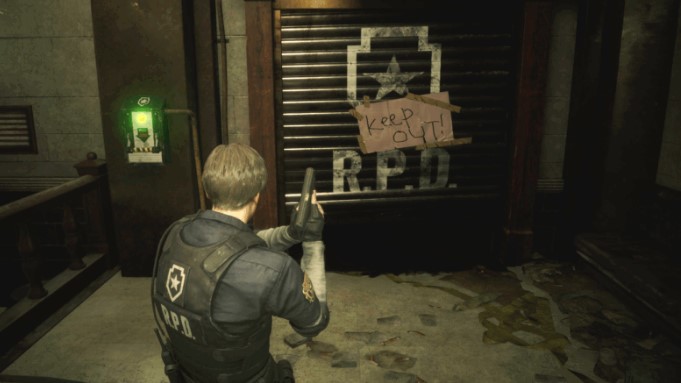
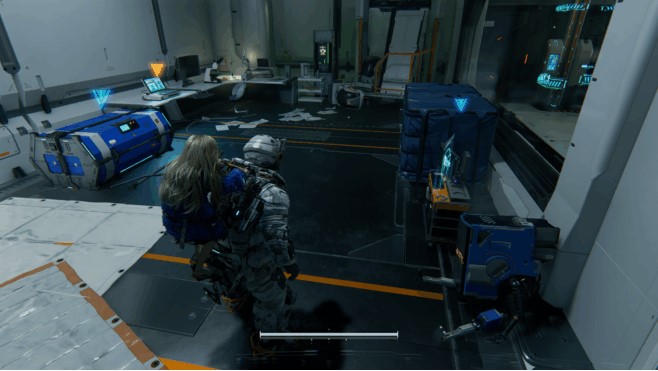
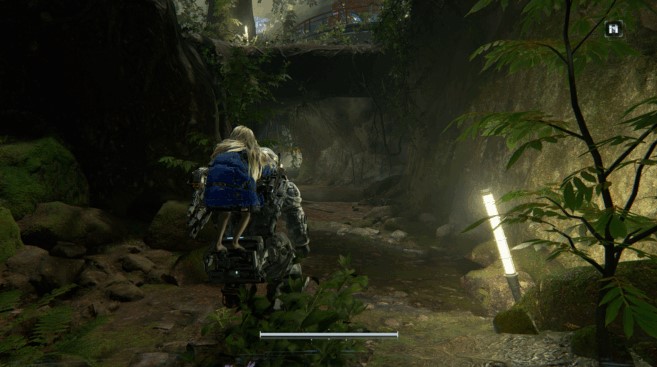
Greenhouse – entrance
List of collectibles:
- Safes – 5. These are gray-yellow containers that can only be opened by pressing the F key. Inside, they may contain moon fiber, a Cube token, or several upgrade components.
- Pure Lunite – 1. Used to upgrade the Modular Printer, purchase new weapons, upgrade hacking nodes , modifications, and unlock unique abilities for Hugh and Diana.
- Modifications — 2. Installed before any foray outside the Vault. By default, only one can be activated, but you can later upgrade and unlock new slots on the Modular Printer. You can place up to 6.
- NZI – 1. Objects that you give to Diana in the Vault and which are installed in special niches inside it.
- These training sessions are 1. They unlock new training simulations in the Vault, which in turn grant a wide variety of rewards.
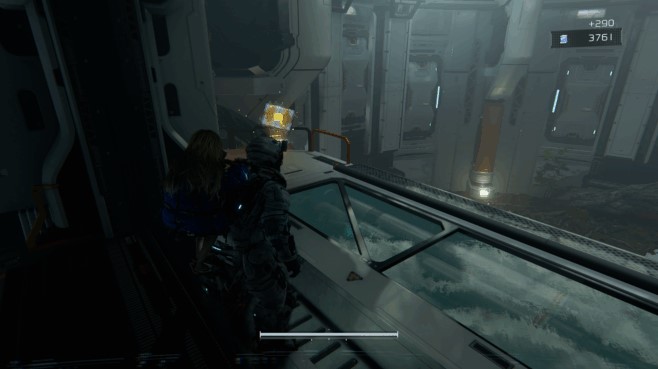
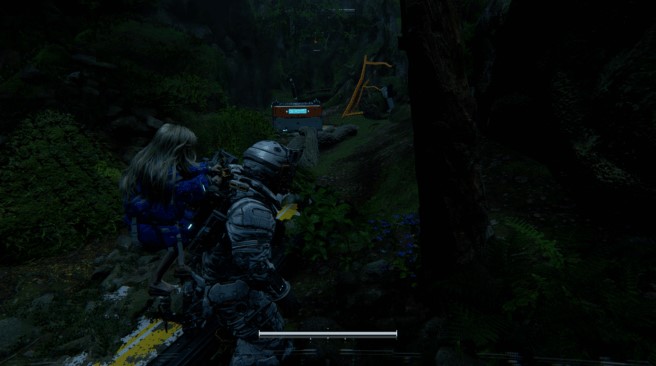
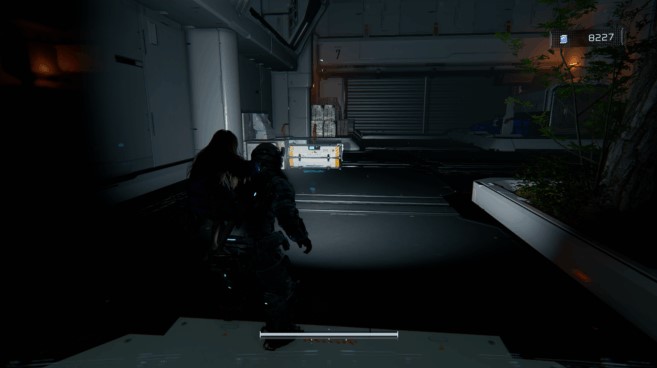
Once you reach the location, exit the building and immediately turn right. At the end of the platform, behind some crates, you’ll find the first upgrade component .
Cross the tree trunk to the path on the left and head deeper into the area, toward the greenhouse. At the very end, turn left and you’ll find a capsule with an upgrade component lying nearby .
Safe
Take your time and notice the suspended container from the screenshot above, right next to the upgrade component. Jump on it and then fly to the trees in the far right corner. Hidden on the elevated area is the first safe in the area, which contains moonfiber.
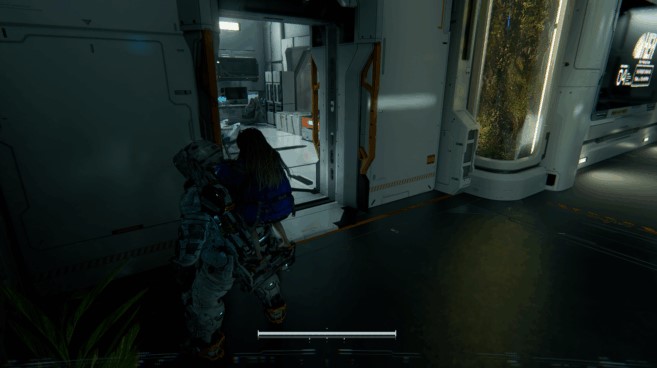
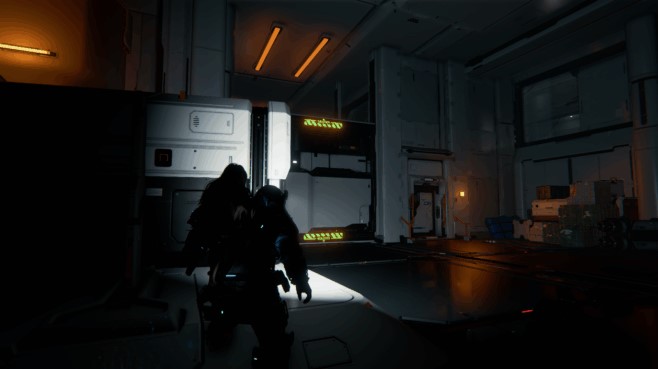
Enter the building after the battle with the first Spearman, then use the terminal on the right, and then activate the first emergency hatch “Main Elevator” on the left side.
Safes and collectibles at the agro-factory ——important
You need to activate the main elevator, but to do so, you’ll have to visit two different sectors. First, go through the Plant Factory door to enter the Agro Factory. You’ll reach a fork with rooms A and B. To collect all the collectibles, you’ll have to take one route first, then backtrack and take the other. To avoid confusion, choose route A first.
Safe
Take path A at the first fork in the Agrofactory. Destroy the two MK. II Walkers and the first mine-throwing Binder. At the second fork, you’ll have to make another choice, and take path A again. After defeating the Binder and the Spider, you’ll be able to leave the room and find a safe containing moonfiber.
Safe
Regardless of the routes you took at the two forks previously, you’ll face another choice. These aren’t rooms A and B, as the map indicates, but simply two different paths, both leading to the same destination. But before you choose, open the safe in the center to find the Cube token.
Pure lunite
Regardless of the routes you took at the two forks previously, you’ll face another choice. These aren’t rooms A and B, as the map shows, but simply two different paths, both leading to the same destination. To take the left route, you need the red airlock key. It’s not available in the area itself, but you could have obtained the key for a Cube token at the Vault Bingo Club, using the new “Assistant” card unlocked after completing the story in Sector 2, “Mass Printing Sector.” If you don’t have the key, simply return to the Vault and spend the Cube token you just found.
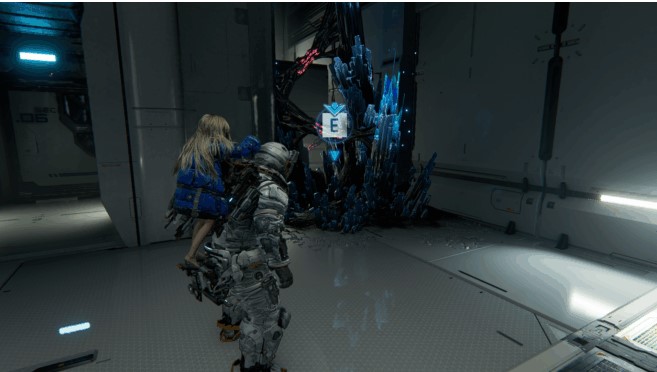
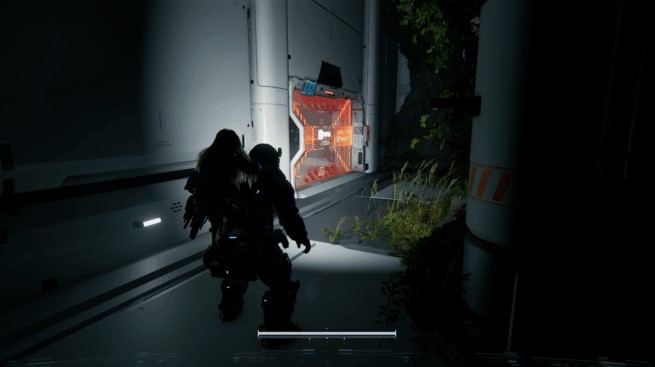
So, open the red “Greenhouse Entrance” section, jump down, and enter a room with two Spearmen and a Spider. There’s also a rotating laser here that you’ll need to jump over to avoid damage. After defeating it, you can open a container in the next corridor containing a Pure Lunite.
Low-Cost Shot Modification, Training Data
The next room is a shared one, accessible regardless of your chosen path (through the red zone or the normal passage). The first Bomber, a Binder, and two Lancers await you here. After defeating them, you’ll find yourself in a hallway with holograms of deer. Check the room on the left to find the first Training Data (which unlocks new levels of Training Simulations in the Sanctuary) and a blue container containing the Cheap Shot mod. Increases attack power by 15% when shooting enemies from behind.
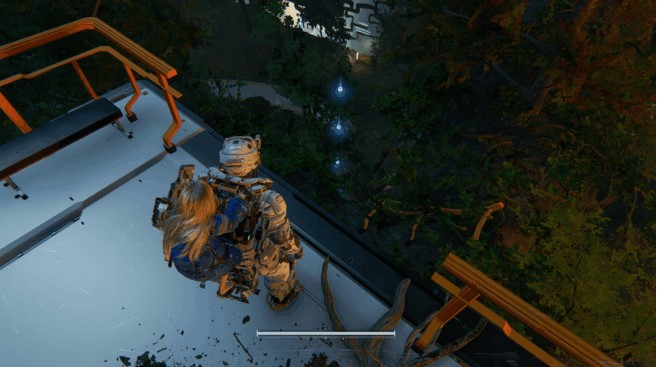
NZI “Flowers”
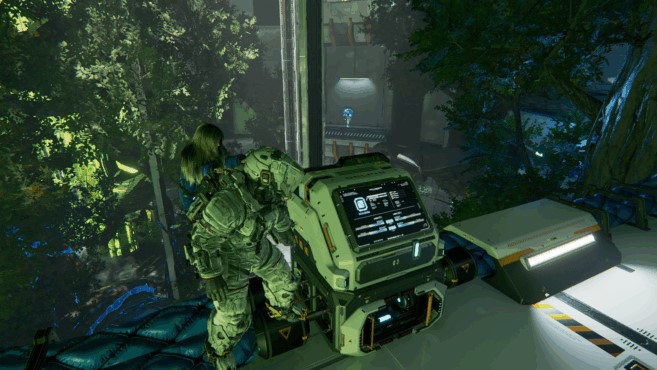
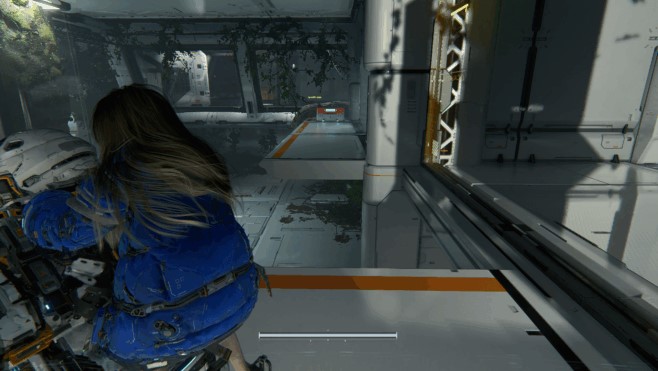
Continue on the wall elevator, pick up the pulse rifle, which will become your new primary weapon, go outside, and activate the terminal. In the lobby with the main elevator, some trees will collapse, allowing you to reach the NZI. You can fly to it directly from here or climb up the tree trunk from the elevator.
Safe
Before continuing, return to the Vault via the Main Elevator escape hatch. Complete the desired actions, then head back to the Greenhouse. You’ve reset your progress through the Agrofactory and can now revisit it. Go there and choose Route B twice. You’ll pick up an upgrade component before entering the second room . After passing through the second room, you can open a safe containing three upgrade components at the fork between the normal route and the red zone.
“Accurate Shot” modification
Next, you need to go through the Eco-Modeling Lab described below, find three generation chips, activate the ledges on the trees, and reach the terminal that will remove the trees in the main lobby. Then, upon returning, ride the elevator up. Jump onto the ledge above, where you’ll find a blue container with the “Sharpshot” mod. Successfully activating the boost slows time and increases weapon damage by 10%.
If you look down this platform, you’ll find another one with an upgrade component . Then, jump down and wait for the main elevator to return to the ground floor to ascend again.
At the top, activate the emergency hatch “Main Elevator – Top Floor” .
Safe
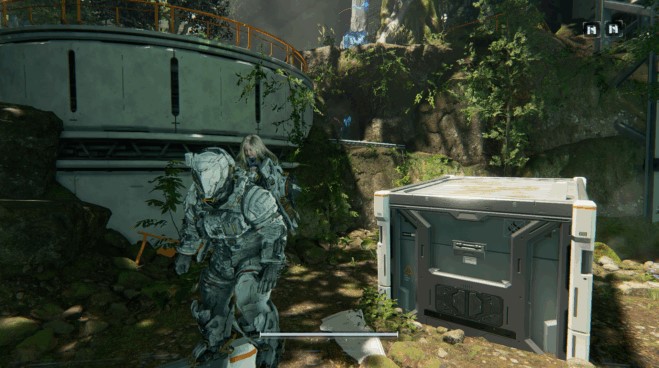
Finally, the hardest-to-reach safe in this area. To even find it, you must take the main elevator up and stand near the door leading to the Soil Research Lab. To the left of the door, look down to see a small platform with a safe directly below you. Jump down using the boosters and open the safe to obtain three upgrade components .
Ecomodeling laboratory
List of collectibles:
- Safes – 5.
- Pure lunite – 3.
- Modifications – 3.
- NZI – 2.
Mini cube
Head to the eco-modeling lab from the main elevator, taking the second path. Once you reach the first Walkers, destroy them and climb up to the broken staircase. You’ll find a device that needs a generation chip installed. Stand next to it, look back, and lift the screen up to find another Minikubik figurine in the tree branches. Shoot it.
Safe
Jump down to the tree, go into the passage on the left, defeat the enemy, and retrieve the generation chip from the terminal. Return to the previous device and insert the chip to create a platform that will allow you to jump higher. But first, go right and look at the wall near the yellow container. There’s a red node here; hack it to get to the upgrade component later.
Jump to the other side, defeat the enemy, and head right to the holographic wall. Open it and search the next safe for moon fiber. There’s also an electronic recording nearby.
If you’ve disabled the red node marked above, you’ll be able to proceed deeper into the room and pick up the upgrade component . Otherwise, your path will be blocked by laser beams.
Head back to the door that leads further. But first, turn left and jump over the gap in the bridge to find an upgrade component in the dead end .
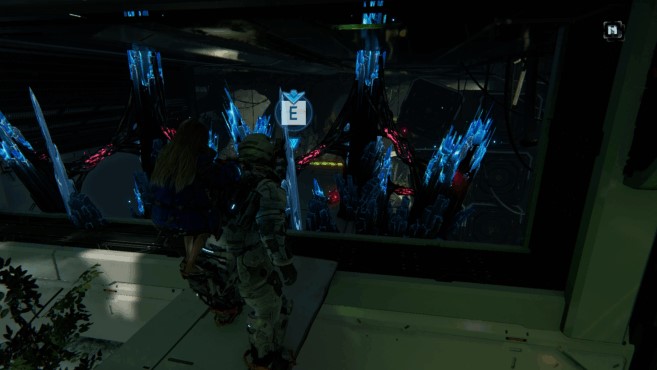
Once through the door, you’ll find three devices. You’ll need to find three generation chips. On the right, look for the “Ecoanalytics Lab” emergency hatch . And if you look at the mountain to the left of the generation chip equipment, you’ll find an entrance covered in luv. Destroy it so Diana can get to the upgrade component .
Pure Lunite, Cannon Fodder modification
Next to the hatch is the entrance to the red zone. You likely don’t have the second key to the red airlock right now, so you’ll have to return later. You won’t have to wait long, as the case containing the key to the red airlock is located at the reception desk at the entrance to the weather simulation lab, where you’ll be heading shortly to get one of the three generation chips.
First, when you reach the red zone, notice the rotating lasers below. However, if you jump over them and continue deeper into the first floor, you’ll find an upgrade component in a dead end .
The red zone itself contains quite a few enemies. You need to climb up the tree branches, killing Lancers, Binders, one Bomber, Observers, and Missile Observers. Incidentally, the missiles can be hacked to fire them back at enemies. Once you’ve destroyed them all, the door above will open, revealing two containers. The gray one contains Pure Lunite, and the blue one contains the “Cannon Fodder” mod. 30% of critical hit damage affects nearby enemies.
After exiting the red zone, proceed forward past the escape hatch, but don’t rush down the steps. Look to the right and you’ll find a balcony you can jump to. Once you’ve done so, enter the room through the window and find an upgrade component in the far corner .
NZI “Balloons”
Go down the steps to the right of the chip generator devices, destroy the Spearman, and retrieve the first chip. Turn right and you’ll find an upgrade component , a Walker, and a NZI in the corner on the right.
Modification “Self-learning”
Opposite the NZI there’s a closed door (for now). Turn slightly left of this door and you’ll find a natural corridor.
Take a right at the fork in this corridor, jump onto the ledges, and immediately enter the building ahead. There’s an upgrade component in the dead end , but that’s not all, as the wall on the left is fake. Interact with it to reveal a hidden passage.
Go behind the wall, destroy the Crusher, pick up the Electronic Tablet , and jump up to find a blue container with the “Self-Learning” modification. Increases your hacking meter by 15% upon successful hacking.
Return back out of the room, but don’t rush down. You can climb a little higher up the hill.

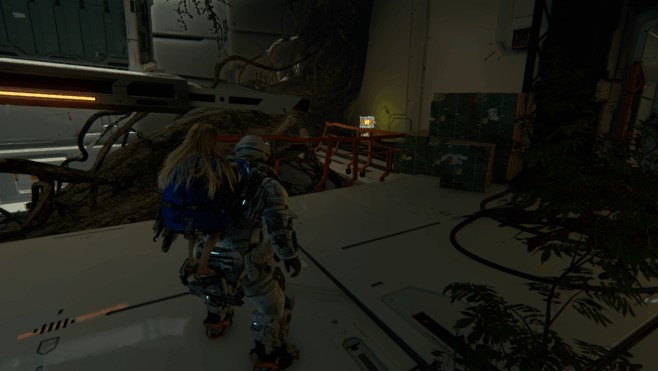
Safe
On the left, look for a bridge with moon fiber that leads to a building with a broken window and a luv. Destroy the luv to get inside.
Destroy the 6 Spiders that appear, after which you will be able to open the safe with moon fiber.
Safe, Pure Lunite
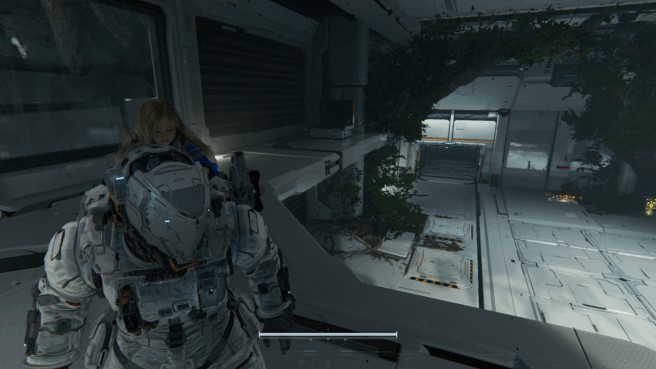
Now return to the stairs you used to descend into this area and where you found the first generation chip. Go the other way, to the right if you’re facing the stairs. You’ll see a building with an NZI. Climb the stairs, destroy the MK. II Bomber, and then pick up the second generation chip. Before continuing, look over the railing to the left. Jump over it and you’ll find yourself in an area with two containers.

One of the containers contains two Walkers, and the second contains a safe with three upgrade components . There’s also a red luv nearby that Diana can’t destroy yet. You’ll have to return here after completing the fourth sector, “Lunite Mines,” and the Pragmatics Lab. Inside the safe is a Cube Token. Don’t forget to return after the fourth sector! Also, turn around and look to the right. You’ll see a red node. Hack it to lower the block. Stand on this block and hack the node again. You’ll reach a wall elevator. Ride it up to reach a locked room with a gray container containing Pure Lunite.
NZI “Radio-controlled car”
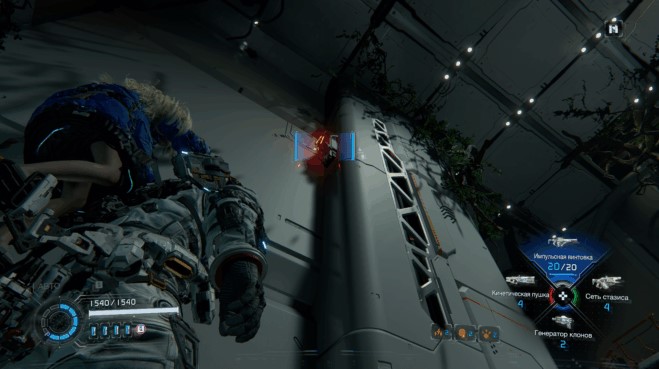
Remember the NZI you saw behind the glass earlier? Jump from one container to another, then fly to the ledge with a regular Luv, which Diana can destroy. Once you’ve done that, proceed down the corridor with the lasers. You can disable them by hacking the red node on the right, but only after you’ve cleared the area. Eventually, you’ll reach the room with the NZI. There’s also a door there that you can hack to create a shortcut.
Modification “Aggressive Defense”
Return to where you found the second chip, then continue on and turn left into the Weather Testing Lab. At the entrance, you’ll find the Red Gate Key, which you’ll need to open the red zone in the “Eco-Modeling Lab” you saw earlier. There’s also an upgrade component on the left side, behind a glass flask .
Ahead, look for a ladder with a blue container underneath. Opening it will grant you the “Aggressive Defense” mod. Aiming your weapon with the right mouse button reduces damage taken by 20%. Finally, to the left of the ladder, you can unlock the “Weather Simulation Lab” escape hatch .
After the first battle in the Weather Simulation Lab, go to the second room, but don’t jump down yet, as there is an upgrade component on the platform on the left side .
Just in case, I’ll add that after the second room in the weather simulation lab, when you get to the room with the holographic recording, don’t forget to pick up the final generation chip from the terminal under the tree on the right side of the room. I passed it by on my first playthrough, and afterward I was puzzled, wondering where to get it.
Pure lunite
After installing three generation chips and climbing up, you’ll find yourself in a room with an old acquaintance, the Sector Guardian. Destroy him and the two Spearmen, then proceed down the corridor on the left and open the gray container containing the Pure Lunite.
Safe
Don’t rush to the left, but instead turn right and move past the forklift. At the very end, there’s a holographic wall you can open to find a safe containing moonfiber and an electronic tablet.
Go left down the corridor, jump down and immediately turn around to find an upgrade component in the corner .
Soil Research Center
List of collectibles:
- Safes – 10.
- Pure lunite – 1.
- NZI – 1.
- Training data – 1.
- Mini cube – 2.
Safe
You’ll get here from the top floor of the main elevator after meeting Eight. Enter the grounds and turn right at the fork in the greenhouse to find a safe with a Cube Token in a dead end.
Training data
Once you’re on the beach, once you regain control, head to the right (with your back to the water) to find a lift and a pit hidden behind a luv. Interact with it to destroy the luv, jump down, and find the training data. There’s also a tablet there.

Once you return to the surface and the beach, go the other way and find an upgrade component behind a large boulder .
Mini cube
Next, you need to open the door with four locks . The first two red nodes are located to the left and right of the door; hack them. Then, go into the corridor opposite the door, go down, and destroy the first Chameleon ( a robot that can turn invisible). Pick up the new attack module, the Photon Cannon, then ride the elevator up. After defeating the enemies, examine the trees on the left. A Minicube is sitting on one of them.
Safe
Enter the building from the balcony where you found the previous Minikubik, then stop at the fork. The Bomber is on the left, but you need to go right, where at the end of the corridor is a safe containing three upgrade components . Beware that it’s guarded by a Chameleon.
Safe
Once you activate the fourth red node (assuming you’ve found the previous three consecutively), walk down the hallway opposite the door with four locks, climb up, and exit. Don’t jump down just yet. Move forward along the surface and you’ll find moon fiber conveniently arranged vertically. Descend, collecting the moon fiber, to reach a hidden alcove with a safe containing moon fiber.
Enter the room behind the door with four locks and activate the Geoscience Laboratory emergency hatch .
Safe
After taking the elevator down to the geoscience lab from the eponymous emergency hatch, you’ll find the first pillar blocking Diana’s abilities. Hack it while you can, then head right. There’s a holographic wall in the corner. Walk through it, pick up the tablet, and open the safe containing the moonfiber.
Safe
Return to the door where the pillar blocking Diana’s abilities was. To the left of the door is a luv you can destroy. Do so to find a safe containing moonfiber.
Safe
Go through the door near the pillar blocking Diana’s abilities. Find a safe with three upgrade components near the terminal and the Chameleon. The terminal is used to clear trees in this area.
Safe
Proceed further and defeat the enemies in the spacious room until a door opens, leading to a living room with a long table . From here, there are four routes. First, enter the bedroom ahead to find a safe containing three upgrade components .
NZI “Swing”, Minicube
The far left door can’t be opened. An NZI and a Minicube are hidden behind it. So, hack the far right door, as required by the story. Immediately turn around before passing through the yellow barrier into the protected area. You’ll see a passage blocked by a Luv. Break it with Diana’s skills.
Jump onto the two ledges that were behind the luv, go to the end of the technical corridor, and drop down into the room with the NZI and the Minicube. The figurine is hidden inside the capsule. You need to stand at the end, jump, and shoot it mid-flight.
Safe
Hack the door to leave the room where the NZI and Minikubik were. Go through the door opposite again and this time, go through the yellow barrier. Don’t jump down yet; instead, look to the right. You’ll find a balcony with a safe containing the Minikubik token.
Safe
Jump back and look to the far side of the room to find a similar platform with a second safe. Fly to it using the boosters. Open the safe to receive three upgrade components .
Pure lunite
Jump down to the bottom floor of the room where you just discovered the two safes and defeat all the enemies. Note that there are two pillars that need to be disabled to prevent them from blocking Diana’s abilities. After defeating them, go through the door into the dark room and immediately opposite the entrance you’ll find a gray container containing a Pure Lunite.
Safe
Look to the right of the container containing the Pure Lunite. Don’t rush through the door, but instead jump onto the container to the left. From there, use your boosters to fly to the ledge ahead, drop down, and crack the luv using Diana’s skills. Behind it, you’ll find another safe containing Lunite Fiber.
There’s an elevator in the next room, but before you use it, go through the doorway and find an upgrade component at the very end . There’s also a tablet with an electronic recording nearby.
Terrarium
List of collectibles:
- Pure lunite – 1.
- Memory Expansion – 1. Used to increase Diana’s hack meter, which is needed to activate Overload.
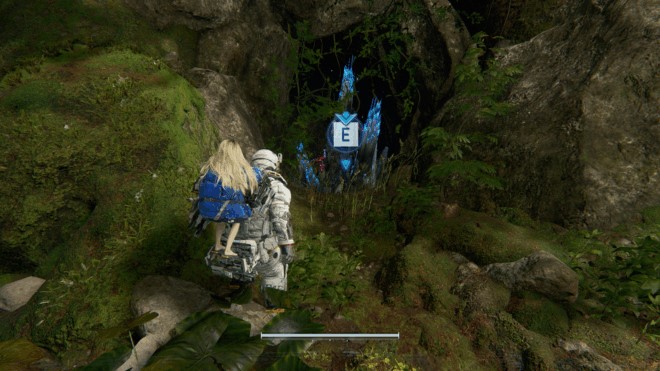
After descending the elevator, you’ll find yourself in a new area called “Terrarium.” Immediately nearby, you’ll find an emergency hatch called “Plant Laboratory .” From the hatch, go right, go around the shaft you descended the elevator through, and find an upgrade component .
Pure Lunite, memory enhancer
To the left of the door leading to the Greenhouse boss , the Gardener, is the red zone “Terrarium.” You won’t be able to open the door if you’re new here and have unlocked all the previous red zones. There simply won’t be a key to the red gate. Continue through the Greenhouse, defeat the Gardener boss, and upon returning to the Vault, a new Kubika Bingo Club card, “Specialist,” will appear. It will show a slot with a key to the red gate. Unlock it, and then return to the entrance to the red zone.
You’ll have to defeat a number of enemies in a dark room, including several Chameleons, but afterward, a room will open with a memory expansion and a gray container containing a Pure Lunite.