The release of Resident Evil Requiem made the new installment of the series the most popular online title across multiple platforms. It’s a truly excellent game, to be sure. Naturally, it’s literally chock-full of story-driven puzzles, as well as numerous side activities and collectibles.
We’ve previously covered how to find all the Mr. Raccoons and ancient coins , and now we’ll focus on files. The documents needed to obtain the “Case Closed” achievement include not only paper notes but also electronic files. These come in a variety of forms—from wall plaques and floppy disks to journals and anything else that could contain information that expands the lore of Requiem and the game as a whole.
Reading all 75 files unlocks the “Case Closed” achievement. Fortunately, Resident Evil Requiem is designed so you can return to previously completed sections at any time using save files, catch up on the missing file, and it will count toward your overall progress. This means that if you load a later save, the file will already be there. Furthermore, your progress from the files also carries over to subsequent playthroughs.
Be prepared: there are a lot of documents in the game—a whopping 75 files, spread across four major locations. However, some of them are located in the same places. You’ll have to be careful and explore every nook and cranny. The situation is further complicated by the fact that the files are arranged in a specific order in the menu, but in the game itself, you’ll find them in a slightly different sequence. Again, if there are three or four documents in one room, they will all appear one after the other in the file list.
In this guide, we will try to avoid plot spoilers as much as possible, but there will still be some minor ones related to the events that are taking place.
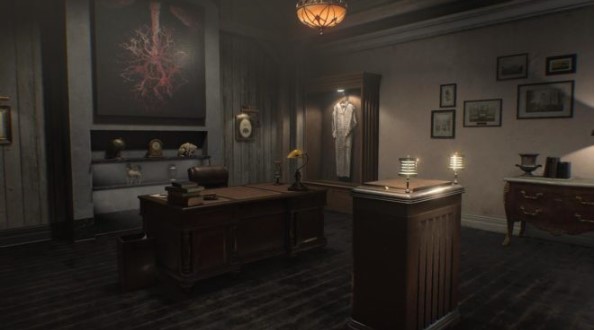
Renwood – all files and documents (6 pieces)
Document #1 – “Guide to Renwood”
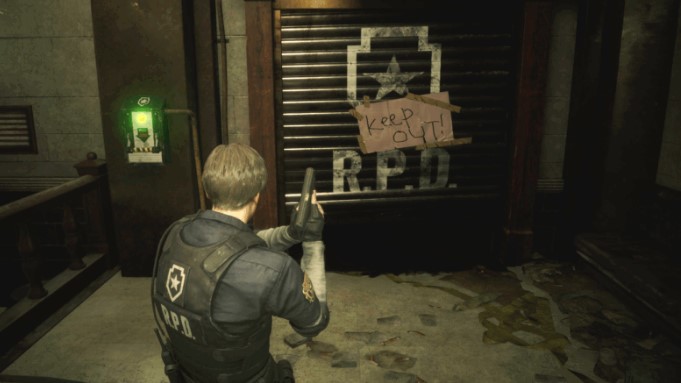
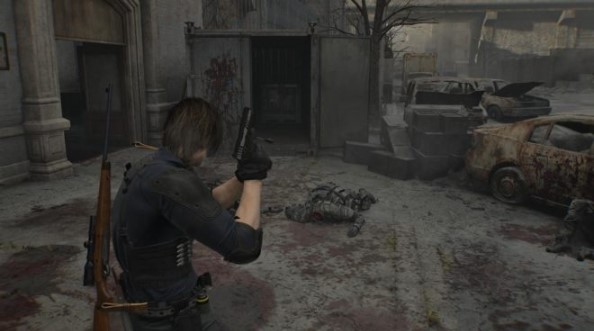
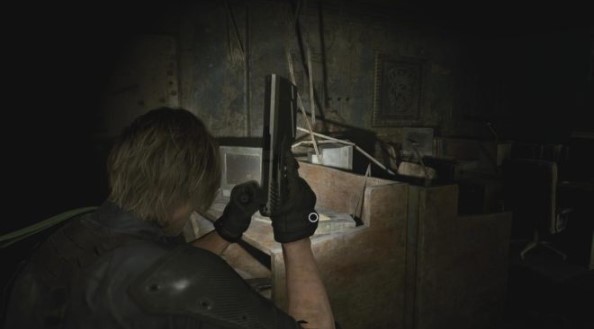
The first file you’ll encounter in Resident Evil Requiem. It can be found right at the beginning, as you navigate the streets of Renwood while controlling Grace Ashcroft.
Don’t go too far—the brochure is on the information board and contains some information about the city. If you’ve reached the missing persons posters, you’ve already passed it. So come back.
If the file was missed, it can also be picked up later while playing as Leon – right after he gets out of his Porsche and tries to catch up with Victor Gideon.
Document No. 2 – “Investigation Report”
This file automatically appears in your inventory, and the game directly prompts you to read it. It’s this report that Grace is using to connect to her ongoing investigation into the deaths at the abandoned Renwood Hotel —it serves as the starting point for the entire story.
Document No. 3 – “Hotel Brochure”
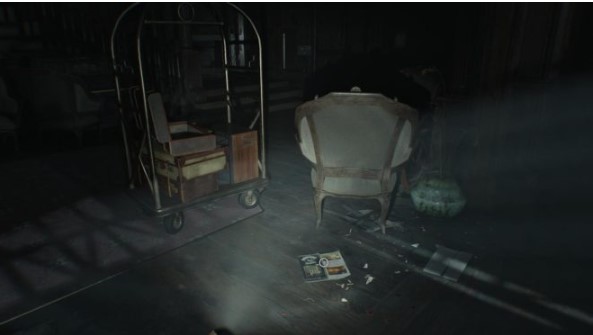
The file is located inside the Renwood Hotel. It lies on the floor among other charred papers. Unlike the others, this brochure is still legible—a grim reminder of the hotel’s former grandeur before the fire.
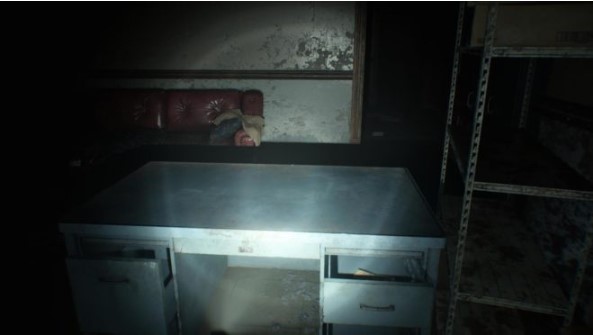
Document No. 4 – “Notice of Closure”
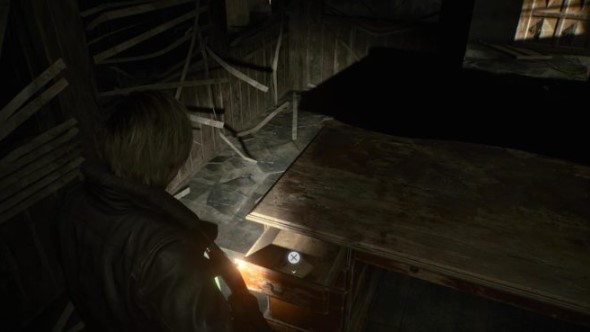
The only file in Renwood that requires a detour from the main path. It’s easy to miss due to poor lighting. Next to the reception desk in the lobby, there’s an office— a desk with a drawer inside. That’s where the file is located.
Also, don’t forget to examine the map hanging next to the table. It might come in handy later.
Document #5 – “Alyssa’s Diary”
Technically, the file is considered a storyline item, but you still need to retrieve it manually. After examining the space behind the painting, you’ll find a leather bag containing Alyssa’s diary. First, read the diary itself, then examine the floppy disk. Don’t pay any attention to it for now: it’s a “tool for the distant future.”
Document No. 6 – “Report on Victor Gideon”
The final file in Renwood is the easiest to obtain. It’s automatically added to your files menu during the cutscene introducing Leon (but does he really need an introduction?). After returning to gameplay, the report will already be in your journal.
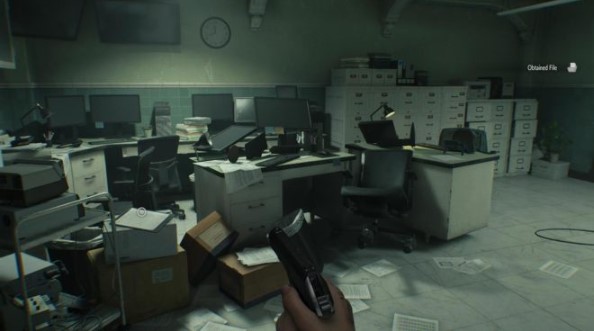
Rhodes Hill Medical Center – All Files and Documents (41 items)
Document No. 7 – “Observation Sheet”
After waking up in Rhodes Hill, when you’re controlling Grace, examine the current room—there’s a tablet with an observation sheet on a small table. Read it to find out what’s been happening to Grace all this time.
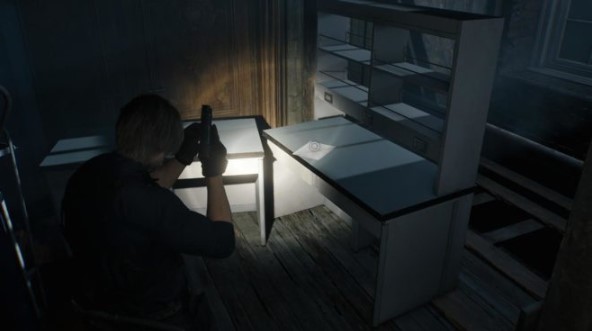
Document #8 – “Note on a Cardboard Box”
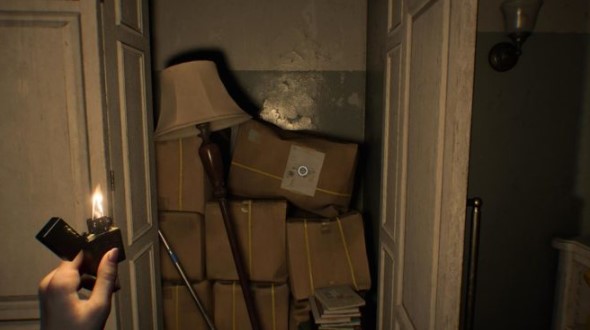
After receiving the lighter, proceed to the room you passed earlier but didn’t enter because it was too dark. Open the built-in cabinet and, after a short jumpscare, grab the file from the cardboard box.
Please note: the creepy children’s book on the table is not a file – it is only an in-game hint on how to confront the Girl.
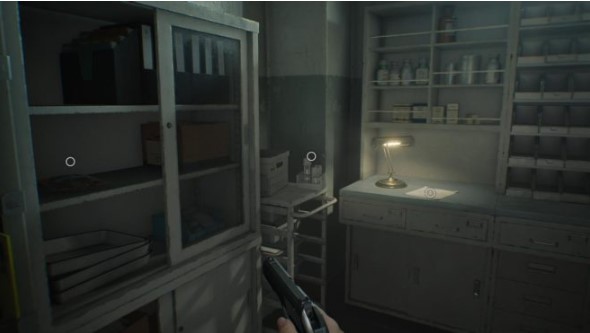
Document No. 9 – “Medical Center Brochure”
When you regain control of Grace after Leon’s segment and find yourself in the main part of the medical center, there will be a safe room called the “Security Office” nearby (containing an item storage area, a typewriter, and, if you’re playing on Standard difficulty or higher, an ink ribbon).
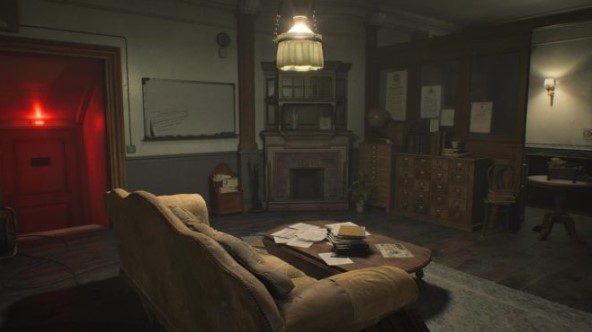
As you explore the premises, you’ll immediately notice a medical center brochure lying on the coffee table. It makes clear the influence Victor Gideon wields over the institution.
Document #10 – “Doodles on a Chalkboard”
In the same secure room, the “Security Office,” hangs a large white board. In the lower left corner is the following note—it contains information about the adjacent medical supply room.
Document #11 – “Folded Note”
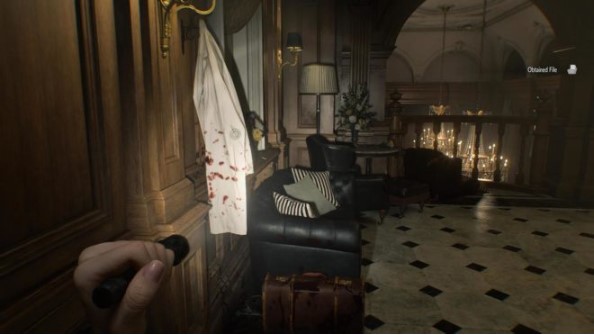
While exploring the medical center, you’ll find a white coat hanging on a coat rack next to the chairman’s office, in the gallery (on the balcony, just past the model of the center). Check the pockets—there’s a folded note inside, which will highlight an important object in the office: quartz.
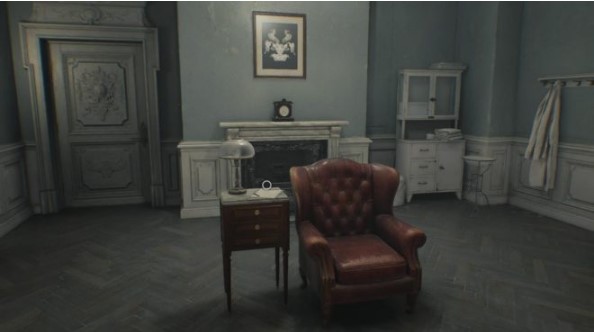
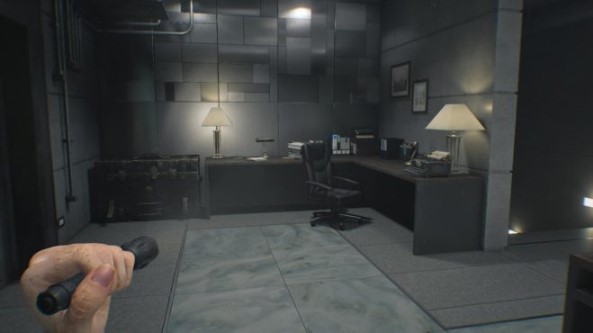
Document No. 12 – “Chairman’s Note”
In the chairman’s office, notice the diary with a torn-out page. In the next room, the office with the desk, there’s a pencil lying on the desk. Pick it up and return to the diary—running the pencil across the page will reveal the code for the moon quartz puzzle . Keep coloring until Leon stops, and you’ll eventually receive the file “The Chairman’s Note.”
Document #13 – “Copy of email to manager”
Still in the chairman’s office, before approaching the desk, examine the cabinet to the side (in the main puzzle room). On it is a copy of the email that explains access to certain areas.
Document No. 14 – “Note to the Chairman”
After picking up the pencil, examine the trash can in the corner of the office. Inside is a crumpled note signed with the initial “V.”
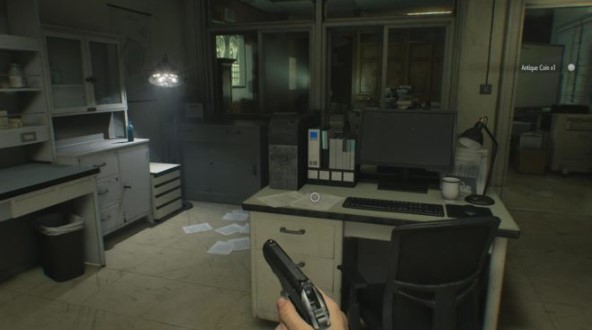
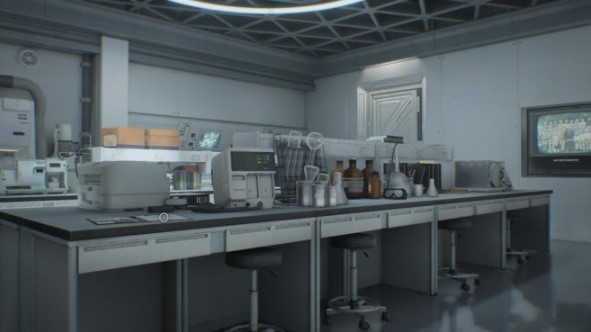
Document #15 – “Synthesis of Blood and Compounds”
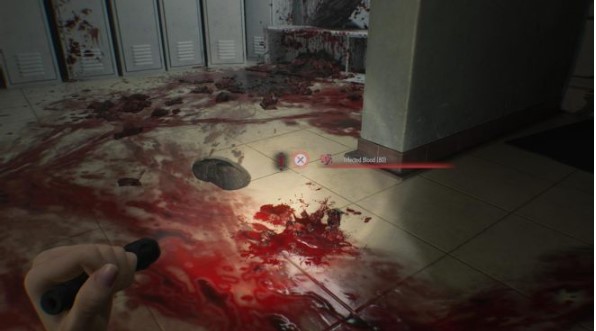
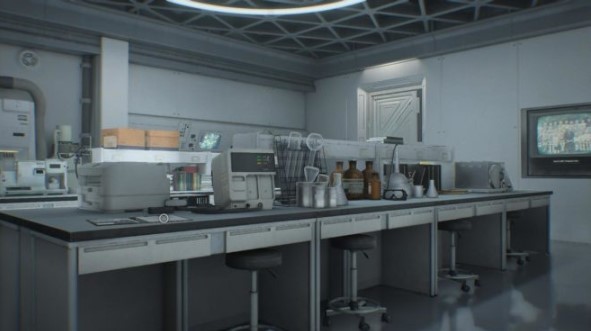
In the hematology lab, located just down the hallway of the east wing, if you come from the lobby through the reception area with the missing body. On the desk, look for a document describing the blood collection system—one of the game’s key mechanics. Nearby is a blood collection system, which will be extremely useful when playing as Grace. By collecting blood, you can synthesize ammunition and other materials from it. To obtain the necessary recipes, you need to find blood samples and analyze them with a laser microscope. One blood sample and the laser microscope itself are nearby, in the same hematology lab.
Document No. 16 – “Replacing safes”
In the waiting room, you’ll find an open safe containing ancient coins. Nearby, there’s a file pointing to the locations of other safes (but you’ll have to find the notes with the codes separately).
Document #17 – “Principal Investigator’s Report”
In the lead researcher’s office on the second floor of the east wing, next to the “Solar Quartz” puzzle, are several files. The first one indicates that the substance needed for the solution is located in the conference room just down the hall.

Document #18 – “Principal Investigator Photograph 1”
There are three photographs on the table in front of the puzzle. The first contains a clue to the puzzle on the cabinet where the solar quartz is hidden.
Document #19 – “Principal Investigator Photograph 2”
The second photo shows the team involved in the artificial organ transplant.
Document #20 – “Principal Investigator Photograph 3”
The last file in this room is a framed photograph. It clearly shows the solution to the Moon Quartz puzzle (you’ve already completed that objective).
Document No. 21 – “The code for the safe in the reception area”
On your way to the conference room, check the area with the destroyed lockers, just past where Fatty Chanke appeared. There you can get some blood and another file—the code to the safe in the reception area.
Please note: on the “Madness” difficulty, the safe codes will be different, so you will have to search for such files again.
Document No. 22 – “Patient Medical Record”
While searching for the corrosive substance, you’ll find a file called “Patient Medical Records.” It describes the various unique zombie types you’ve encountered so far in the game. At least now these creatures have official names. For example, bubbleheads.
Document #23 – “Spencer Study 1”
After opening the cabinet containing the solar quartz in the lead researcher’s office, you’ll find a leather journal. Inside is the next file, “Spencer Research 1,” written by Victor Gideon.
Document #24 – “How to Open an Organ Container”
The same leather journal contains another file: “How to Open an Organ Container.” It describes step-by-step how to open the organ container located in the garage. This is necessary to obtain a Level 2 ID Wristband.
Document #25 – “Entry from Victor’s Diary”
The file can be found relatively early, which may make the order of the documents in the menu appear out of order. Don’t worry. When you return to the Hematology Lab with the Level 1 ID Wristband, Victor’s diary entry will be in the back room.
Document No. 26 – “Notice of Construction Work”
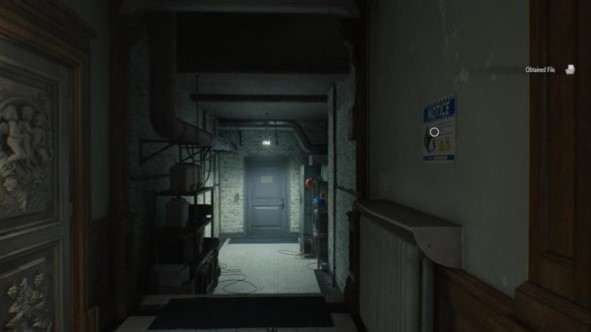
Shortly before entering the garage, a sign hangs on the wall in the hallway, opposite the exit to the stairwell that leads to the office and archives department. It’s a notice of construction work for the complex’s staff. If you move too quickly, it’s easy to miss the file.
Document No. 27 – “The code for the safe in the lounge bar”
Returning to previously inaccessible areas, you’ll find yourself in an office containing several important documents. One of them is the code to the safe in the lounge bar.
As with other safes, on the Insanity difficulty you will have to find the file again, as the combination will be different.
Document #28 – “Background Check”
In the same office, on one of the desks, lies a file labeled “Background Check.” After reading it, you quickly realize it’s about Grace Ashcroft—and the information in the report is frighteningly accurate.
Document #29 – “Cleanup Team Report”
Next to the office is the archives department. One of the boxes contains a cleanup team report detailing the destruction of evidence in a specific case related to current events.
Document #30 – “Secondary Mutation”
After obtaining a Level 2 ID bracelet, you’ll gain access to the isolation ward, where you’ll find a puzzle involving a star quartz. Emily will solve it for you, so it’s important to clear the area before bringing her here.
As you move through the detention center, you’ll find several documents. One of them, “Secondary Mutation,” is lying among the junk outside the security chief’s office.
Document No. 31 – “Nurse’s Journal”
In the same area of the isolation ward, there is another file on the table – a nurse’s journal.
Document #32 – “Cases of Eating Disorders”
After switching to Leon, immediately after the cutscene with Victor, follow the main route, but don’t go up to the attic right away. If you start moving the white cabinet, you’ve gone too far.
Just in front of the attic entrance is a table with a file labeled “Eating Disorder Cases” on it.
Document #33 – “Basement Safe Code”
Continuing to play as Leon, you’ll be able to open cabinets with warped doors. The first such cabinet, accessible immediately after exiting the attic, contains the code to the safe in the basement.
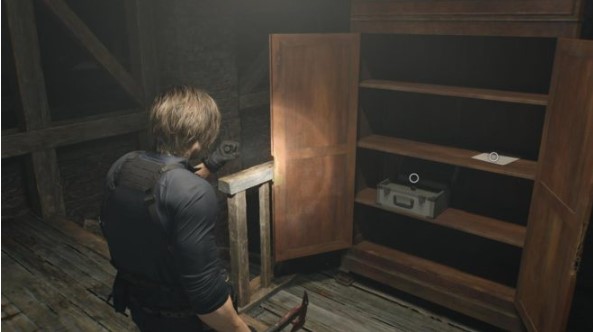
Leon doesn’t interact with safes, so this file can be used for Grace in the future .
Document #34 – “The Dishwasher’s Note”
A little further down the hall, behind the chairman’s office and before the entrance to the lounge bar, is another cabinet with warped doors. Inside is a note from the dishwasher, which provides additional incentive to deal with the butcher cook (he has a key to the kitchen pantry).
Unless, of course, you’ve already destroyed it using the Hemolytic Injector while playing as Grace.
Document #35 – “Special Order for Raccoon City”
Once you reach Victor Gideon’s office, a cutscene will trigger, during which you’ll receive the file “Special Order for Raccoon City.” You can read the full version later in the files menu—though that’s a bit of a stretch, as much of the information is classified.
Document #36 – “Raccoon City Syndrome Report”
During the same cutscene, a report on Raccoon City Syndrome is automatically added. After returning to character control, the file can be easily examined in the documents menu—all information is available.
Document #37 – “Last Words of an Employee”
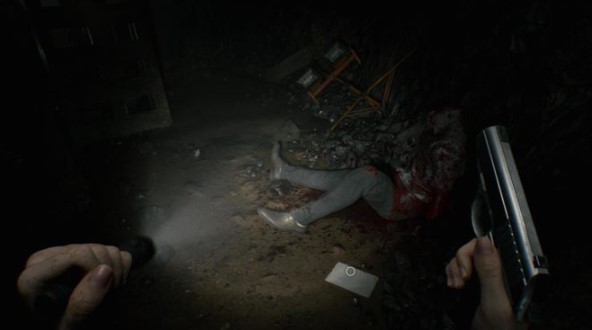
Continuing to control Grace in the basement beneath the Rhodes Hill Medical Center, you’ll almost immediately stumble upon a corpse. Directly in front of it lies the next file, containing the employee’s final words, one of the most macabre documents in the game.
Document #38 – “Operation to Eliminate ‘Girls'”
In the basement security office, on a workbench next to a construction helmet, lies a file titled “Operation to Eliminate ‘The Girl.'” The document confirms what has already become clear: The Girl cannot tolerate bright light.
Document #39 – “How to Open Cameras”

After running through the containment cell block and passing Emily’s cell at the end of the hallway, you’ll see a sign on the wall. This is the “How to Open the Cells” file, explaining how to rescue Emily .
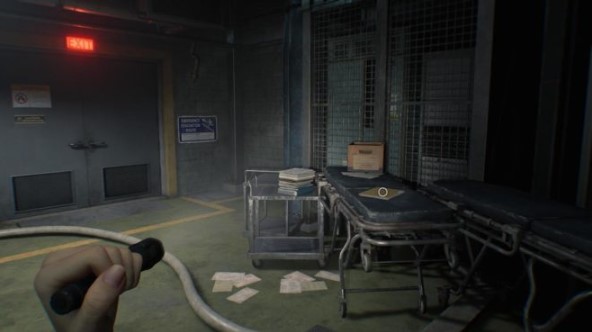
Document No. 40 – “Security Guard Report”
This area doesn’t have an official name, but you’ll find a locked forklift and a connector here. In the small room next to it, behind the forklift, on a table, is a security report. You’ll also find the forklift key there to use it.
Document #41 – “The Locksmith’s Note”
In the workshop, which requires a connector plug to access, a Mr. Raccoon statue stands right in front of you. There’s also a note from the mechanic, directing you to where you can find the necessary tools.
Document No. 42 – “Visit Record”
After you rescue Emily and discover a possible path to the surface, you’ll need a key. It’s hidden in the house, and inside, on a small bar counter, lies a book—a record of the visit.
Document No. 43 – “Note on the results of the study”
Once in the VIP lounge, examine the table—there’s a note on the research results lying on it. Nearby, you’ll notice an hourglass. It’s connected to “The Final Riddle,” the game’s most challenging puzzle. Turn it over to see the sand pour out. On the inside, you’ll find a clue to find the code.
Document #44 – “Spencer Study 2”
After an unexpected elevator ride, you’ll find yourself in a save room. Next to the drawer is the next file, “Spencer’s Research 2,” which continues the contents of the previous document and once again reveals the results of questionable experiments.
Document #45 – “Record of Subject 170”

In the “Sampling and Testing” area, on a bench lies the file “Subject 170 Log”, which sheds light on one of the creatures inhabiting the complex.
Document #46 – “Grace Ashcroft’s Blood Test Report”
In a private lab, on a gurney directly in front of a computer and near a door marked EXIT, lies Grace Ashcroft’s blood test report. The document speaks for itself and only heightens the general sense of unease.
Document #47 — “Instructions for the Ceiling Hatch”
The final file in Rhodes Hill appears after a tragic incident. Running into the storage room, you’ll see a grim cutscene. Between the typewriter and the drawer lies the instructions for the ceiling hatch.
It is this document that explains how to open the hatch and fill the room with light—the very light that will finally solve the problem with the Girl.
Raccoon City Files (18 files)
Document #48 – “Raccoon City Incident Report”
The next time you play as Leon, you’ll arrive in Raccoon City. Fortunately, this first file is automatically added to your menu upon arrival, as indicated by a voice prompt. The “Raccoon City Incident Report” document is primarily intended for those starting the series with Resident Evil Requiem: it briefly explains what happened in the city previously.
Document #49 – “Raccoon City Incident Newspaper”
Just a few steps from where you start this level, there’s a newspaper lying on the road – a frozen-in-time issue about the Raccoon City incident.
Document No. 50 – “Orders for the Engineering Detachment”
After you locate the BSAA Central Camp and restore power to the nearby generator (the only one on the level that’s fully fueled), a file called “Engineering Squad Orders” will appear on your desk. It details the parts needed to assemble the detonator and where to find them—which is very handy, since that’s exactly what we’re about to do.
Document #51 – “Where are the batteries stored?”

While in the parking lot, you’ll see a battery storage box—you’ll need two to open the gate blocking your way. There’s also a zombie nearby, battling the gate, which you can deal with as you please. Inside the box is the following file—”Where are the batteries stored?”—which details where to find the necessary batteries.
Document No. 52 – “Inventory List”
After a cutscene revealing the fate of one military unit, you’ll find one of their BSAA 01 cargo containers—opened and covered in blood. Taped to the box inside is a file called “Inventory List,” which lists the remaining containers and their contents.
Document No. 53 – “Note for the Engineering Detachment”
On the roof of the Cedar Creek Apartments, you’ll find a detonator part—it’s broken. Next to it is a “Note for the Engineering Squad,” which tells you where to find a repair kit.
Document No. 54 – “Police Station Perimeter Report”
When you finally return to the Raccoon City Police Station, it becomes clear that the military used it as a base, leaving behind numerous boxes and records. One such document, the “Police Station Perimeter Report,” is lying on a box directly in front of the statue.
Document #55 – “Top Secret Operation”
Once free to explore the police station, you’ll follow a fairly linear route that leads through the west office. On the desk of an old acquaintance (Marvin) is a book describing a “Top Secret Operation”—a special assignment for a special rookie cop from 1998 .
Document No. 56 – “Event Report”
After heading to the optional “Command Post” room, you’ll see a document called “Event Report” pinned to the board.
Also, after this file, a document will appear in the list marked as missed. It will be received much later, so don’t worry and don’t stop—the main thing is, don’t leave the police station just yet!
Document No. 57 – “Library Card”
Climbing the stairs to the top floor, we’ll find ourselves back in the familiar office we once saw in its heyday. Just remember to go straight to the STARS office through the hallway ahead, not the library on the right. Enter Wesker’s office on the left, and you’ll be able to open his desk drawer to find a library card. Interesting book choice, Wesker.
Document #58 – “Barry’s To-Do List”
Still there, in the STARS office, on Barry’s desk (it’s on the left) lies “Barry’s To-Do List” – a list of things he never got around to doing when the city plunged into chaos.
Document #59 – “Treasure Hunt – Clue 1”
Chris Redfield’s jacket hangs on the wall in the STARS office. Interacting with it opens the file ” Treasure Hunt Clue 1,” left by Barry for the other officers.
Document #60 – “Treasure Hunt – Clue 2”
In this same room, just before the exit, there are lockers. Open them to find Barry’s second clue, “Treasure Hunt Clue 2,” after which you can complete his mini-quest (search the command center for the key, but only after you’ve found both notes!).
Document No. 61 – “Photograph”
After leaving the STARS office, head to the library (where many will likely have flashbacks to Mr. X) and go upstairs. Cross the bridge—you can interact with one of the books on the shelves to the right. But only with Wesker’s library card! Inside the book is “Photograph,” the next file, which features Rebecca Chambers and a hint leading back to the STARS office (RRR is the briefcase code).
Document #62 – “Tag from the Leg”
When you play as a little girl similar to Emyo, the emphasis is on stealth and escape. Once you reach the underground chapel, you’ll discover several coffins. Open one and take the ankle tag of a seven-year-old girl named Charlotte.
Document No. 63 – “Results of Series No. 60”
Continuing to play as Emily, you’ll find yourself in the Umbrella Research Lab. Immediately upon entering, you’ll find the file “Series 60 Results” on the table in front of you.
Document #64 – “New Researcher’s Notebook”
Still in the same lab, on the opposite table, lies another document: “New Researcher’s Notebook.” It seems even mad scientists are not immune to strange attachments.
Document No. 65 – “City Guide”

The final document in Raccoon City can be obtained after you regain control of Leon. After the cutscene, don’t rush to leave the police station—in fact, don’t even go downstairs. Return to the hall from the west wing, staying on the second floor, turn around and find the file lying on the bench. It’s the “City Guide”—the same one we encountered in the Resident Evil 2 remake .
ARK files (10 pieces)
Document #66 – “N0-AH Status Report”
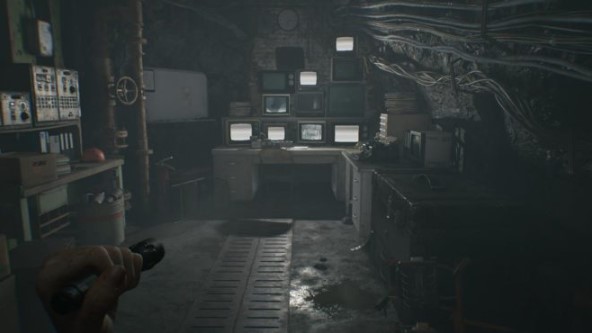
Upon arriving at the ARK, you’ll have a lot to take care of before entering the complex. Once inside, head to the staff room on the main floor near the statues. It’s a safe room, and one of the wall screens displays the file “Status Report N0-AH.”
Document No. 67 — “Product Catalog 1 (2026)”
After climbing the stairs at the entrance, immediately turn right—into the guest room. One of the screens displays the file “Product Catalog 1 ( 2026 ),” showcasing various biological weapons for sale. The prices are staggering, making you wonder why people are willing to pay so much for such a twisted semblance of power.
Document #68 – “Raccoon City Bioweapons Research Report”
In the same room, on another screen, is the file “Raccoon City Bioweapons Research Report”, which reveals the backstory of ARK and the research being carried out there .
Document No. 69 — “Product Catalog 2 (2026)”
In the guest room, you’ll also find the file “Product Catalog 2 (2026)” displayed on another screen. Some of the faces in it might look familiar.
Document No. 70 — “Access Log: Minutes of the 51st Meeting”
When you regain control of Grace and help Leon lift the bucket at the junkyard, you’ll be free to explore the complex. The observation room contains a safe and the file “Access Log: 51st Meeting Minutes,” which is displayed on the screen. Crafting recipes , which will be useful in upcoming encounters, are also found here.
Document #71 – “Safe in the Sterilization Chamber”
Upon descending into B.O.O. 05, you’ll notice a row of openable containers. They can be opened to reveal loot. The first one, already open in the hallway, contains the code to the safe in the sterilization chamber. Keep in mind that this code will be different on higher difficulty levels.
Document #72 – “Safe in the Observation Room”
As you continue opening containers in B.O.O. 05, you’ll discover another file—the code to the safe in the observation room. It’s the same on standard and easy difficulties, but different on “Madness.”
Document No. 73 — “Access Log: Minutes of the 1st Meeting”

The final document you need to find manually is “Access Log: Minutes of the First Meeting.” It’s displayed on a screen in the archives behind the red door you opened with two spheres, just in front of the main computers. The file is hidden on the right side of the room and is easy to miss if you head straight to the story point.
Document #74 – “Alyssa’s Interview Notes”
After the cutscene with Grace in the archive, you will automatically receive “Alyssa’s Interview Notes” – they were on the floppy disk that you picked up at the very beginning of the game.
Document #75 – “Letter from Patrick”
“Letter from Patrick” is also awarded automatically after the cutscene with Grace (after a short period of playing as Leon). This completes the collection of all files in the game, and you’ll earn the “Case Closed” achievement .