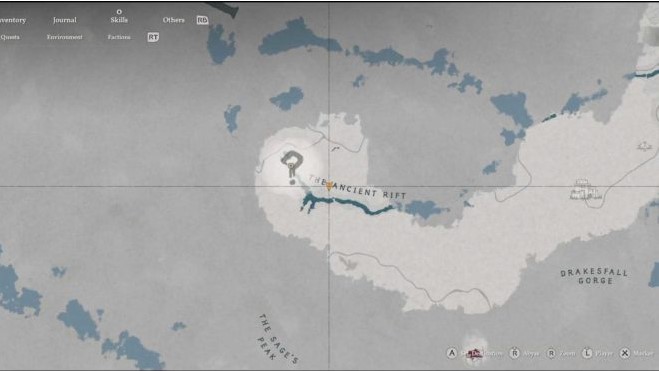
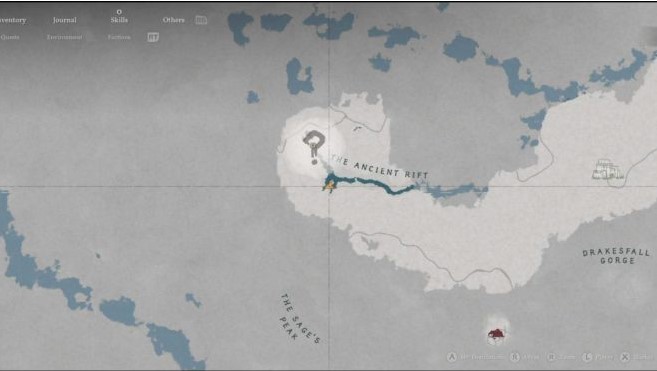
The game world, the continent of Pyvel in Crimson Desert, is vast. But fortunately, it hides many interesting things, including dozens of simple and complex puzzles. The Labyrinth in the Ancient Rift is one of them. Although the name contains the word “labyrinth,” you’ll actually find yourself in a vast gorge with numerous ledges and waterfalls, rock formations, and other hidden alcoves that you must navigate.
If you solve the puzzle , you’ll unlock the Abyssal Stone as a fast travel point and obtain the Abyssal Artifact needed to upgrade Cliff, Damiana, and Unka’s skills. It may take a while to figure out exactly what you need to do here. Fortunately, with this guide, you’ll be able to quickly navigate the Ancient Rift labyrinth and earn your well-deserved reward.
Engraved stone #1
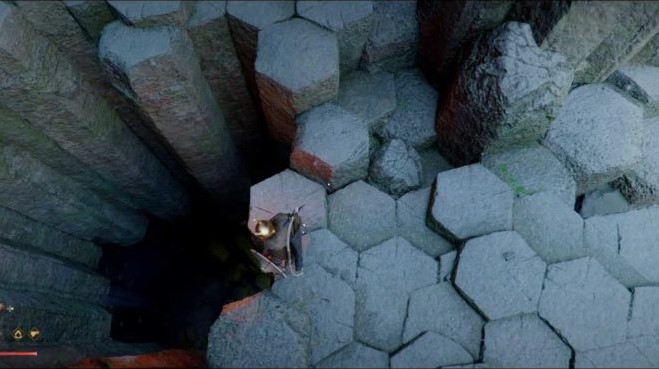
There are three hidden niches located behind rune-engraved stone blocks. You can start with any of them, but we’ll choose the easiest one. Each wall has several stone columns that need to be lowered to enter and retrieve the engraved stone. Although there is a way to open it, the fastest method is to simply walk around the columns. It’s located close to the bottom of the gorge.
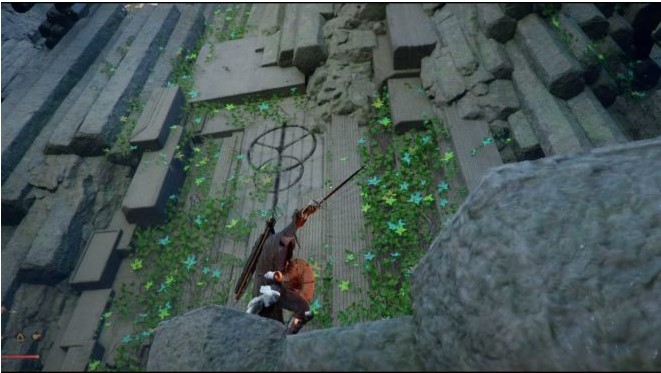
From the wall, head up. At the very top, above the columned door, there’s a hole you can drop into. Once inside the secret alcove, walk toward the glowing side wall—it will slide open, revealing an engraved stone. Taking the stone will automatically open the door itself.
Engraved stone #2
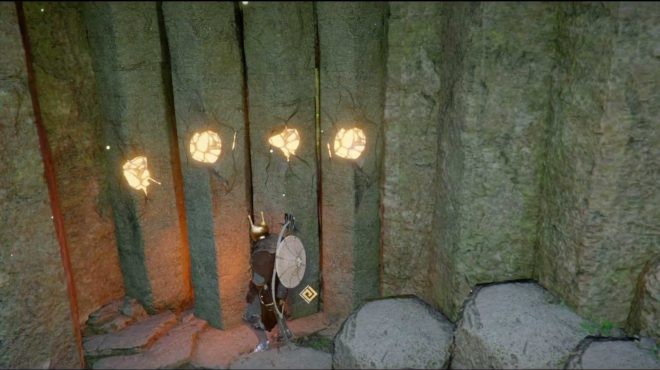
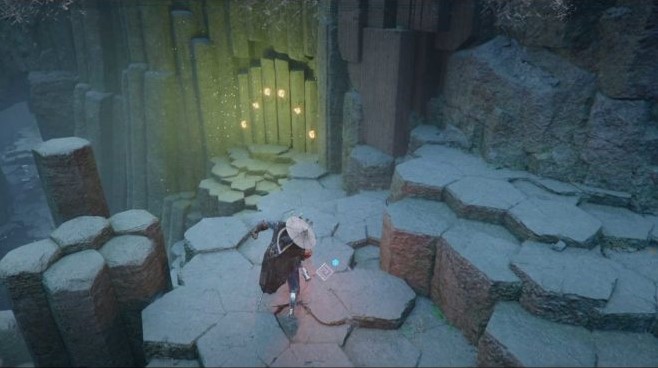
The next structure is located east of the previous one, across the river, on a higher elevation. It has four columns with glowing runes. Using the “Reflect Light” ability, you can move the columns by shining light on them. It’s very simple: shine light on the third stone, and the three columns on the right will rise, revealing a secret niche. Then, as with the previous niche, retrieve the engraved stone from its hiding place.
Engraved stone #3
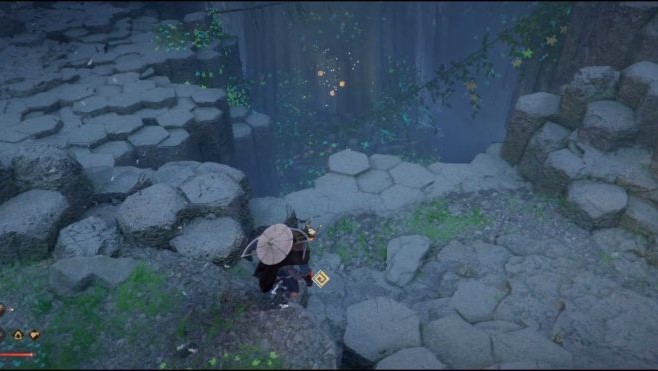
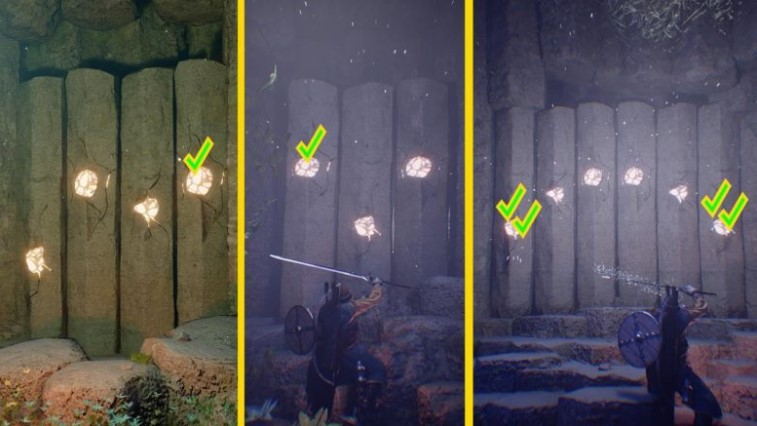
The final structure is located on the riverbed south of the current location, between two waterfalls. Looking down from the previous spot, you’ll likely spot it. The passage consists of three columns with glowing runes.
Depending on which stone the sword light is directed at, the columns will move differently. As in the previous cases, you need to align their tops at the same level. Think of three stages: high, middle, and low. For the puzzle, the correct position of the stones is: middle, low, middle.
If you don’t know the solution in advance, you might get confused. But there’s a simple solution: simply shine the light on the left stone—all three columns will move into the correct position, revealing the passage behind them.
Now that you have all three engraved stones, head to the beautiful waterfall to the north, where the Mysterious Energy area itself is located, and insert them into the three matching slots. This will open the Abyssal Stone, from which you can collect the artifact and simultaneously activate another teleportation point.