In the middle of Chapter 7, “Technical Issues,” in Hail to the Rainbow, you’ll meet the friendly robot Samodelkin, who’s ready to help Ignat, but he needs Alexander Sechenov’s schematics. You can find them at the very top of the Cascade, in the library.
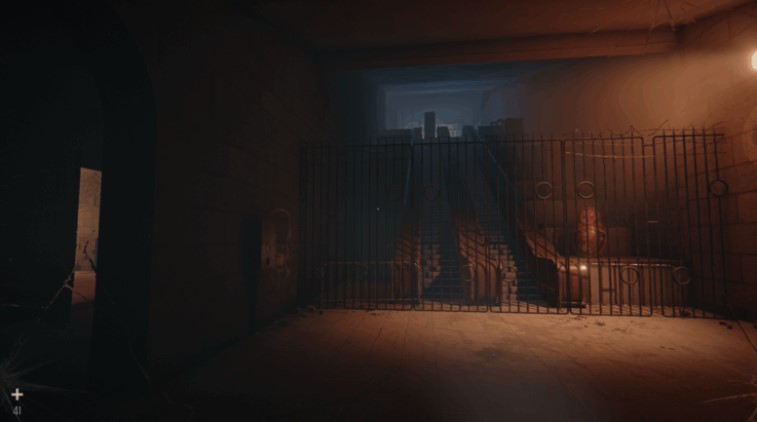
Let’s imagine you’ve already turned on the power, solved the pipe puzzle , and obtained the escalator key. Return to the locked escalator with the grate just below. Now you’ll need your drone . Activate it and fly it over the gates and escalator flights. At the very top, you’ll notice a crate. Use your drone to push it—it should fall down and land right on the metal grate. Then, head to the control panel located to the left of the locked escalators and insert the key you found earlier. Once the mechanism comes to life, the moving belt will push the fallen crate, causing it to break through the barrier. Climb up, then immediately turn left and emerge into a new open area. Move forward to the stairs hidden behind the gate on the left—at this point, a cutscene will trigger.
Once the cutscene ends, carefully examine the left side of the room—there’s shotgun shells there. Almost immediately, two new enemies will burst in— Pawn-type robots . Quickly draw your shotgun (press “5”), aim with the right mouse button , and fire with the left, trying to keep them at bay. However, they’re not always easy to hit with a firearm, so you can disassemble them with a wrench if you prefer. After dispatching the enemies, inspect the left bench—it contains additional parts for crafting ammo and medical syringes.
Continue through the room where Tamara Vasilyevna first appeared and where you found the shotgun earlier. Then turn right—up ahead you’ll see a closed gate leading to the next open area. Deploy the drone again, fly through the gate, and examine the left wall of the building: there’s another QR code there. After scanning, the image will be added to your gallery.
Continue on your way: round the corner and go up the escalator. Chemicals are hidden behind the red barrels on the right. A little higher and to the right is a shop with parts, and even higher up, on the stairs to the left, there are shotgun shells—a good opportunity to replenish your supplies before the next events. Once you’re prepared, enter the door on the left. Around the first corner, you’ll come across a small red crate with a lock . To open it, you’ll have to complete a minigame: press the E key when the marker aligns with the marks on the circles. Your reward will be a medical syringe. Then, go through the next door and enter the library. Approaching the pedestal with three statues will trigger a boss fight .
You’ll be attacked by two red Pawns and Teacher Tamara Vasilyevna herself, familiar from the previous cutscene. Keep moving and don’t linger in one place—this is critical. First, deal with the two Pawns, while simultaneously searching the arena for ammunition. If you’re low on ammo, you can finish the boss off with a regular locksmith’s wrench. After defeating her, return to the pedestal—now you’ll need to correctly position the figurines. The clue was already shown on the video projector recording a few floors below, where the figurines were in their original positions.
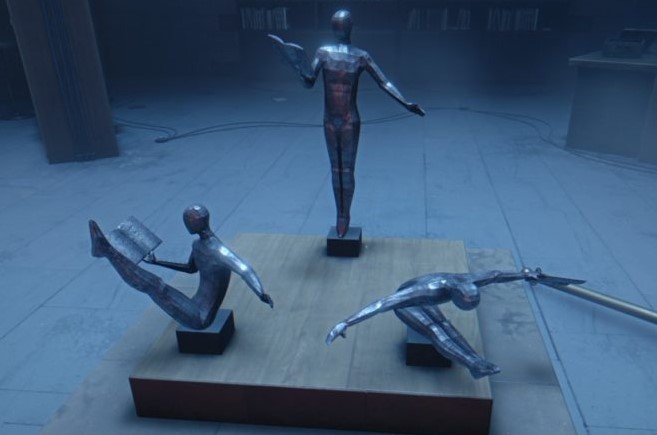
Keep in mind that some buttons move two statues at once, while one controls only one. First, press the bottom button until the tall statue is positioned behind the others. Then, press the top-middle button four times—the statue with its legs raised should be in the near left corner. After that, press the top-left button five times to make the tall statue face you. There are two possible options here, but you want the one that places the book to the left of the screen. Finally, press the top-right button once—the statue with its arms outstretched will face the near right corner. If everything is set up correctly, a cutscene will trigger, and a massive bookcase will open before you. Take the “Schemes” book from it. A door to the right of the bookcase will open—go through it and down the stairs to the open area. Next, head to the stairs on the right side – another scene will start, and it will turn out that someone has activated the Fly Agarics, so you will have little time.
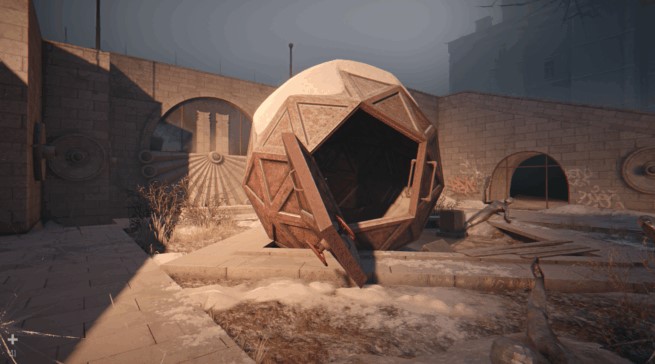
You need to reach the protective capsule on one of the lower platforms as quickly as possible. Hold SHIFT to speed up. Run to the end of the right staircase, jump into the gap in the floor, and go down to the lower escalators. From the statue, turn left and then left again—you’ll find yourself in a room with a video projector. After passing through it, turn right, then immediately left—the capsule will be in front of you. Get close to it to trigger a cutscene: Ignat will automatically close the cover, after which the ejection will begin.
Once the spill is complete, return to the friendly Handyman’s workshop. Approach him and, when he mentions the blueprint, hand over the item by moving your mouse left or right. This completes the current chapter.