There are a total of 215 collectibles to find in the animated shooter Mouse: PI For Hire, and in this guide, we’ll explain how to find them all to achieve 100% completion. We’ll also point out any trophies and achievements you might miss.
Collectibles in Mouse: PI For Hire are divided into the following types:
- 38 newspapers – the achievements “Newsboy” (5 items), “From Cover to Cover” (10 items), and “Special Edition” (all newspapers). You can find a variety of newspapers with different articles in Mouseburg. A couple of newspapers can be purchased from the peddler near Jack Pepper’s office at various points in the game. Collecting newspapers will help you better understand the goings-on in Mouseburg and expand your lore knowledge. When purchasing newspapers from the ammo store , you may find duplicates of newspapers you already purchased, so make sure you don’t already have the newspaper you need.
- 41 baseball cards – the achievements “Starter Deck” (5 items), “Battered Bat” (10 items), and “Card Shark” (all items). If you enjoy minigames within games, we have good news: Mouse: PI For Hire features a baseball card minigame, similar to the game itself . The bars feature a table with a baseball field and a woman willing to play for $25. You lose the money regardless of the outcome of the game , but you receive a special token for winning. You can spend it in the in-game slot machine in the bar. Collect 20 tokens and use them in the machine to unlock a secret weapon. There are 3 types of cards – pitchers, batters, and talents. As the game progresses, you switch roles, playing as the pitcher and batter in different innings. We’ll cover the minigame in more detail in a separate guide.
- 29 comics — achievements “Laughter Through Tears” (5 items), “Comical – Too Scary” (10 items), and “Backstory” (all comics ). You can collect different parts of the “Private Detective Mouse” comic. Each piece contains several new frames to examine and read. The comics’ order in the comic menu differs from the issues you see in the game. For example, “Comic 6” is supposedly the sixth part of the magazine, but since you previously obtained the cover, it’s in the seventh position.
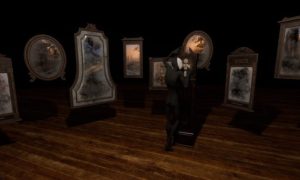
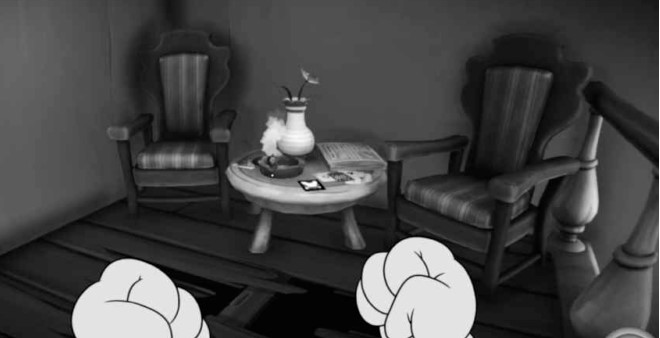
- 10 secret figurines – these don’t have any achievements associated with them, but they are the most difficult collectibles to find. All figurines will appear on shelves in the detective’s office .
- 87 Blueprints – To earn the “B.U.M.C. – Period!” achievement, you need to find a total of 72 blueprints. They’re also needed for the “You’re a Fart!” achievement (upgrade one weapon to level 3). You give the blueprints to Tammy, who, after the first few missions, will open her workshop on the streets near the detective’s office. This will allow you to upgrade any weapon. There are three upgrade levels for each weapon: Level 1 – 1 blueprint, Level 2 – 3 blueprints, Level 3 – 5 blueprints.
- 16 additional clues – these clues will need to be found separately from the main storyline. They are needed to unlock several achievements: “So Who’s to Blame?”, “Poor Betty’s Burden,” “The Adventures of the Missing Prestidigitator,” “The Mystery of the Missing Shrews,” “Smoke in the Mirrors,” “Our Smaller Brothers,” and “Lurex Boulevard.”
If you miss a newspaper, baseball card, or comic book during any mission, you can purchase a collectible at the store. One can be found in the “Detective’s Office” location, as well as in any of the pubs scattered around the in-game map (if traveling by car).
The only exceptions are baseball cards, which you can receive as rewards for completing certain side missions, or any cards found in the last two missions, as from this point on, access to the shops is blocked. Secret collectible figures and blueprints cannot be purchased in the shop.
Some collectibles were never found in the in-game locations, and this will be noted in the quest description. However, as mentioned above, missing items can be easily purchased at the store near the detective’s office after completing the quest, so you’ll still be able to collect everything even if you missed something during the mission.
You can’t return to previously completed locations, so proceed with caution and be careful. There will be no New Game+ mode, and upgrades or collected collectibles cannot be carried over to your next playthrough. Everything must be found in one go, so for convenience, we’ve organized the collectibles in one guide, in chronological order! We’ll cover side quests, which also have associated achievements, in detail in a separate guide.
Keep in mind that some baseball cards are only sold in the store (these are the $500 and $1000 cards with the same name). If you lose a lot of items in locations and then buy them in the store, unfortunately, you simply won’t have enough money to buy everything!
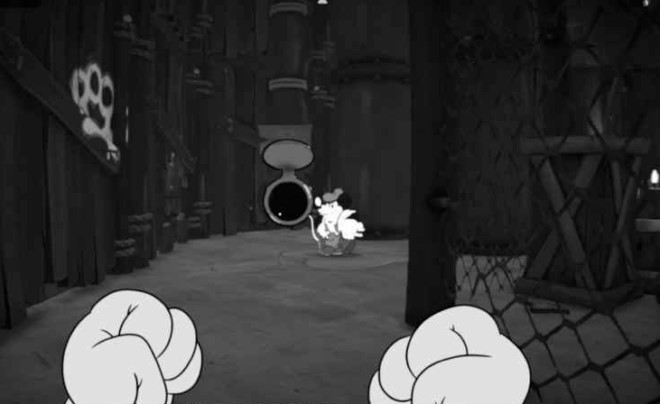
Plenty of mice, little hope (Der Hartzerburg)
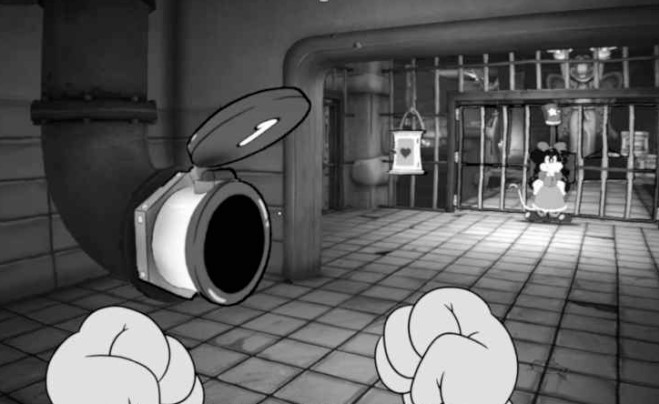
Comic 1
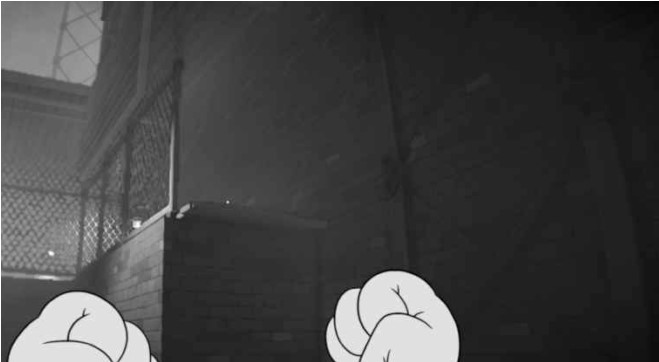
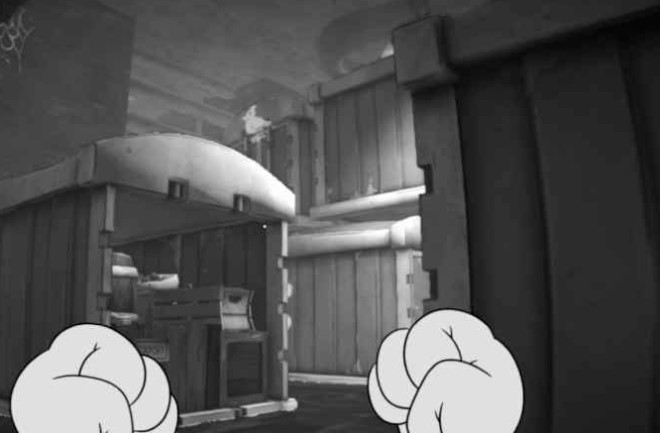
From the casino’s gaming room with the rotating roulette floor, climb the steps to the next room, then face the counter on the left. Make your way through the open vent and pick up the collectible at the very end.
Comic 2
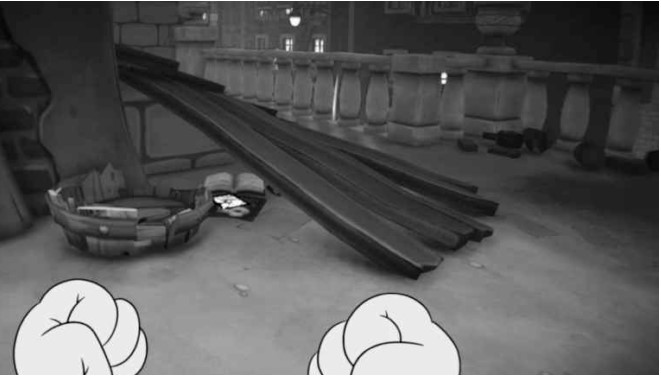
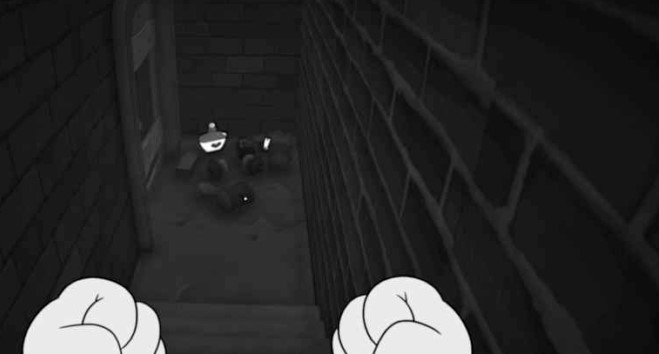
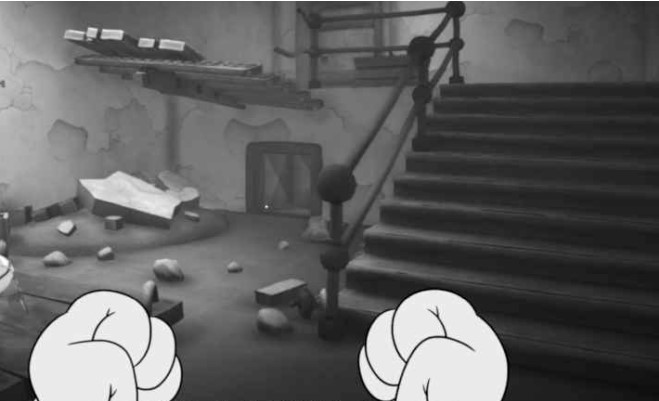
After you see the villain you’re pursuing descending the elevator, go up the stairs. Another collectible is lying on the floor under the rubble.
Drawing 1
After finding the previous collectible (Comic 2), head into the next room and find the blueprint inside the first hackable safe.
Disappearing Trick (Vaudeville)
Newspaper 1
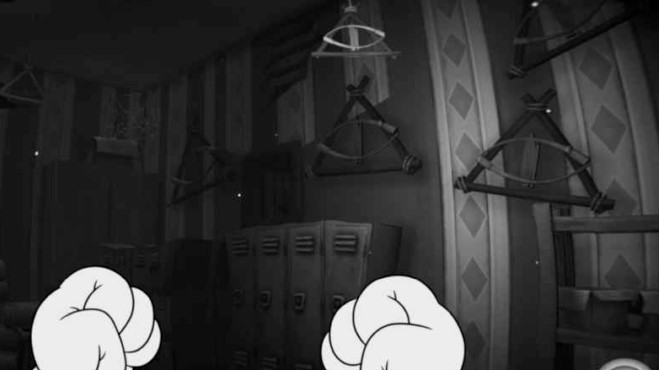
After showing your ID to the Myshburg police lieutenant , go through the door. Look in the slightly open locker on the right at the entrance to the dressing room to find a newspaper.
Comic 3
After going through the air vent backstage, use the lever on the far left to slide the curtain aside. The collectible is on one of the seats next to the rookie police officer.
Missing Evidence “Bandela Poster”
Inside Steve Bandel’s dressing room, look at the poster hanging on the wall.
Baseball Card 1
After encountering the first enemies in this mission, head up the stairs from where they came in and find the collectible on the table at the top of the stairs. Pick it up before heading through the door.
Baseball Card 2
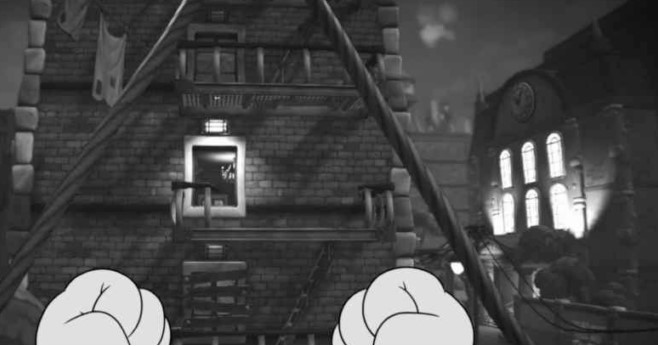
Once you reach the multi-story apartment building, climb the first staircase and break the second-floor window to reach the balcony. Break another window to enter one of the apartments; the collectible is on a stool near the blocked front door.
Drawing 2
Still in the same apartment building, shoot the crate blocking the bathroom door to get the attic key. To do this, stand against the right wall where there’s a hole. Then use the attic key on the locked door of the stairwell you entered from to find the blueprint on the table.
Comic 4
After exiting the apartment building back onto the street and dealing with the enemies, go to the right end of the road and look for the collectible on the bench.
Drawing 3
Once you’ve made your way inside the subway station , past the regular commuters, and to the next typewriter, you’ll find a blueprint on a nearby table.
Drawing 4
As you progress through the subway station, several enemies will approach you on a train and attack. After you deal with them, climb inside the train and exit through the far left door to reach the tracks and find a hackable safe containing the blueprint.
Drawing 5
In the same room where the previous blueprint was, enter the bathroom under the stairs and look for the collectible on the table.
Newspaper 2
Inside Betty’s apartment, it’s on the kitchen table. Pick it up before leaving the magician’s assistant’s apartment.
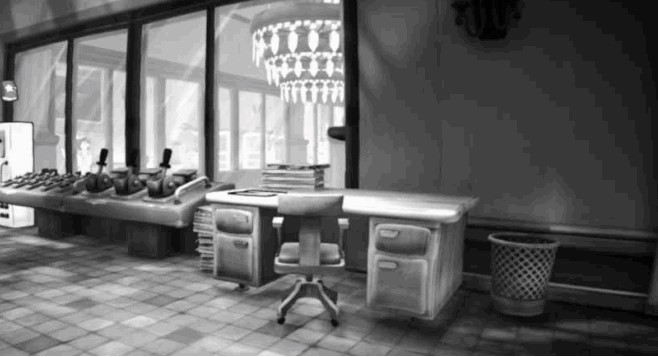
Collectible figure 1/10
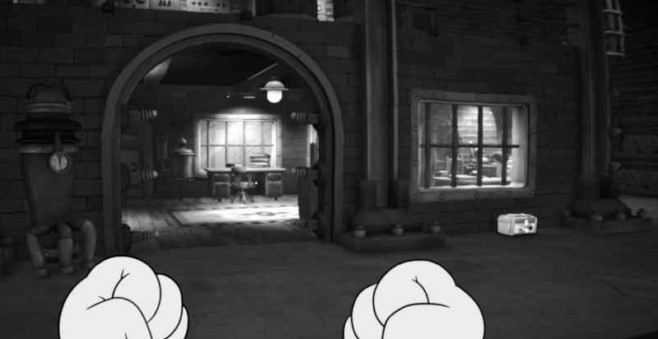
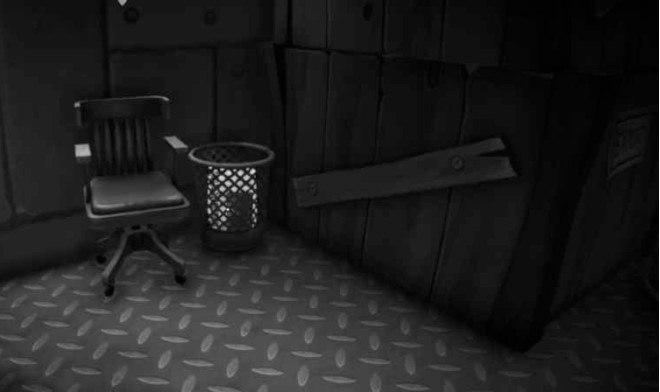
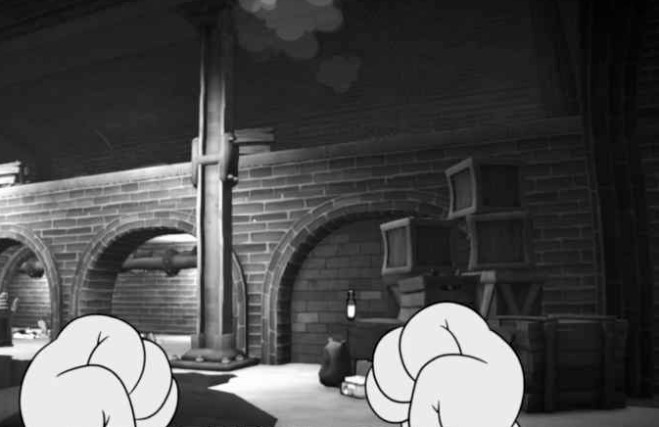
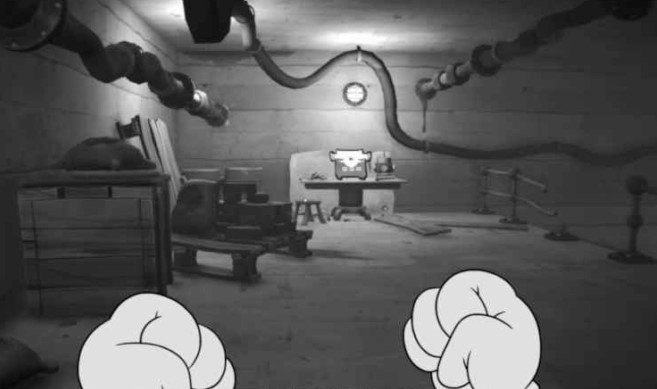
When you first reach the private detective’s office, enter the “Little and Big” bar and head to the kitchen. Open the door using the lockpick and head down to the basement to find your first collectible figurine on a stack of books .
Baseball cards – 8 pieces!!!
You can purchase them at the shop in the detective’s office or at any of the pubs scattered across the Mouseburg map. You can also buy any missed collectibles here. Four cards cost 500 coins, and the remaining four cost 1,000 coins. You don’t need to buy them now; you can gradually acquire them as you visit the shop after each mission. However, keep in mind that if you spend coins on missed collectibles, you won’t have enough money to buy these eight cards.
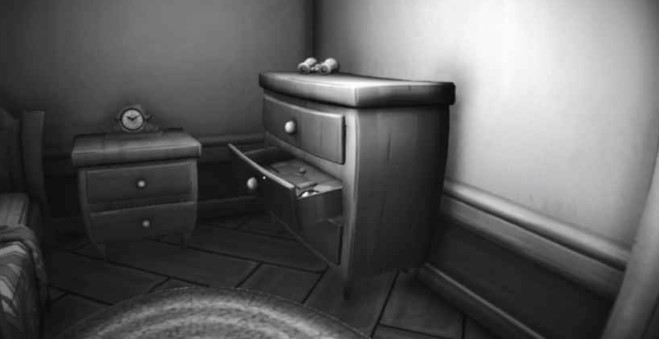
Baseball Card 3
In the “Detective’s Office” location, go to your office. Find a small bedroom with a dresser. Interact with the drawer in the dresser to find another baseball card.
The Bloodhound at the Opera (Myshburg Opera)
Drawing 6
At the start of the story mission, jump onto the vent next to the dumpster.
Newspaper 3
Once you’ve found the previous collectible, enter the building. There’s another collectible newspaper on the table to the right.
The missing clue “Party at the Opera”
Once you’ve found the previous collectible, head to the kitchen and approach the double door with the round windows. You can interact with it to take a photo.
Baseball Card 4
After you make your way through the door after rescuing the production designer, the collectible will be on a table to the right of the breakable wall.
Comic 5
Once you’ve found the previous collectible, blow up the destructible wall and drop down to the balcony. The next comic is located under a small wooden ramp.
Newspaper 4
On a chair right next to Old Rat-Dragger, interacting with which will unlock the double jump skill.
Baseball Card 5
After unlocking the double jump, return to where you landed in the basement. Double jump to the nearby ledge. The collectible is on one of the crates in this dead-end area.
Drawing 7
Where you learned the double jump skill, go down to the platforms in the water and find a hackable safe, inside of which there will be another blueprint.
Drawing 8
Once you’ve mastered the double jump, jump over the water. Once you reach the other platform, you’ll see a barrel on the left. There’s a blueprint on it.
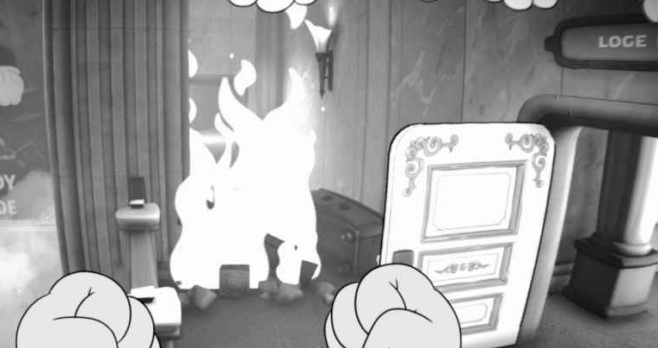
Comic 6
Once you reach the balcony while escaping the burning building, open the door to the main hall and immediately turn right. Jump over the fire, and you’ll be able to open the door leading to the hallway. The collectible is on one of the cabinets.
Newspaper 5
After returning to Mouse, the private detective’s office and securing the evidence, you can purchase a collectible from the newspaper delivery boy. The little mouse is standing by the barricade next to the entrance to Jack Pepper’s office.
Bandel’s Secret Laboratory
Drawing 9
After going up the stairs to one of the typewriters, look to the left and you will see a blueprint under a pallet.
Missed evidence “Ze Research deal” and newspaper 6
In the room with the giant octopus in the aquarium, climb the stairs and enter the only open door. The missing clue is hanging on the wall on the left. After that, find the newspaper lying on a stack of books, also on the left side.
Baseball Card 6
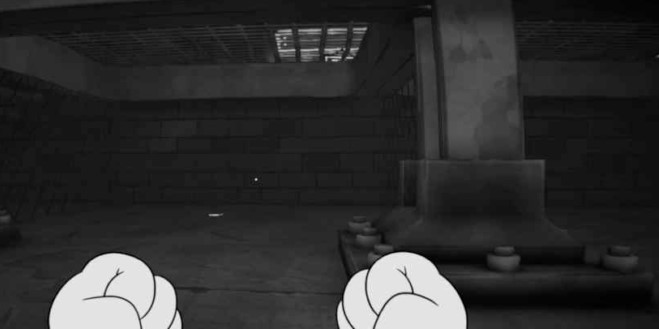
In the room with the giant head, look straight at it, then go down the small staircase on the left. Crouch and crawl under the staircase to get past the fence. At the very end, you’ll find a collectible.
Newspaper 7 and drawing 10
After defeating the first boss in this area, enter the room by the stairs and you will find the collectible on the table on the right side and the blueprint on the table on the left side.
Comic 7
Use the lever that turns on the lights in the projection room to pry open the door on the right side, then find another collectible on the chair on the left.
Comic 8
Using the lever that lifts the train out of the water, rotate the tail section toward the door on the left. Look for the collectible on the table on the right.
Baseball card 7 and drawing 11
After climbing up the broken walkways to start the elevator, turn around and double jump to another broken platform to find a collectible and a blueprint.
Newspaper 8
Immediately after the previous collectible, take the elevator up. The next newspaper issue is in the trash can on the right.
Drawing 12
From the previous collectible, go down the stairs. Under the stairs, look for a hackable safe containing a blueprint.
Le Scandal (Cleric Row)
Drawing 13
After climbing the stairs and entering the building, turn left. The blueprint is lying right on the floor.
Baseball card 8
After passing through the first building and being ambushed by a group of police officers on the street, go to the very end of the street and go down the stairs on the left. The collectible is at the bottom.
Overlooked evidence of police brutality
After passing the building with the “Bunzin’ ‘Round” sign after the police ambush, look ahead and to the right for a fence. Approach the fence and you can take a photo.
Newspaper 9
After descending the stairs from the train, you’ll see a brick wall ahead and to the right. Double jump over this wall and find the collectible in the trash bin ahead.
Newspaper 10
After jumping up to the other apartment building using the trampoline, climb through the window and the collectible will be on a chair on the left side.
Drawing 14
After shooting the target to lower the pipes (this is the first time this mechanic has been used), proceed further and find the blueprint on the dresser.
Drawing 15
Once at the police station, choose to enter through the air vent in the parking lot to the left of the front door. In the prison, open the gate on the right. Crack the safe to obtain the blueprint.
Missing evidence in the precinct and drawing 16
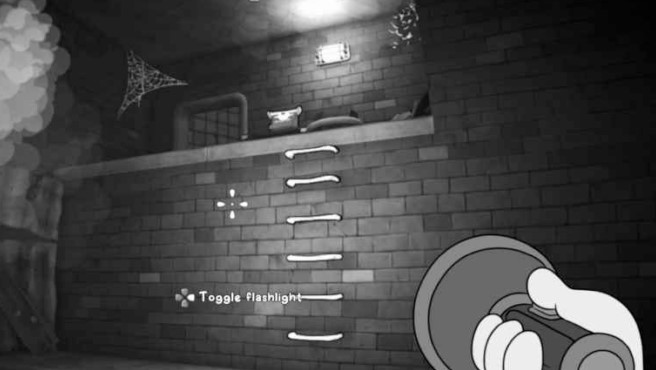
From the previous blueprint, go to one of the side rooms to get the prison key. In one of the cells , you’ll see a respectable police officer who wants to talk to you. Open the cell and talk to him to obtain this skippable piece of evidence. As for the blueprint, it’s lying under the bunk in the same cell.
Comic 9
Once you reach the police station offices, jump over the boxes on the left and enter the booth on the left. The collectible is on the table.
Comic 10
Looking at the police station, you can go to the right, jump on the car, and double-jump over the fence. The collectible is on a chair on the left.
Baseball Card 9
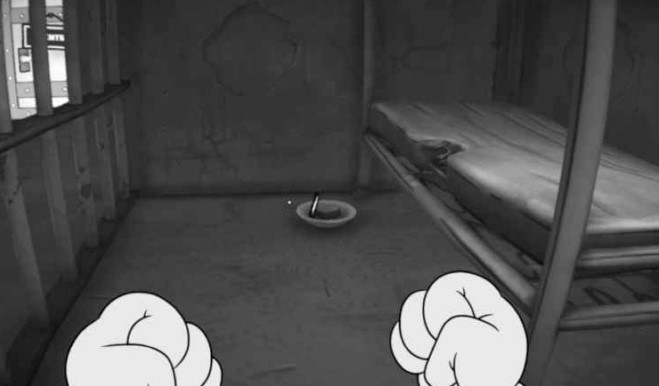
From the previous collectible, jump over the next fence and shoot the explosive to destroy the wall and return to the prison cells. Enter the room on the left and take the cell key. Then open the marked cell in the far left corner. The collectible is in a bowl.
Cheese Sandwich (Old Subway)
Newspaper 11 and drawing 17
Once you reach the first train, turn around and take the ticket booth key from the crate. Follow the tracks, open the door on the right, and go to the end of the tracks. The collectible newspaper is on the table in the lit room, and the blueprint is on the bunk bed in the room on the left.

Newspaper 12
Once you reach the room with the broken floor, jump on the crates to reach the higher level. Proceed past the wooden fence and find the collectible on one of the crates.
Baseball card 10
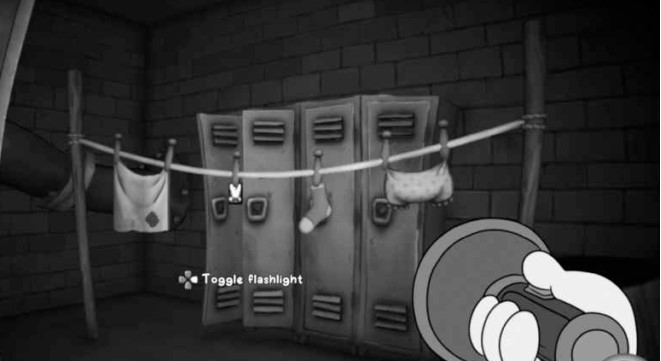
Once you reach the second section of railroad tracks, turn left and hack the door. You have a limited amount of time, so make sure you complete the task in time, otherwise the lock will jam and you’ll have to load your last automatic or manual save. Afterward, go through the door and follow the path to the locker room. The trading card is hanging on the clothesline on the right side of the room.
Drawing 18
While in the large room with the suspended train car, look at the windows leading into the small room in the upper left corner. Break the window and jump up, then shoot the explosive barrel in the room to destroy the wall. Follow the path through the train car until you reach the platform. Then turn left and jump into the overturned train car to find another blueprint.
Newspaper 13
After climbing the small ladder to go deeper into the sewers, look into the second room and find the collectible on a box on the left.
Comic 11
In the arena where you fight the boss, jump on top of the middle cargo crate and look for another comic page on the metal grate at the very edge.
Drawing 19
After you reach the second water obstacle where you need to fly using your tail spin, you’ll find a new blueprint at the very end, below. Be careful around the water: if you fall into it, you’ll take significant damage. To get back up, you can double jump over the rising air current and glide while spinning your tail.
Drawing 20
After making your way through the vent, use the lockpick to open the door in front of you, then jump into the water and navigate the tunnel below to a hidden hackable safe containing the blueprint.
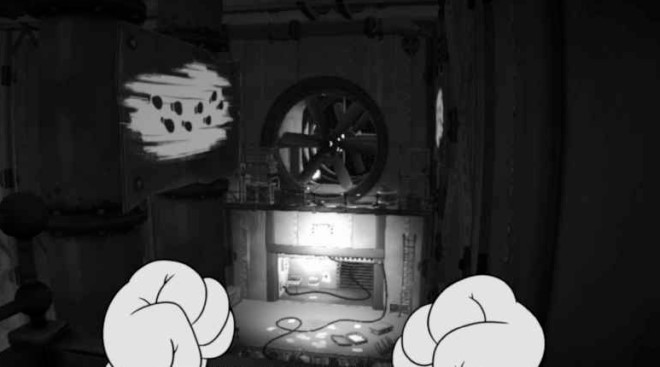
Collectible figure 2/10
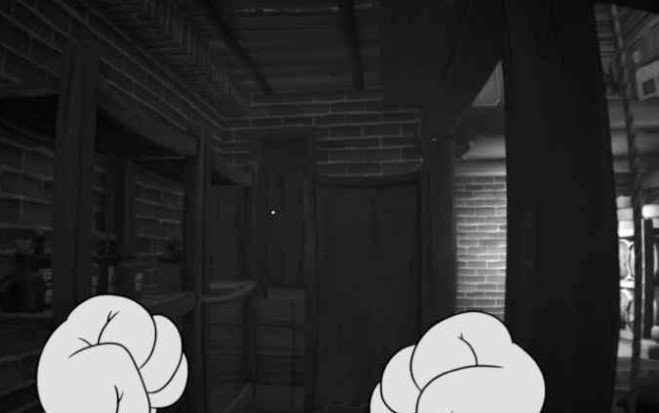
From the previous collectible, head into the main room and activate the lever to start the turbine and create air currents. Ride the updraft and land on one of the platforms. Approach the explosive barrel on the roof of the train car and throw it at the destructible wall to reveal a secret room with a secret figurine sitting on a shelf.
Once Upon a Time in… by Lurex Brothers
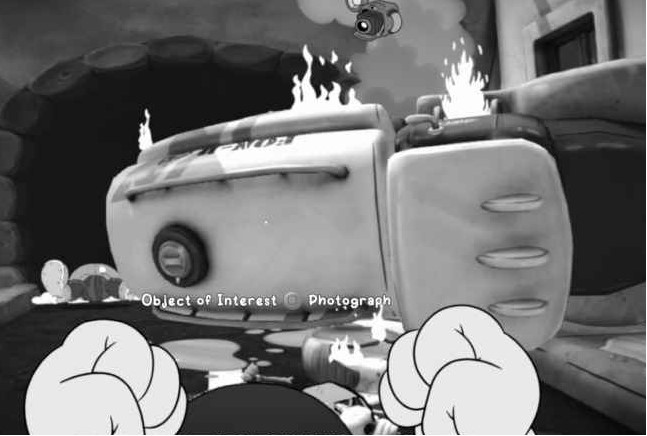
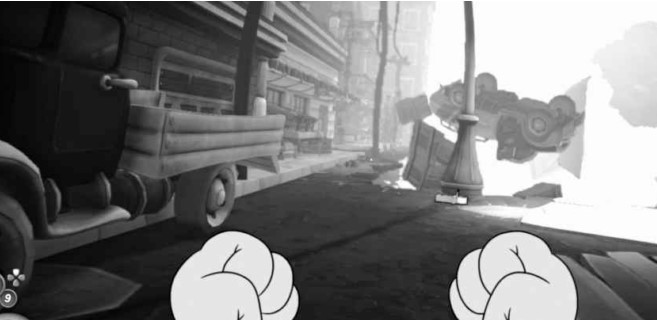
Missable Truck Hint
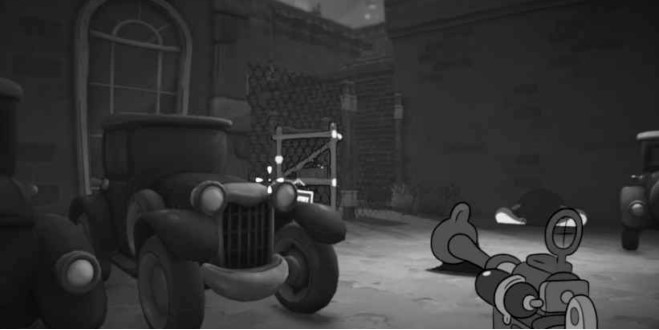
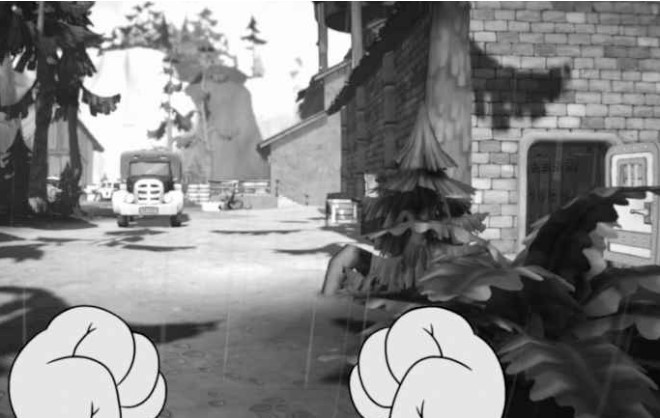
At the very beginning of the story mission, follow the road, and at the very end you will see an overturned truck that you can take a photo of.
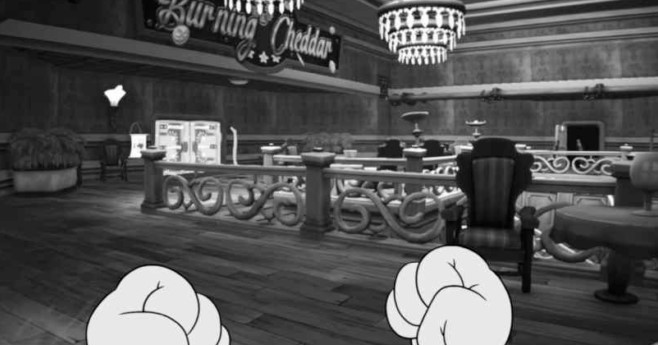
Newspaper 14
Once you enter the bar, go behind the counter to find a collectible.
Drawing 21
After crossing the hole in the ground, climb the ladder ahead and to the left. The blueprint is on the table.
Baseball Card 11
After talking with Gabe, enter the next room and blow up the wall on the right. The collectible is located on a box in the back left corner of the room.
Newspaper 15
From the previous collectible, go outside and then enter the room above. To do this, go up the stairs. Enter the first restroom on the left. The collectible is located in the last stall.
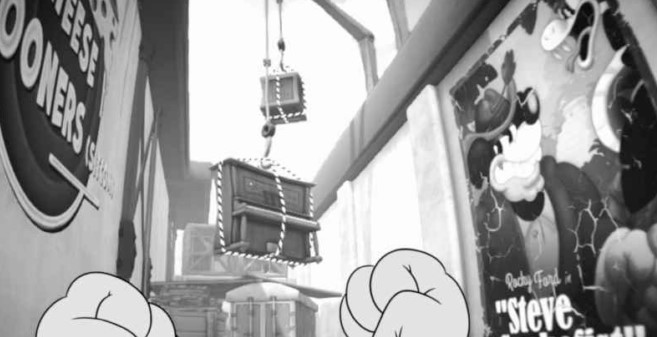
Baseball Card 12
After the shootout on the sitcom set, head through the door back outside and look to the left. You’ll see a piano and a box hanging from a crane. Knock down the piano and then the box to create a small ladder, then jump across these objects and over the stack of crates ahead. The collectible is hidden on the box.
Drawing 22
When you reach the second set, scroll down and look for the blueprint on one of the tables.
Comic 12
After a massive shootout in a medieval setting, find a collectible attached to the wall in one of the wooden platforms where the enemies spawn.
Drawing 23
After climbing over the top of the living room you saw earlier in this mission, you’ll find the blueprint on one of the tables.
Drawing 24
After taking the key from Betty’s dressing room, go outside and open the door on the right. Then open the door on the left and crack the safe hidden below.
Cheesecake with Pepper (Opera Ruins)
Drawing 25
At the beginning of the mission, in the upper left corner of the room, find a hackable safe with a blueprint.
Comic 13
Head towards the locked door by climbing the ladder, but instead of opening it, jump over and grab the hooks on the left until you reach a wooden platform leading to a hole in the wall. Once inside, you’ll see the collectible lying on a shelf on the left.
Baseball Card 13
From the previous collectible, go left and exit onto the balcony. Head to the end of the area and double jump around the obstacle to reach the other side of the balcony. The baseball card is in the popcorn bin.
Salty Kambozo (Slaughter Bay)
Newspaper 16
At the beginning of the story mission, the collectible should be found on one of the picnic tables, near the stairs.
Collectible figure 3/10 and baseball card 14
From the previous collectible, head towards the giant hanging fish and climb the rock to the left of the pier. There’s a cave directly below the pier, so you’ll need to jump off the rock, then immediately jump and glide using your tail to reach the cave, where you’ll find the secret Jack Pepper statue.
After that, go down into the water directly below you and look for a baseball card in the depths inside the bottles on the box.

Drawing 26
After descending the stairs at the beginning of the level, you’ll see wooden beams located on top of the buildings on the right side. Jump along these beams until you reach an open window, through which you can climb into the building containing the blueprint.
Newspaper 17
After you open the gate with the Tower Key, the collectible should be looked for in the box on the left side.
Baseball card 15
After speaking with Cameron Bozo and going down to the courtyard, open the door in the upper left corner with the lockpick. Go inside and look for the collectible lying on the windowsill on the right.
Drawing 27
From the previous collectible, return to the courtyard and you’ll see several crates you can smash to reveal a hidden path. Climb the stairs and look for the blueprint on your left.
Drawing 28
After breaking the boxes to open the gate, jump over the truck directly in front of you and break the boxes to reveal a hidden ventilation shaft. Make your way inside and find the blueprint.
Newspaper 18
Once you reach the shelter, turn right. The collectible is on the table.
White Lies and Dark Secrets (Syrville)
Drawing 29
Once you’ve acquired your new weapon, enter the house from the right. Instead of going down the hole, head into the room on the right to find the blueprint hanging on the wall.
Baseball card 16
Once you’ve exited the cave and are outside, head toward the barn on the right. Go around the building to the left, cross the balcony, and find the collectible on a crate at the end.
Collectible figure 4/10
In the same open area in front of the estate, you need to shoot 3 bells to open the church.
The first bell hangs in front of the house where you will find one of the clues.

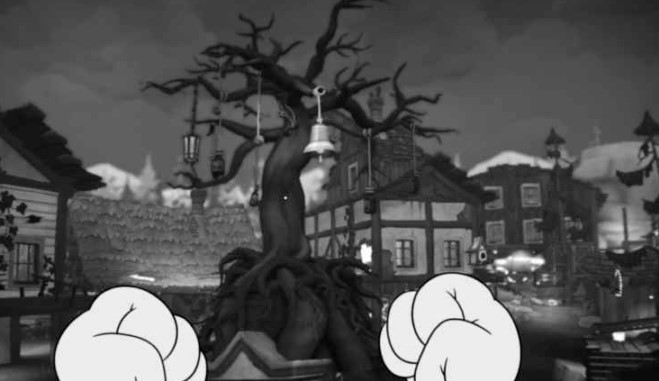
The second one is located on a tree in the center of the site.
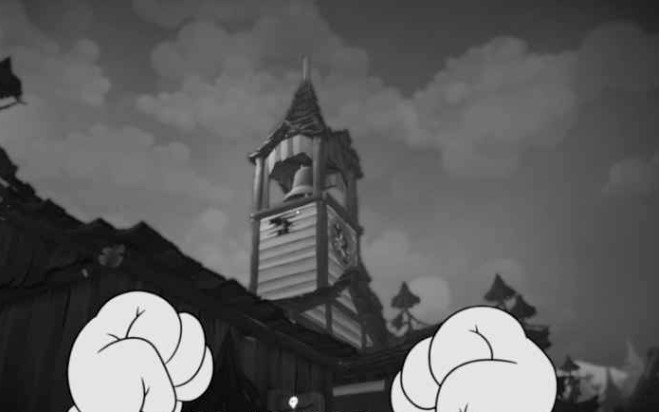
The third is the giant bell on top of the church itself.
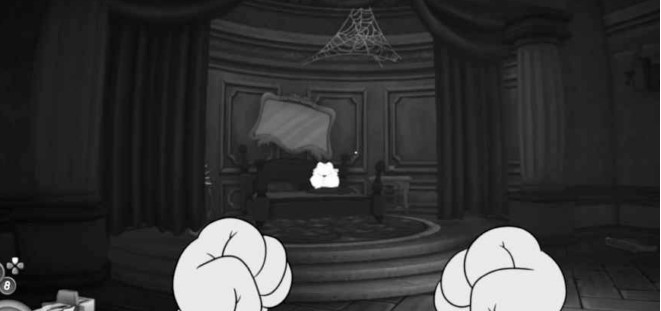
After you shoot all 3 bells, you can enter the church and pick up the secret statue from the room on the left side.
The Missing Evidence “Berry Lynch’s Diploma”
After talking to the old shrew, who advises you to find the wedding rings of the estate’s caretaker’s three ex-wives, enter the building leading to the first ring, go up the stairs, turn around and find the clue attached to the wall.
Drawing 30
On the ground next to the first wedding ring.
Comic 14 and Drawing 31
Once you’re outside, cross the gap to the windmill. The collectible is located under the stairs directly in front of you. Then, follow the fence to find the blueprint attached to a crate.
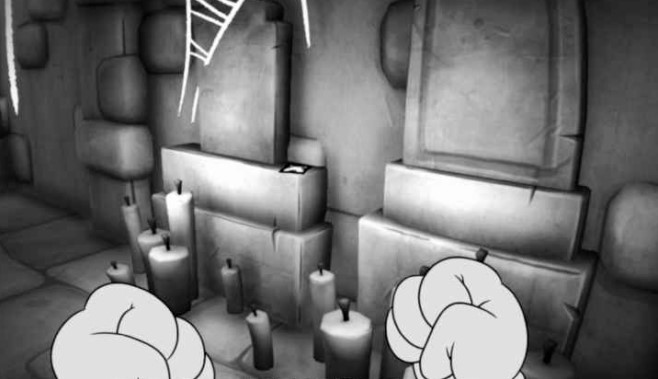
Baseball card 17
After defeating the ghost and obtaining the third wedding ring, proceed through the gate beneath the main mausoleum. The collectible is on a stone shelf with candles, under a spiderweb. In this passage, you’ll also find three stacks of money.
Drawing 32
Upon entering the mansion, climb the stairs ahead and hack the door. The blueprint is hidden inside a hackable safe in this room.
A missed clue in the mansion
Upon entering the mansion, turn left. The next clue is located on the fireplace.
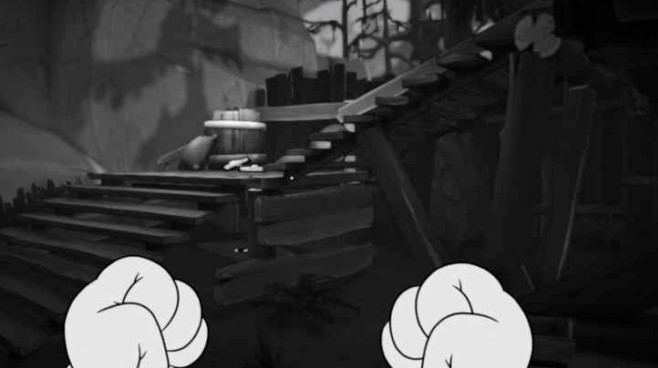
Wet Clue (Far Wetlands)
Newspaper 19
At the start of the level, climb the stairs and enter the room on the right. The collectible is on a chair next to the bed.
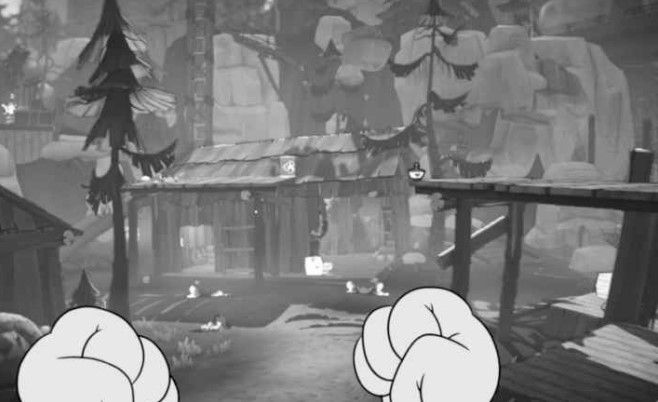
The Skippable Clue “Dirty Note”
Once you reach the dilapidated huts just before the mine entrance, you’ll find a clue pinned to the wall of the hut. This is the wall closest to the mine entrance.
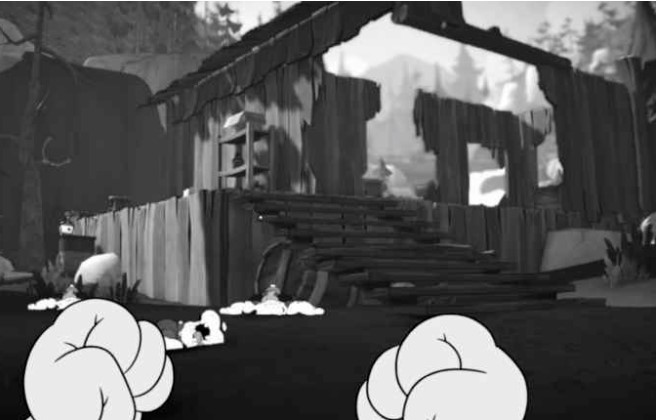
Baseball card 18
After exiting the mines, look into the hut on the left. The collectible is on the stove.
Drawing 33
From the previous collectible, go down the slope and enter the open building. Another blueprint is hanging on the wall behind a shelf.
Collectible figure 5/10
While in the mansion, enter the room from the balcony where the key is on the table. Don’t pick it up! Jump onto the cabinets on the right and crawl to the end of the vent to find the secret figurine.
Newspaper 20
After defeating the boss, when you return to the street, immediately turn left and walk along the balcony. The collectible is located on a bench at the very end.
Missing evidence
From the previous collectible, head down the slope and look through the window to find the clue lying on the floor.

Drawing 34
Once in the swamp, jump onto one of the platforms in the trees and then jump to the next one. The diagram is attached to a tree.
Skip-the-line evidence and baseball card 19
Once you reach the Cheeselegger’s hideout, enter the first building on the right.
The clue is on the crate on the left. Then, climb the stairs and go through the teleportation tube to find a baseball card on the floor.
Drawing 35
From the previous collectible, return to the street and turn right. Follow the wall to the right and you’ll soon find a hackable safe with a blueprint inside.
Comic 15
After escaping the Cheeseleggers’ hideout and returning to the pier, turn right and look for the collectible on a crate hidden behind the building.
Sneaky Shrews (Outback)
Missable evidence in the laboratory and blueprint 36
After descending the waterfall, you’ll be able to photograph the cells directly in front of you. Then turn around and walk through the waterfall. Climb the ladder and jump across the gap to find a table with the blueprint.
Drawing 37
In the room where you need to pull levers to activate the updrafts, you can jump over the broken fence into a section with pistons and gears. The blueprint is located next to a small wooden boat.
Newspaper 21
You need to go into the next room from the room with the old shrew, which you will meet in the Outback on the top floor.
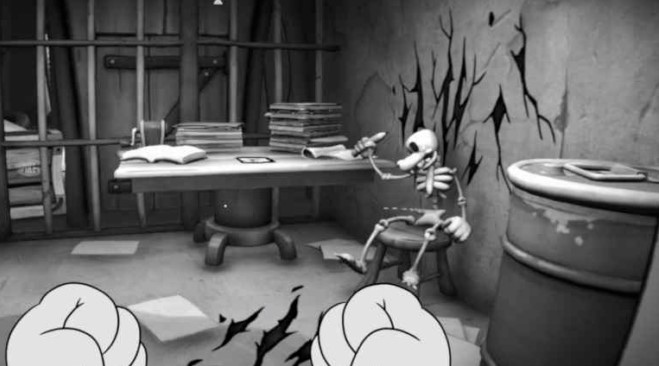
Comic 16 and Baseball Card 20
After blowing up the wall to advance, go through the door on the left. The first collectible is on the chair with the skeleton. Then turn around and open the cabinet to find a baseball card.

Drawing 38
Following the magnet with the value indicated on it, after climbing one of the stairs on the left side you will find a drawing.
Newspaper 22
After opening the door with the VIP pass, don’t rush to pick up the story item! Use the trampoline to land on the pipe above the door, then jump to the ledge directly opposite. The collectible is located on a chair.
Newspaper 23 and Drawing 39
After clearing the ring, head upstairs. The collectible is on a chair on the left. Then turn around and walk along the left wall to find a hackable safe containing the blueprint.
Baseball Card 21
After repairing the elevator, return to the store and go through the teleportation tube behind the fence. Use it, then climb into another tube. A collectible baseball card will be on the table in front of you.
Everything points here, right? (The Secret Manja and Manja Show)
Before starting the mission, be sure to accept the “Oh Yes, They Fly” side quest from Millie, as completing it will reward you with a baseball card.
Drawing 40
After you blow up the wall and go down, jump onto the boxes in the far left corner, and from them onto a small platform with the blueprint.
Comic 17
Crawl through the vent to reach the Backstage Key, then go through the next vent on the left. At the very end is the collectible.
Newspaper 24
From the ticket machine, which requires four tickets to activate, enter the door to the left. The collectible is on a chair.
Newspaper 25
Near the elephant Elefant, jump onto the platform directly above the animal . Another collectible is located on the crate.
Collectible figure 6/10 and blueprint 41
Once you’ve made your way through the vent to the balconies, you’ll find the dressing room key (it’s on the windowsill). Return to the bar and use the key to open the dressing room. The collectible is on a table inside. Afterwards, use the teleportation tube to find a hackable safe containing the blueprint.
Newspaper 26 and Drawing 42
After opening the door with four secret tickets, enter, then jump onto the crates on the left side to reach the top of the small building. The collectible is on the picnic table. Afterwards, climb back down. The blueprint is attached to a crate in the upper right corner of the area.
Baseball card 22
When you’re throwing explosives into the open windows (the minigame for getting the secret ticket), look for a window in the building across the street that you can use to get in. Look for a small crate containing a baseball card.

Baseball Card 23 (Side Quest)
From the previous collectible, look to the left. You can buy a box of deflated balloons for 25 coins. This is necessary for Millie’s side quest “Oh, Yes, They Float.” Return to the detective’s office, give her the balloons to receive a baseball card. There’s no other way to get this card!
Baseball Card 24
After using two secret tickets to open the reward shop, use the lockpick to open the door in front of you and enter the room. Destroy the explosive barrels in the room to reveal a hidden ventilation shaft. The collectible is located near a skeleton inside this ventilation shaft.
Drawing 43
After you open the giant mouth and go inside, find a collectible blueprint on one of the tables.
Swamp Oddity (Bog)
Newspaper 27
Once you reach the wooden platforms in the swamp, find a hut with a newspaper attached to the wall.
Drawing 44
After lowering the bridge, jump onto the cages on the left side and into the small wooden hut. The blueprint is on the floor inside.
Comic 18
After talking with the old shrew, enter the next room, then go through the door leading to the music room. The collectible is on the piano.
Baseball card 25 and drawing 45
From the previous collectible, interact with the piano and press the ACEG keys. Do it in the order listed. You’ll know you’ve done it correctly when Jack makes a reference to Dark Souls 1. Afterward, turn around and exit the room. You’ll return to the room where you spoke with the old shrew. The cabinet opposite will open. Go through it. There’s a baseball card hanging on the wall. As for the blueprint, it’s in a hackable safe in the same room.
Newspaper 28
From the previous collectible, head back to the main hall where you spoke with the old shrew. Go through the door into the office. Go through the hole in the wall on the left and jump over the desk to find the collectible.
Missed evidence about Bandel’s snuff box
As soon as you enter the dark room (literally, without light), find another skippable clue on the table.
Drawing 46
After exiting through the vent, go behind the building to find the blueprint pinned to the wall.
Newspaper 29
Once you return to the private detective’s office and have completed the clues, you can buy another issue of the newspaper from the newspaper vendor standing near the office.
Catch the Mouser (Fever Line)
Comic 19
While watching the bouncer, approach the left side of the boat and descend the ladder. Cross the wooden platform, jump to the other side, and enter the restroom. The collectible is on one of the toilets.
Drawing 47
In the banquet hall, behind the scenes, there’s a table. Look for the drawing on the table where the guests are playing.
Drawing 48
In the second kitchen, take the pantry key by the door and use the pantry teleporter. The blueprint is on the table.
Drawing 49
In the location of the previous blueprint, find the key to cabin IX. Then use it to open this cabin. Go inside and crawl through the vent. Drop down the hole and take the captain’s key. Climb up to the captain’s cabin. Use your tail to open the hackable safe to obtain the blueprint.
“The Accountant” by Lurex Brothers (Western Set)
Newspaper 30
After opening the door with the accountant’s key, find the collectible inside the room, on a chair. Where the accountant sat.
Drawing 50
After flying through the broken floor a few times, smash the crates on the right and enter the cave. The blueprint is hidden inside a hackable safe.
Comic 20
After passing the train, enter the building, jump onto the locker, and then jump onto the balcony. The collectible is on the shelf.
Baseball Card 26
Jump onto the metal beam and you’ll find yourself on one of the trains. Go through it, and instead of climbing the stairs, jump over the crate on the right to find a collectible lying on the floor.
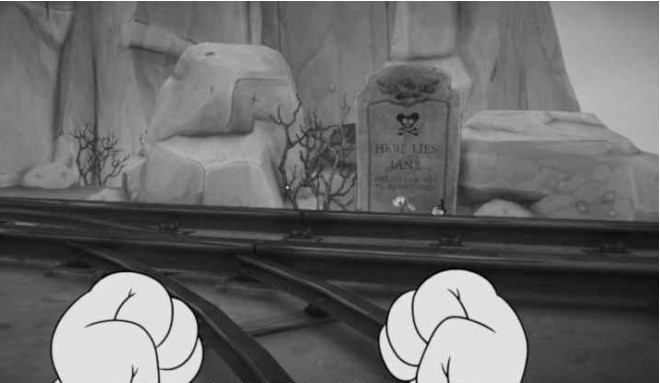
Baseball Card 27
After exiting the train scene and returning to the street, look to the left—you’ll see a grave. The collectible is located behind the stones and the grave.
Drawing 51
After picking up the accountant’s letter, look to the left. You’ll see a safe in the distance. Climb the wooden platforms and shoot the targets to lower the hook and reach the safe containing the blueprint.
Drawing 52
From the previous blueprint’s location, return to the cliff and you’ll see a small opening right on its slope that you can jump into. The blueprint is attached to the wall inside the cave.
“Fatal Reputation” from Lurex Brothers (Film Complex)
Missing evidence
Once you reach the area with the cameras, enter the control room and find another clue on the table.
Drawing 53
Once you reach the water-filled room, jump in. Under one of the bridges, in the deep water, find a passage to the central area. The blueprint is on one of the crates.
Drawing 54
Once you’re in the room with the brain, remove the drawing from the board.
Comic 21 and Drawing 55
After acquiring the new “Brainbreaker” weapon, go through the door to see an open teleportation tube. Go through it. There’s a comic book on the wheelchair . Then, climb the stairs and look for another blueprint on the table near the door.
Baseball Card 28
After leaving the massive laundry room, go through the teleportation tube and head through the door on the left. Jump onto the tube and use parkour to get to another teleportation tube. The collectible is located in one of the lockers near the door.
Drawing 56
Once you reach the top floor balcony, you can jump to the roof of the central area to find a hackable safe with the blueprint inside.
Unknown
Drawing 57
After you climb onto the roof, look for a table with a blueprint.
Comic 22
Once you reach the area with the fallen giant column, follow the ruined road to the left. The collectible is located on a chair.
Drawing 58
Once on the boat, go up and find a box with a blueprint.
Drawing 59
Once you reach Hell, jump along the platforms until you reach the wall. Look to the right. Jump over to the small ledge in the rock—there’s a hackable safe here with the blueprint inside.
Newspaper 31
Once you reach the bar in hell, look for another collectible on the counter.
Drawing 60
After starting the gears, use parkour to navigate the platform until you reach the typewriter. Turn left and follow the ramps to the locked room with the blueprint.
“Fatal Reputation” from Lurex Brothers (Film Complex)
Comic 23
Comic #23 is currently missing. If you can’t find it, you can buy it in the store after completing the mission or later. The store is still available.
Baseball Card 29
Once you reach the multicolored level, go to the far right corner and enter the forest. The collectible is on a crate on the left.
Baseball card 30
In the castle. As soon as you see the room that will flood after you defeat all the enemies, swim to the upper right corner. The collectible is hidden inside the refrigerator.
Drawing 61
In the castle, after the enemies drop the giant painting, enter the room that opens and make your way through the vent. The blueprint is located in the safe.
Newspaper 32 and missed evidence
After entering the area resembling Detective Pepper’s office, find the collectible on the main desk. It also counts as a missable clue.
Drawing 62
After the blueprint falls out of the vent into the swamp, you can find it attached to the wall in the room in the upper right corner.
Drawing 63
After defeating Reggie and passing through the teleporter, find another blueprint on the table.
Bubbling from the Depths (Bubbling Bay)
Before starting this story mission, be sure to take on the “Friends in the Deep” side mission from Cameron Bozo, as completing it will reward you with a baseball card.
Baseball Card 31
At the start of the mission, go down the stairs to enter the building, then proceed to the next room. Make your way through the vent, and at the very end, you’ll find a skeleton holding a collectible baseball card.
Drawing 64
From the previous collectible, head back to the very beginning of the level. Jump to the teleportation tube ahead—the blueprint is on the table.
Newspaper 33
Once you reach the port, walk toward the water and look down toward a small, isolated area. There, you’ll find a cross hanging on the wall. You can blow up the wall to reveal a teleportation tube. After using it, find a newspaper lying on a crate.
Drawing 65
From the previous collectible newspaper, head back to the port and, using parkour, climb up the right side of the roof to reach the fence where the previous collectible was. Climb the sloped part of the roof and make your way through the vent. The blueprint is hanging on the wall.
Collectible figure 7/10
From the previous item, head to the port and climb the ladder to the lever. Jump onto the roof, then jump over the fence to continue to the end of the roof and descend into a secret room. The item will appear on the table, but only after the dialogue ends.
Comic 24
In the same carriage where you talk to Eddie, look for a comic on one of the boxes.
Baseball card 32
Once you’ve acquired the diving suit, go through the large door and jump to another platform on the left. The collectible is located inside a container.
Blueprint 66 and Baseball Card 33 (side quest)
While underwater, once you reach the large area with the submarine on the right , climb the nearby ladder (to the right of it). There’s a hackable safe here containing a blueprint. Once you’ve dealt with it, continue to the very end of the underwater cave and you’ll be able to speak with the character in question. This is necessary for the “Friends in the Deep” side quest, which rewards you with a collectible baseball card (when you return to the detective’s office).
Baseball cards 34-41
You won’t find any more baseball cards, but don’t forget there are 8 more in the store – four for 500 coins and four for 1,000 coins!
Drawing 67
After defeating the professor and returning to the ocean floor , find the blueprint next to the giant dead fish.
Jack Zero
Comic 25
After escaping the wave for the first time, continue along the main path until you reach the next typewriter. The collectible is located on a pallet on the left side.
Drawing 68
Hanging on the wall of Tammy’s workshop.
Drawing 69
Once you go down to the basement, you will find a drawing that is located on the wall right on the main path.
Drawing 70
After avoiding the first flood, follow the main path until you have to drop down. Don’t rush down! Instead, jump to another platform where you’ll find a safe with the blueprint inside.
The House of the Empty Mouse (Bandel Mansion)
Comic 26
After descending through the wooden barricade into the basement, you can jump onto the shelf on the right and crawl through the vent. The collectible is located approximately in the center of this vent.
Drawing 71
After leaving the basement, head to where you previously broke the metal pole to destroy the wall. Crouch and crawl under the wooden planks to find a crate containing the blueprint.
Collectible figure 8/10
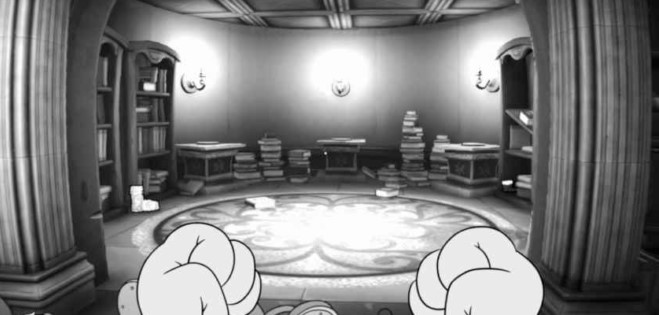
After opening the mansion, you’ll find three statues scattered around the grounds in front of the entrance. Once you’ve found each one, take it to the library to place it on its pedestal.
The first statue can be found on the bed in the bedroom.
The second was by breaking a barrel in one of the prison cells.
To find the last one, go up the main stairs to the top floor and go to the end of the corridor.
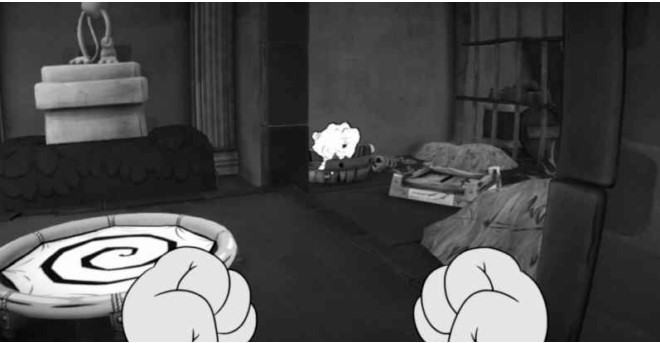
Take each statue to the library and place them on all three pedestals. After placing the statues, a secret door will appear on the right. Enter the secret room to find the collectible figurine on one of the tables.
Fair!
Drawing 72
Once you reach the boats, look at the building on the right. You can blow up the wall to reveal a secret room. Then, shoot the target on the building’s roof to reveal a teleportation tube. Use it to get to the blueprint.
Comic 27
After passing the boats and entering the building on the left, you’ll find a door ahead of you, behind which you can find another collectible. It’s lying on the floor.
Newspaper 34
After mastering the skill that allows you to climb walls, continue along the main route until you reach the typewriter. The collectible is located near it.
Drawing 73
After talking with Wanda, head to the stairs and climb the steps on the right. The blueprint is on the nearby display on the left.
Newspaper 35
After clearing the enemies in the courtyard, open the gate and climb the stairs. The collectible is on the bench on the left.
Drawing 74
After fighting the enemies in the statue-filled courtyard, go through the gate and jump onto the crates. You’ll see a plank you can use to climb inside the crate and find the blueprint.
Drawing 75
Once you reach the room with lots of boxes, head to the top right corner to find a hackable safe with the blueprint inside.
Newspaper 36
Once you reach the room where you need to listen to the tape, you will find a table with a newspaper lying on it.
Plenty of mice, little hope (Der Hartzerburg)
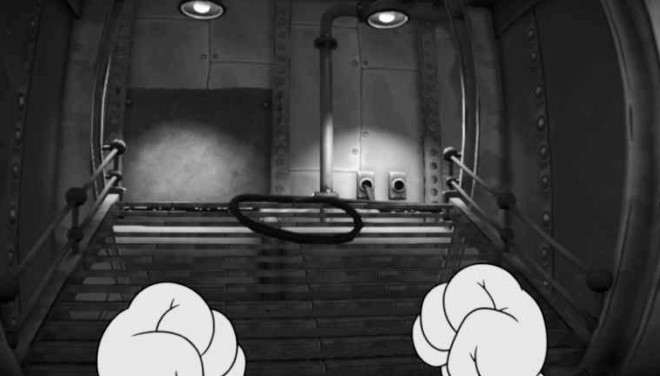
Comic 28
Once you reach the large hangar and climb the ladder, look to the right and shoot the target to lower the grappling hook. Use the grappling hook to jump across, then run along the wall to the fan. Shoot the target behind the fan. Opposite the teleportation pipe is the comic.
This is the final comic. Comic 29 is the cover you get automatically.
Newspaper 37 and Drawing 76
Once you reach the room with the locked mechanical door, go down the stairs and break the crate near the chairs at the end of the room. The collectible newspaper is underneath. The blueprint is in one of the central rooms on this floor. You can break the glass to get inside.
Drawing 77
After Sawyer takes the elevator down, head down the stairs and you’ll soon see a stepladder. Climb it to get the blueprint.
Drawing 78
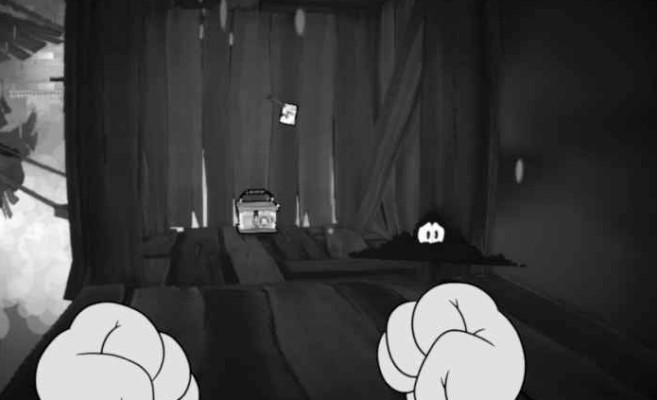
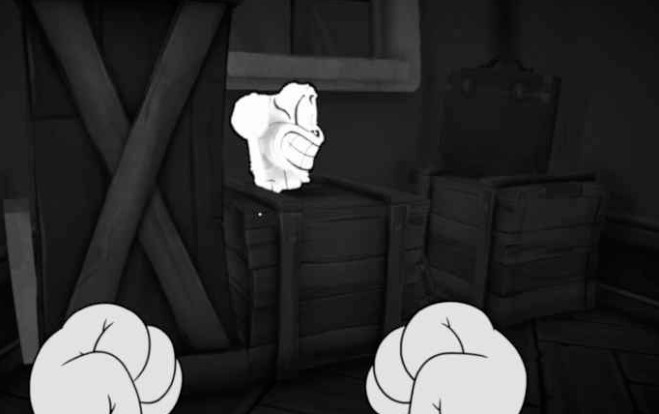
In the same safe as the very first one you found at the beginning of the game, in the prologue.
Drawings 79-87
As for the remaining 9 blueprints, you can get 3 of each for completing three additional quests: “Blueprints, Please,” “Poster Girl,” and “Psycho Secrets.”
Newspaper 38
After passing through the corridor blocked by crates, climb up the small staircase. The collectible is on the floor to the right.