To fully complete the game and see the secret ending, after your first playthrough of Pragmata, you’ll need to return to previously visited locations and find all the secrets. In this guide, we’ll tell you how to find all the collectibles and secrets in Sector 04 “Lunite Mines.” We’ll also show you the locations of all the NZDs, safes, Pure Lunite, Memory Expanders, and Cartridge Holders. As a bonus, we’ll also show you where to find Minicubes.
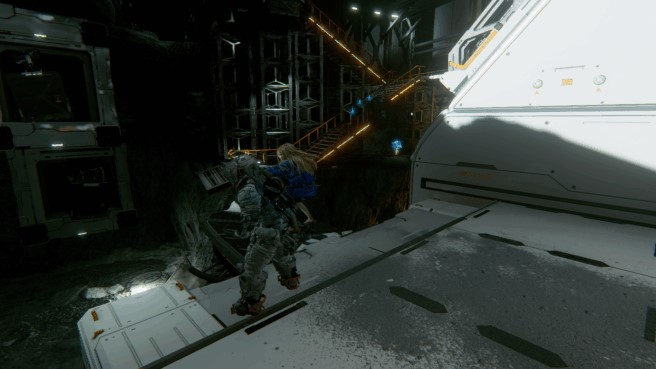
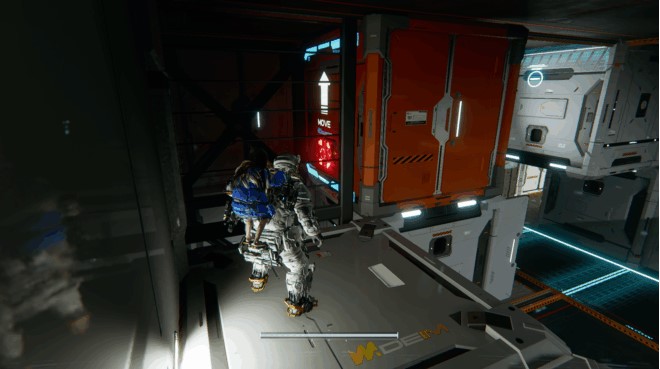
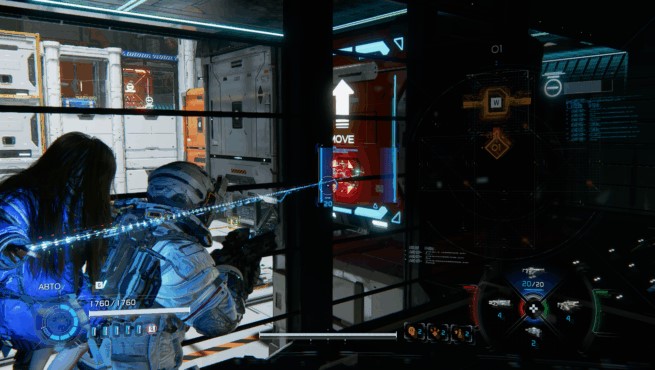
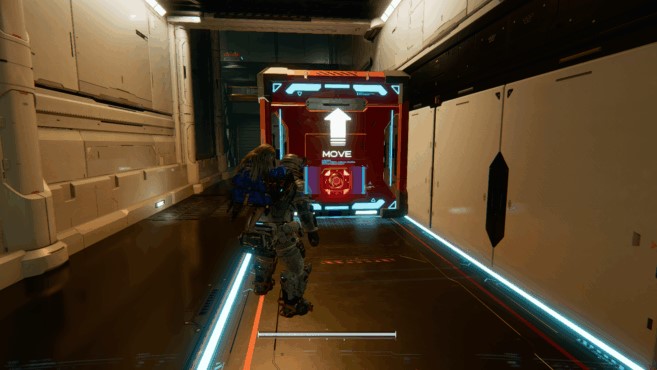
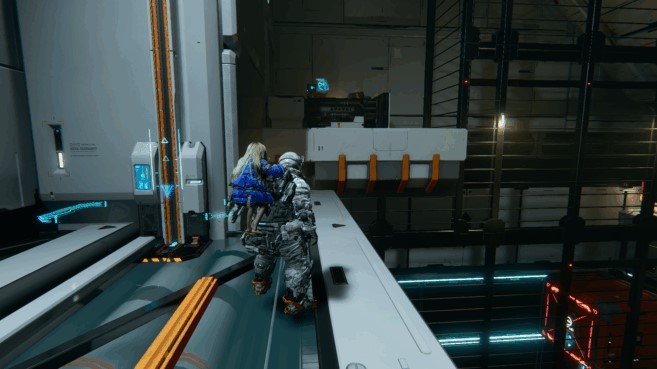
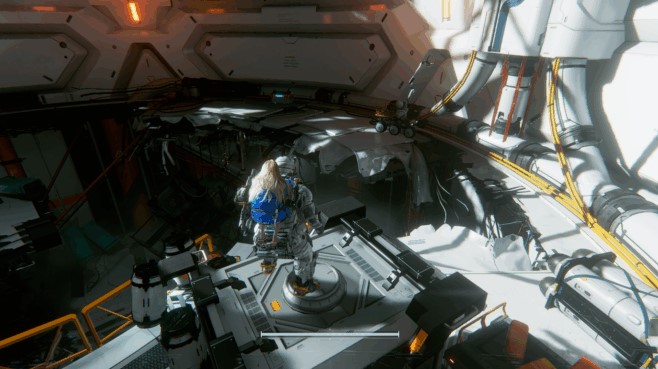
Entrance to the mines
List of collectibles:
- Safes – 3. These are gray-yellow containers that can only be opened by pressing the F key. Inside, they may contain moon fiber, a Cube token, or several upgrade components.
- Modifications — 1. Installed before any foray outside the Vault. By default, only one can be activated, but you can later upgrade and unlock new slots on the Modular Printer. You can place up to six.
- Memory Expansion – 1. Increases Diana’s hack meter , which is used for Overload.
- NZI – 1. Objects that you give to Diana in the Vault and which are installed in special niches inside it.
- Minicube – 1. Collectible figures. Something like Mr. Raccoon from Resident Evil.
Once you reach the Lunar Mines, head outside to find yourself on the lunar surface for the first time. The gravity here is different, allowing you to make higher jumps and travel longer distances using boosters. After descending, look for a platform on the left with an upgrade component .
Once you’ve passed through the next room and taken the elevator down, jump across the platforms. Don’t use boosters (dashes while flying), as they will cause you to lose altitude more quickly. In the corner to the right (at the top) is a platform with an upgrade component .

Modification “Self-Control”
Then, take your time and jump down without leaving this area. Find a cave in the rock you can jump into to remove the regular loot and find a blue container containing the “Compassion” mod. Successfully activating the emergency boosters restores 10% of your health.
In the next area, after you pick up the homing missiles (a new attack module), jump down and look in the far corner for a luv that Diana can destroy. Doing so will net you another upgrade component .
Safe
In the same area, climb back up, but first hack the red node to drop the container (without it, you won’t be able to continue the story). In the far part, near the cliff, look for a platform with a safe on it. Fly to it using the other ledges and open it to get four upgrade components .

2 safes, memory expansion
After the next building, you’ll reach the first area with the Moondigger. Fighting it is optional, but if you defeat it in the local battle and the monster escapes, you’ll earn a separate achievement. Also at the bottom right is an entrance to a building blocked by red luv. You can return here and collect the loot only after completing the fourth sector and the Pragmatics Lab. Before the start of Sector 5, “Central Port.”
Once you destroy the red luv and enter the building, jump down past the red lasers, destroy the enemies and open the safe, which contains the moon fiber.
Hack the complex red node, then climb up the platforms, avoiding lasers and destroying Observers. At the very top, you can jump through a hole in the floor into a room with another safe. It also contains moon fiber. Nearby is a memory expansion station.
The movie “Tremors” will come to mind. Jump down to where the upgrade component is visible , quickly pick it up, and run to the other side before the Mooncop catches up with you.
Enter the next building, defeat the enemies, including the Observer MK. II, then climb the steps and turn around. Jump across the catwalks to reach another upgrade component .
NZI “Bonfire”
After exiting the building you enter after your first encounter with Mooncutter, fly to the other side and notice the destroyed staircase. Jump down the hole where the steps are missing to find the first NZD in this sector.
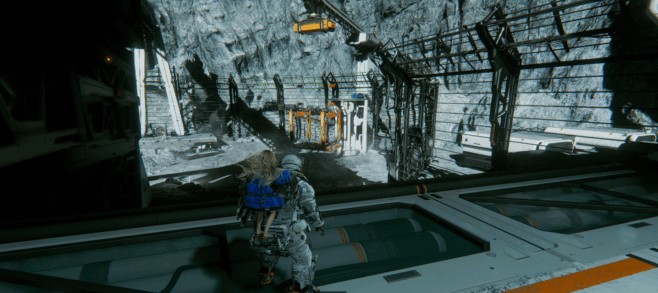
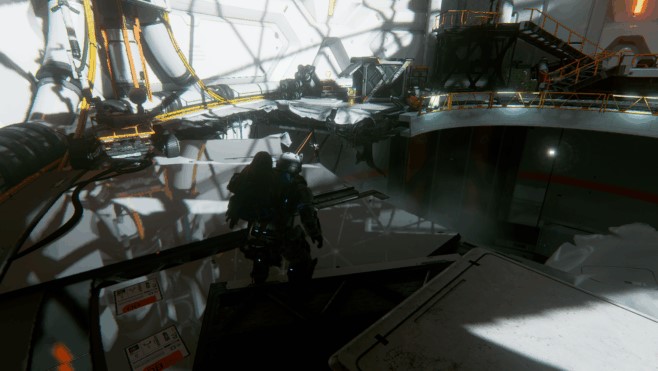
Crane work area
List of collectibles:
- Safes – 3.
- Modifications – 2.
Go inside the building and activate the first emergency hatch “Crane Control Panel” .
Modification “Analog Aggression”
When you reach the second area, where the Moon Dig is, notice the mechanism with a bucket on the right. It lowers the bucket into the ground, collecting the dirt while simultaneously lifting it up. Nearby is a platform with a blue container. Stand on the ground when the bucket is lowered and wait. It will lift you up, allowing you to jump onto the platform with the blue container. Opening it will grant you the “Analog Aggression” modification. It increases weapon damage by 10%, but reduces hacking damage by 10%.
Look a little further. Along the fence to the right, on a safe platform, is an upgrade component . Another one is located right in the middle of the area. As before, to collect both components , you need to quickly run past before the Mooncop catches up to you.
Safe
Enter the building on the opposite side from where you started when exploring the second Mooncutter area. Go up to the second floor and immediately turn into the narrow passage on the left. At the very end is a safe containing four upgrade components . On your way back, you’ll be attacked by Walkers.

Mini cube
After exiting the building where you just found the safe, go to the edge of the platform to the right and around the corner you’ll find a well-hidden Minicube. Shoot it.
Safe
Hack the red node to collapse the platform in the middle of the area (after exiting through the upper door of the building containing the safe). This will be useful later to reach another safe. But jump down below where the Minicube was. Look for an exterior false wall in the same building. Opening it will give you access to the safe containing the Moonflake.
Safe
Opposite the building is a platform with a safe. You should have hacked the red node by going through the building to the upper balcony, and now you can use the dropped container to climb up to the platform with the safe. Opening it will reward you with a Cube token.
Move to the center of the area, closer to the exit from the second area with the Moon Digger. Look to the left and you’ll see an elevated platform with an upgrade component on it . Follow it and you’ll be able to jump from the adjacent platform on the right.
Digital Dominance Modification
Now jump onto the platform on the right where you got this upgrade component, and then fly to the elevated area where the Rocket Spotter MK 2 was hovering. At the end, there’s a ledge you can climb to open a blue container containing the “Digital Domination” modification. It increases hacking damage by 10%, but in exchange, reduces weapon damage by 10%.
Jump down and find a MK. II Walker guarding an upgrade component . A little further on, there’s a raised area with a Strelok, a robotic turret. To the left, behind the wall, on the lower level, look for another upgrade component . After that, enter the next area.
Warehouse
List of collectibles:
- Safes – 5.
- Pure Lunite – 2. Used for upgrading the Modular Printer, purchasing new weapons, upgrading hacking nodes, modifications, and unlocking unique abilities for Hugh and Diana.
- Modifications – 1.
- Memory expansion – 1.
- NZI – 1.
- These training sessions are 1. They unlock new training simulations in the Vault, which in turn grant a wide variety of rewards.
- Mini cube – 1.
Activate the “Warehouse Entrance” emergency hatch immediately .
Pure Lunite, memory enhancer
A little further on is the entrance to the red zone “Warehouse.” If you’ve unlocked all the previous red zones, you simply won’t have the key to the red gate by this point (your first visit to the location), so you’ll have to return later.
You can find the case with the Red Gate Key near the end of the Lunite Mines, in the area with the Logistics Distribution Center emergency hatch at the end of the Main Quarry. Once you get it, return and open the door. Defeat the enemies that appear in waves to open the container containing Pure Lunite and a Memory Upgrade.
NZI “Scoop”
Opposite the entrance to the Red Zone, next to the “Warehouse Entrance” emergency hatch, another NZI can be seen behind glass. Slightly to the left and above is an open niche containing an upgrade component .
First, follow the story and hack the left container. Do this twice. Then, hack the container on the right once and climb up the ledge on the right side. Stand by the grate to push the crate aside, and you’ll be able to jump into the alcove with the NZI.
Safe
Jump off the ledge that allowed you to reach the NZI and push the second container back. You’ll be able to reach the far end of this warehouse area. Defeat the enemies and head to the wall on the left. You’ll see a safe behind the bars. Push the very first box away from it twice, using the hack. Go back and push the box blocking your way back again. You’ll be able to go around it and open the safe containing the moon fiber. But you’ll need to have pushed the container in front of this safe twice before. If you push it once, you’ll have to go back and hack through the bars again.
Safe, Modification “More Nodes”
Once you reach the second area of the warehouse (climb up through the hatch), defeat all enemies, including a shield-using Defender. Then, notice the upgrade component behind the wall to the right. Get close and use the hack to push the crate away from it. Go left and push another crate away from you to get behind the wall and reach the upgrade component .
After that, return to the place where you got here by pushing the box. Push the box to the left, and then push the third box deeper into the area, towards the blocks with the blue container.
Once you’ve done this, all that’s left is to return the previous box to the right so you can return to the central room. This is done through the grate.
Once outside, climb the steps and fly off the crate you pushed earlier toward the blue container. On the ledge to the right is a safe containing a Cube Token. Open it and collect it.
To reach the blue container, you’ll have to move boxes again, but different ones. First, jump down to the hatch in the floor you came up through. Turn around and hack the box above. Return the same way and move another box to reach a container with the “More Nodes” mod. Increases the chance of enemies dropping hacking nodes by 10%.
Climb out of the alcove with the blue container and run to the right, where there is an upgrade component at the end of the path .
Pure lunite
Climb up to the door that leads further, and directly opposite it you will find a container with Pure Lunite.
Safe
Proceed to the new section of the warehouse and discover a movable crate in the hallway. First, move it back toward the ledge with the safe, which contains four upgrade components .
Safe
Afterwards, move the same box all the way forward so that you can jump onto the other shelves where there is a second safe with 4 more upgrade components .
Destroy the enemies between the rows of blocks, after which the door will open and you can pick up an upgrade component . This is the story route.
You’ll find yourself in another room with several moving blocks. First, push the block below to jump over it and reach the upgrade component .
Now return to the center, run to the two red blocks on the left, and push the one below. Jump from the gray block it was above and use your boosters to fly to the moved block.
Turn around, jump, and fly up to the upper block using the boosters. You’ll find an upgrade component and be able to push the block aside, allowing you to escape the room. But don’t rush! There’s a safe on the other side.
Safe
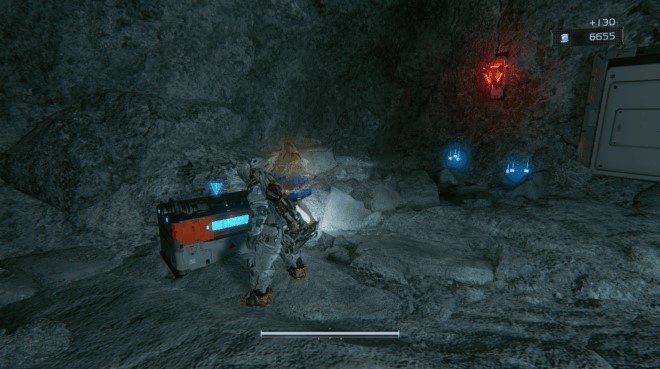
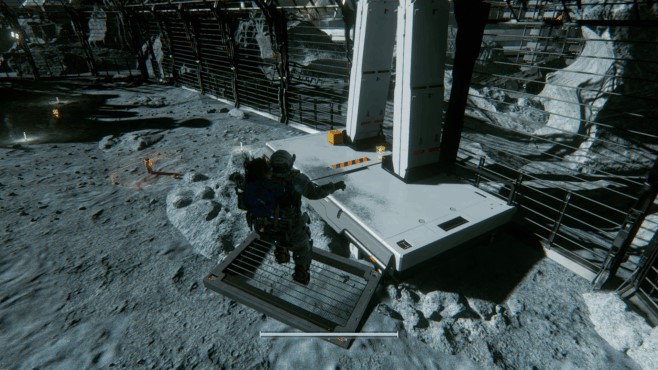
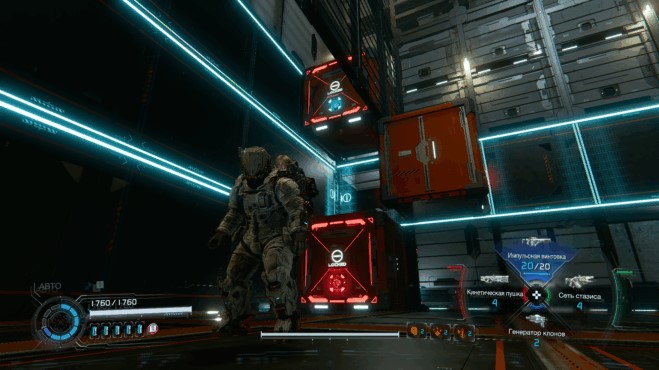
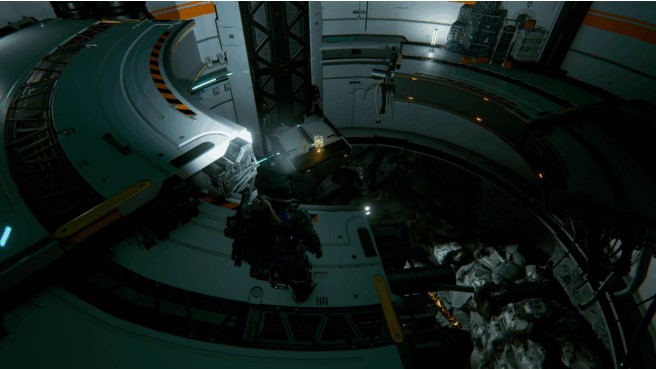
Go down. Make sure the lower of the two moving cubes (actually on the second level, above the stationary one) is on the left, and the upper one is on the right. As in the screenshot below.
After that, jump from the bottom-right cube to the cube just above on the left, and from there to the top one. This will take you to a safe containing moon fiber. Turn right and you’ll see another available upgrade component .
Mini cube
In the same room where the previous collectibles were, go up the wall lift (back up), jump across the shifted crate to the second wall lift, and look to the right. There’s a Minicube located under the ceiling.
Training data
Still, don’t rush up the wall elevator. Slightly to the right on the platform, you’ll see a broken Mini-Cube, with the training data lying next to it.
After going up the wall elevator, activate the emergency hatch “Warehouse Exit” .
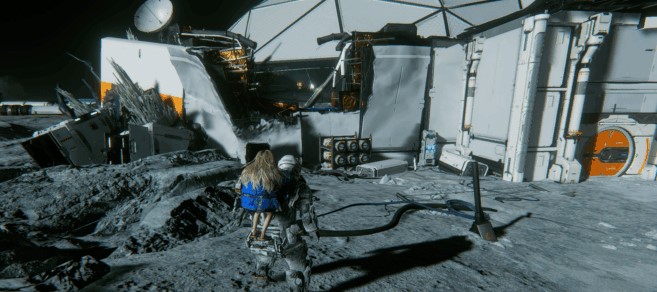
Main quarry
List of collectibles:
- Safes – 4.
- Pure lunite – 1.
- Modifications – 2.
- NZI – 1.
After traveling on the drilling rig and battling the Raider, you’ll find yourself in the Main Quarry. Upon entering the building, immediately activate the “Mines – Control Panel” emergency hatch .
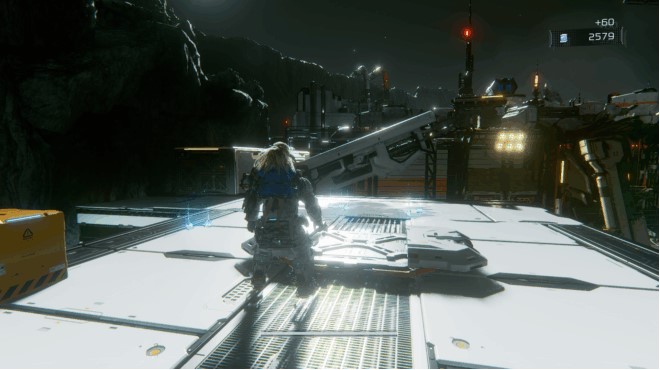
Once you reach the surface, head forward to pick up the visible upgrade component . You can also discuss Earth with Diana here.
NZI “Tent”
After exiting the “Mines – Control Panel” emergency hatch, walk forward as far as you can and look to the right. There are gas cylinders under the wall that you can use to climb over the wall to find another emergency supply.
“Zorkost” modification, safe
Still in the same area where you found the NZI, go back through the wall and look to the right of the entrance. Behind the glass, you’ll see a safe and a blue container with a modification. Opposite are some blocks. Climb them and jump onto the building with the containers. Look to the left before entering the building to spot a movable block. Hack it, and it will move.
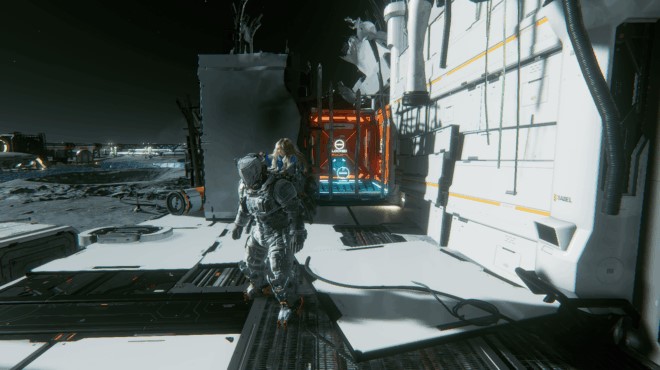
Once inside the building, push another container out. You won’t be able to do this unless you’ve already pushed the container outside. You’ll find a hole through which you can descend to the first floor. Open the safe containing the moon fiber and the blue container with the “Vision” modification. Increases attack power by 15% while airborne.
Enter the building and climb a little higher, and you’ll encounter your first corrupted enemy. Look slightly to the right and fly to the ledge where an upgrade component is hidden behind some rubble .

Safe
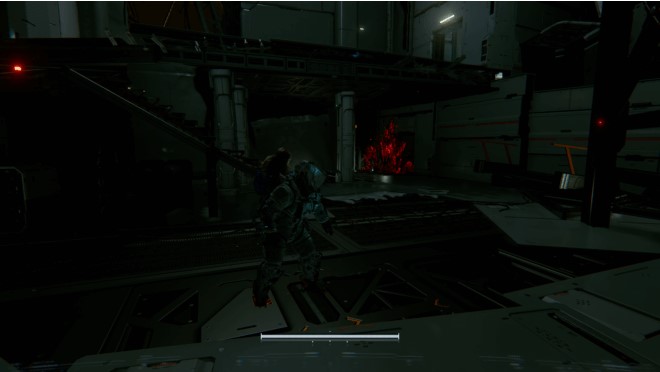
In the next room, you can go downstairs to find a red luv. As mentioned earlier, you (or rather, Diana) will only learn how to break it after completing Chapter 4 and the small “Pragmatics Lab” area. So remember this place and return later. You’ll be able to open the safe containing the moon fiber.
Go through the door marked “3” and you’ll be able to activate the Logistics Control Center emergency hatch . This room also contains the case containing the key to the red airlock. So, you can return to the previously unexplored red zone in the Warehouse area. But only by transiting through the Vault!
Safe
Once you exit the Main Quarry, you’ll be shown a door you need to reach. Immediately take the steps on the left and activate the red node to drop a container nearby. Use it to fly to the other side, climb to the platform above, and open the safe containing the moon fiber.
Look down below where you came in and you’ll find an upgrade component . Jump down and grab it.
Safe
Look ahead, toward the opposite side of the area. On the right side, below, there are several clumps of luv you can destroy. They hide another safe with a Cube token and an upgrade component .
Directly opposite, in another part of the location, there is another upgrade component lying on the ground .
Modification “Synaptic Response”
To the right of the previous component, or on the other side of the safe hidden behind the moon fiber, you’ll find several containers. Some of them are movable. First, push the container on the left down, then push the central one left. It will protrude beyond the others. Now find a spot to push up another barely visible container in the back, on the second level. Climb up one container higher, then climb even higher, using the container that’s pushed up. See the screenshot below.

On the other side, you’ll see a Strelok (turret). Time it right and jump across the periodically extending platforms to reach the other side, destroy the turret, and open the blue container containing the “Synaptic Response” mod. Draw your weapon while boosting to deplete some of your hacking meter and initiate auto-hack.
Pure lunite
According to the story, to escape this area, you need to drop a container (not the one at the beginning of the area!). Below, look for a ramp with luv on the right side. Destroy it and clear the area of enemies, after which you can proceed to the control panel. Along the way, be sure to open the gray container, which contains Pure Lunite.

Pure Lunite, Economy Modification
Another safe can be found in the “Main Quarry” red zone, the entrance to which is in the far right corner, just past the climb you take to reach the node for hacking the suspended container. Unfortunately, you simply can’t have an extra key at this point (assuming you’ve unlocked all the previous red zones). However, if you didn’t spend it on the “Warehouse” red zone in the Lunite Mines, you’ll be able to open this one.
Enemies appear in two waves, ending with a Defender. After defeating them, open the gray container to receive Pure Lunite and a blue container with the “Economy” modification. The last shot from a secondary module can save the weapon. The chance of activation decreases over time.
Main tower
List of collectibles:
- Safes – 2.
- Pure lunite – 1.
- Modifications – 1.
- Training data – 1.
- Mini cube – 1.
Training data
Once inside the room behind the Main Quarry, go down and activate the “Tower Access Gate” escape hatch . There, before descending to the escape hatch, just opposite the entrance gate, is a broken Mini-Cube and training data.
Safe
Exit the “Tower Access Gate” emergency hatch into a common room with a hole you need to jump into. On the opposite side, you’ll see a safe. Jump to the right, climb onto the cube, and fly to the safe, which contains the Cube Token.
Turn around and jump back to the cube where the upgrade component is located .
Mini cube
Look along the wall without jumping down the airlock to find a panel with a figurine on it. Shoot it to send it to the Vault.

Safe
After jumping down, carefully examine all the walls. One of them, white and square, is fake. Remove it to find a safe containing moonfiber.
Continue forward, go through the tunnel with the Moondigger, and clear the room of enemies. In the next large room, look down to see a platform with an upgrade component . Pick it up by carefully sparring down.
Enter the tunnel and turn into the pipe on the right where the Walker emerged. After destroying it, you can pick up an upgrade component .
Continue forward, activate the “Central Processor Entrance” escape hatch , and then proceed further to face the boss of the Lunite Mines. As you might have guessed, it’s the Lunocop.
Next, you’ll have a section in the pragmatics lab, but after that, Diana will learn how to destroy red luv.